How to Write Cinematic AI Video Prompts: An 8-Second A/B Test
See how cinematic AI video prompts affect framing, character motion, lighting, texture, sound, and the final pose in a controlled 8-second A/B test.
阅读约 9 分钟
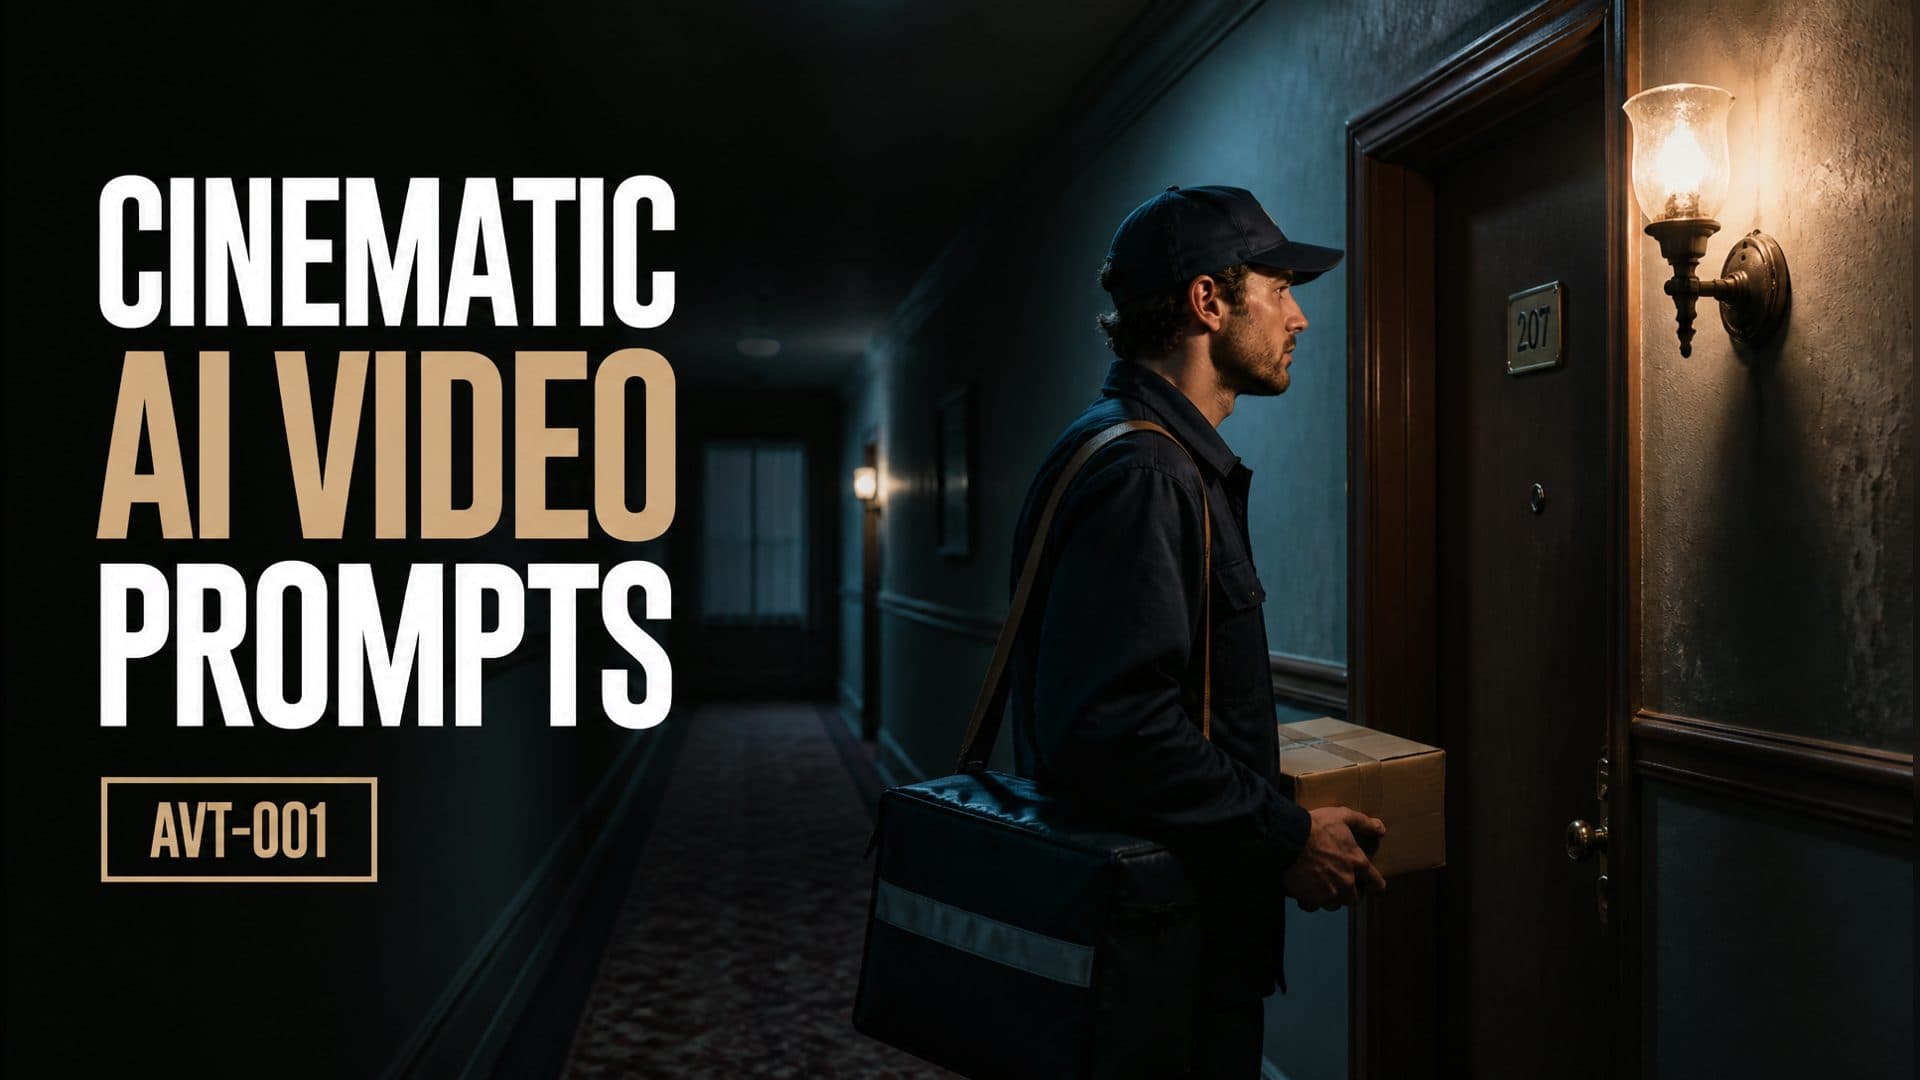
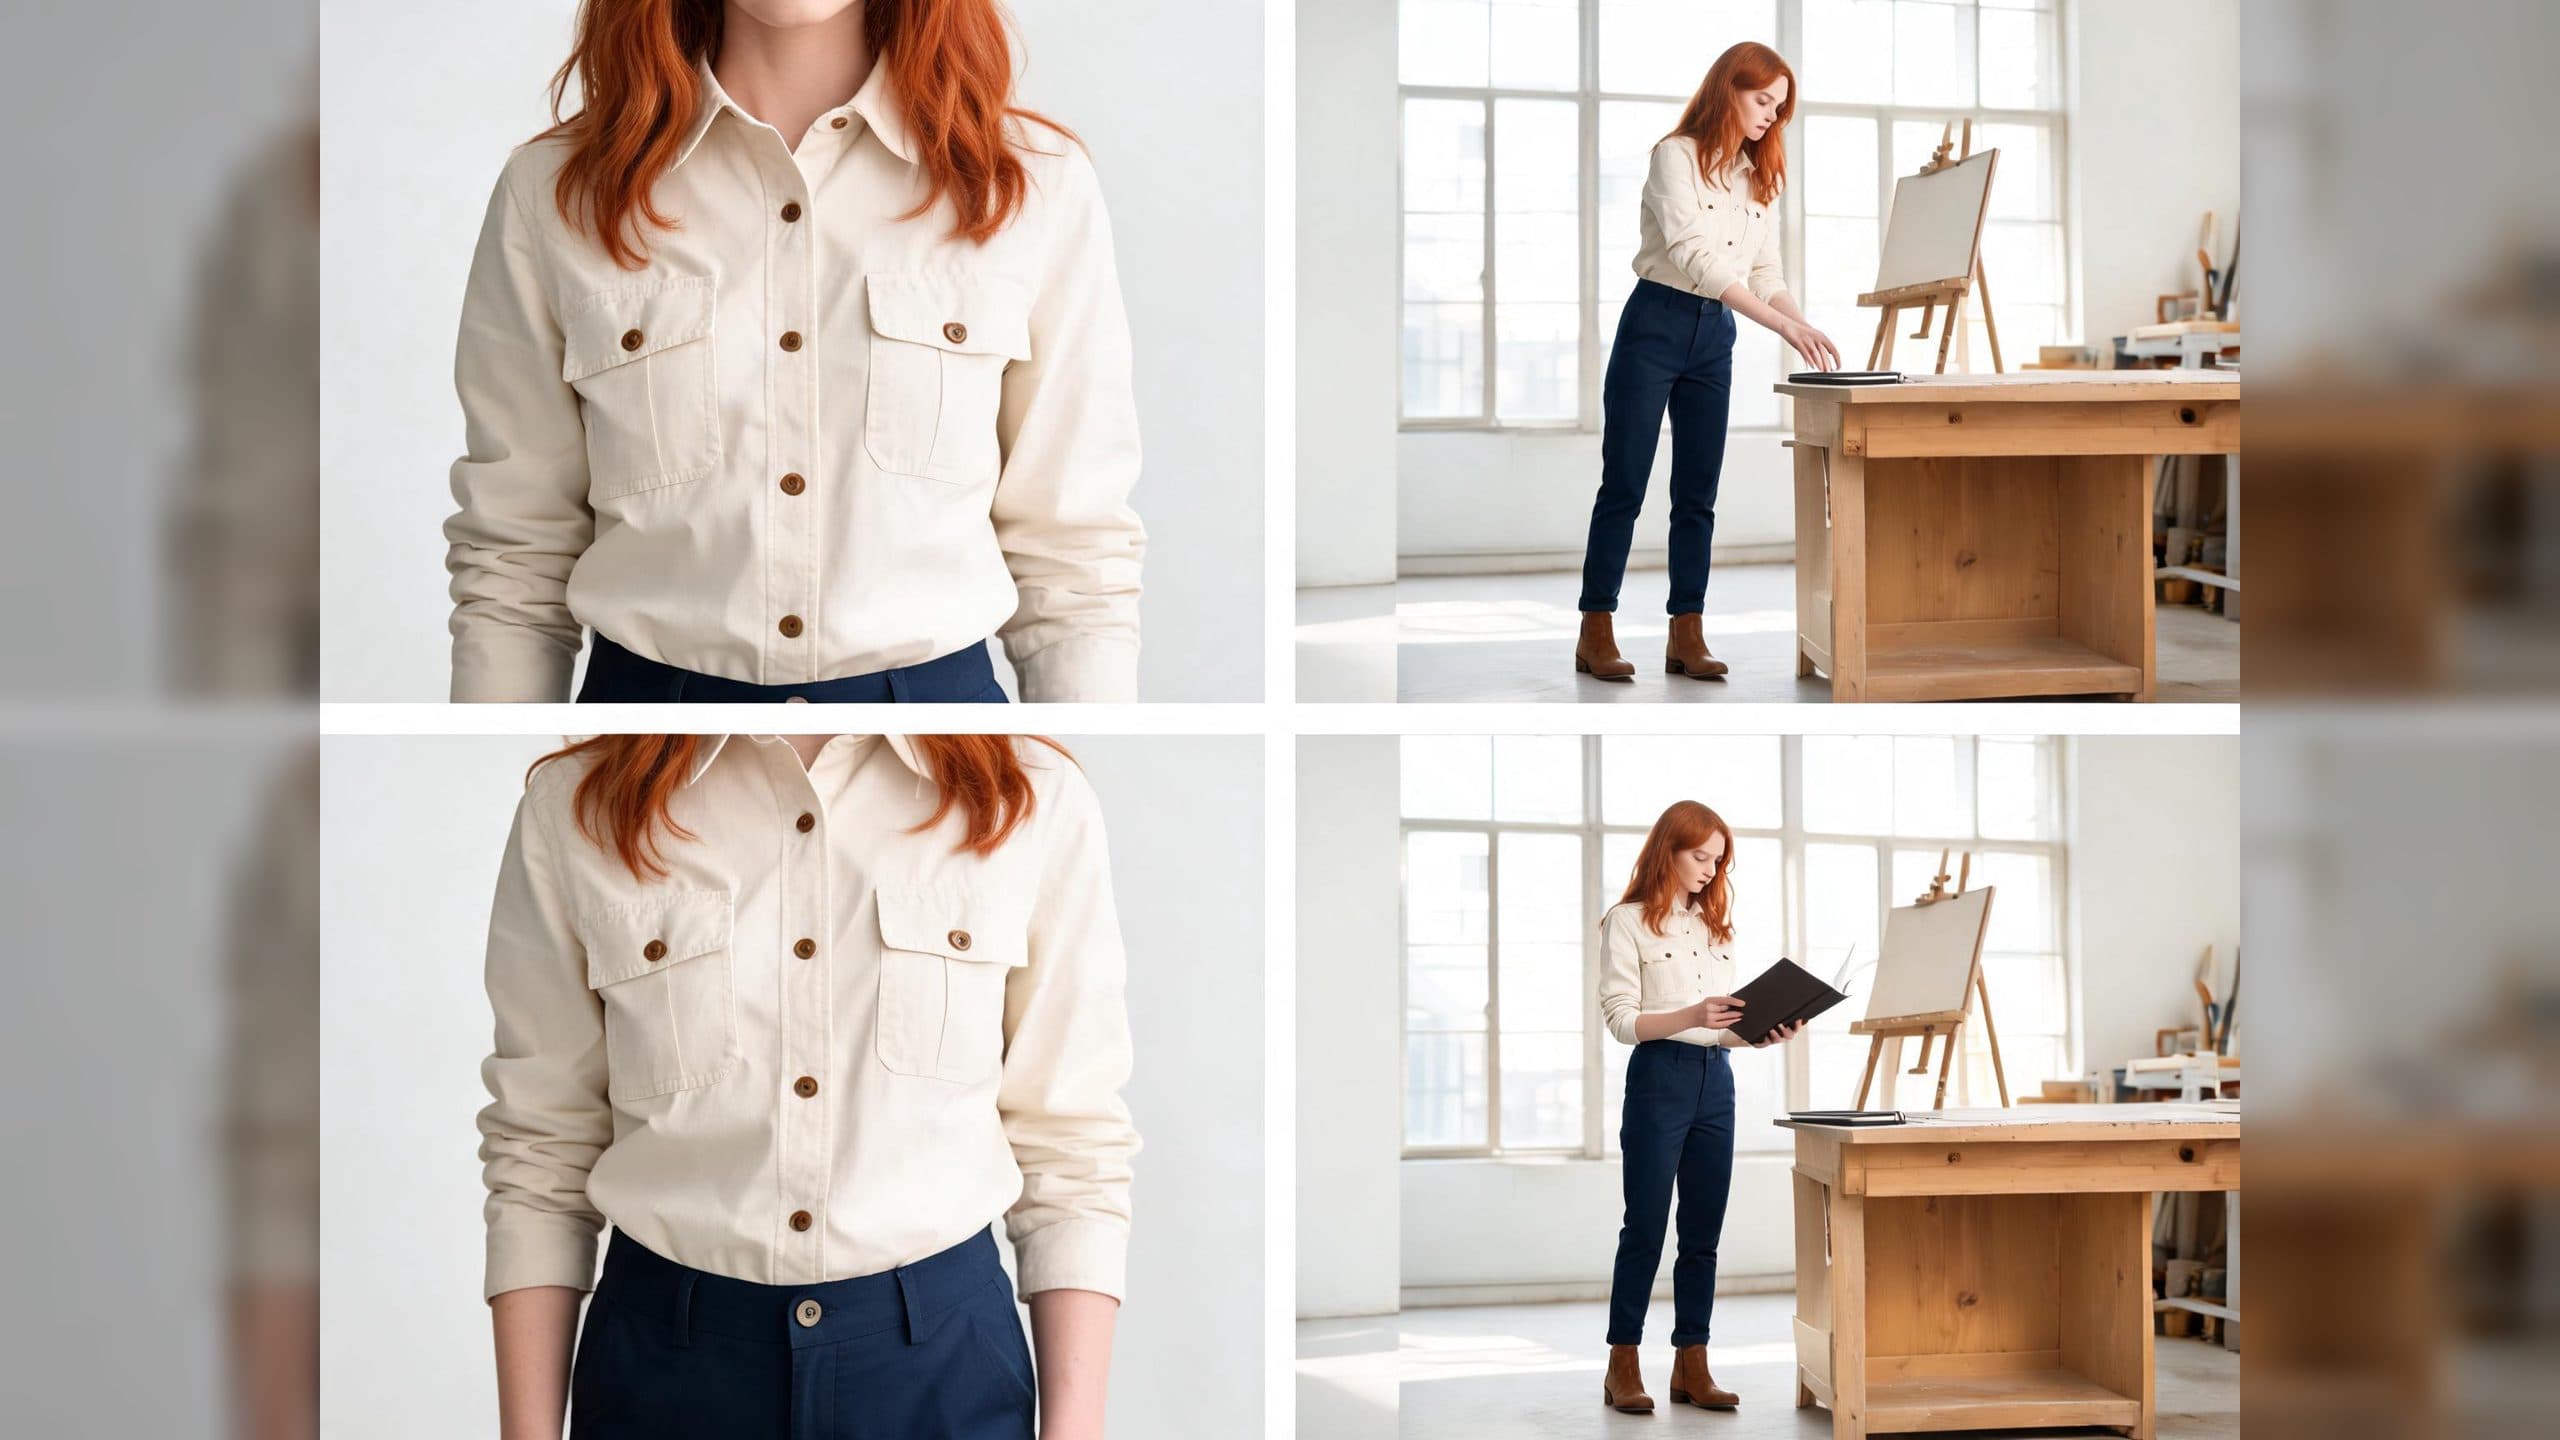
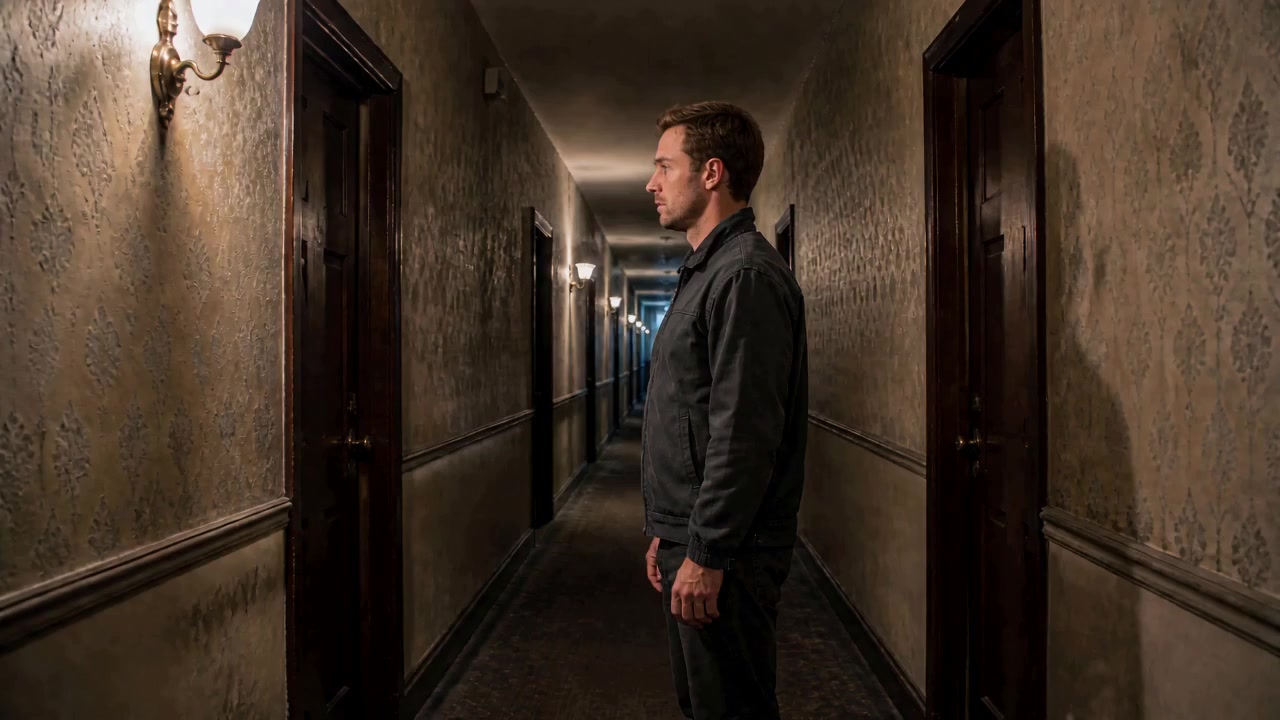
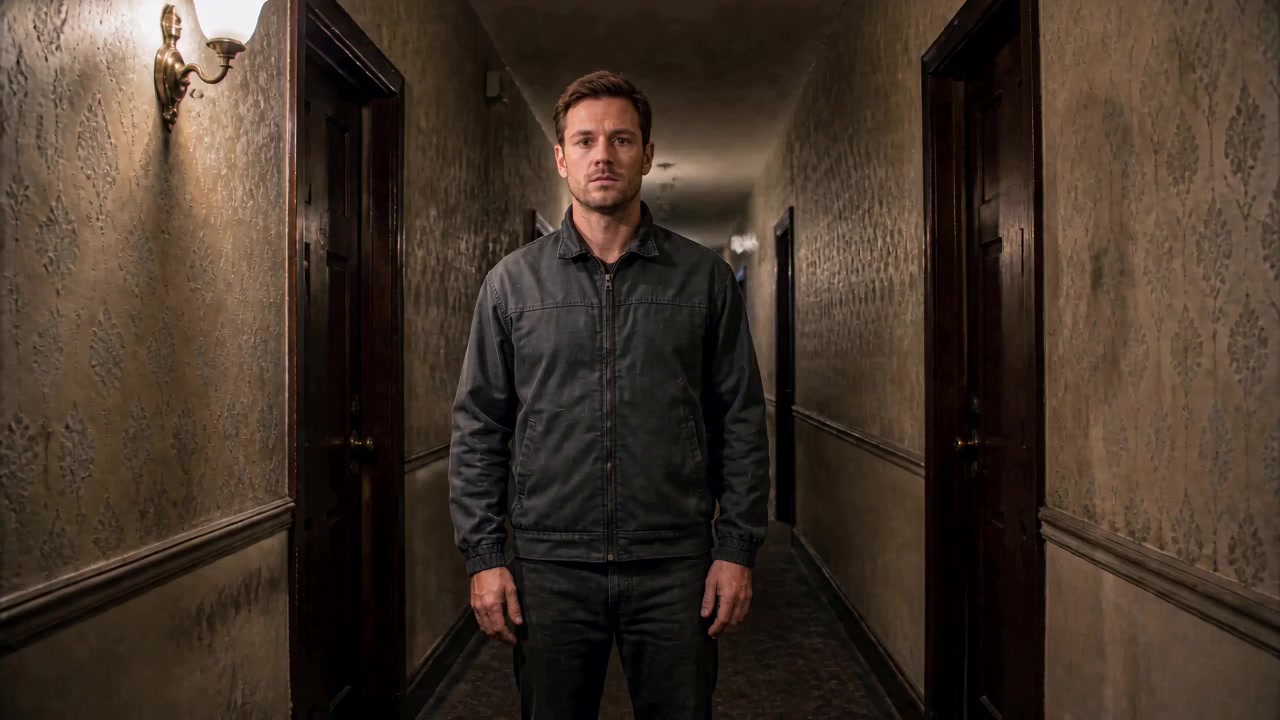
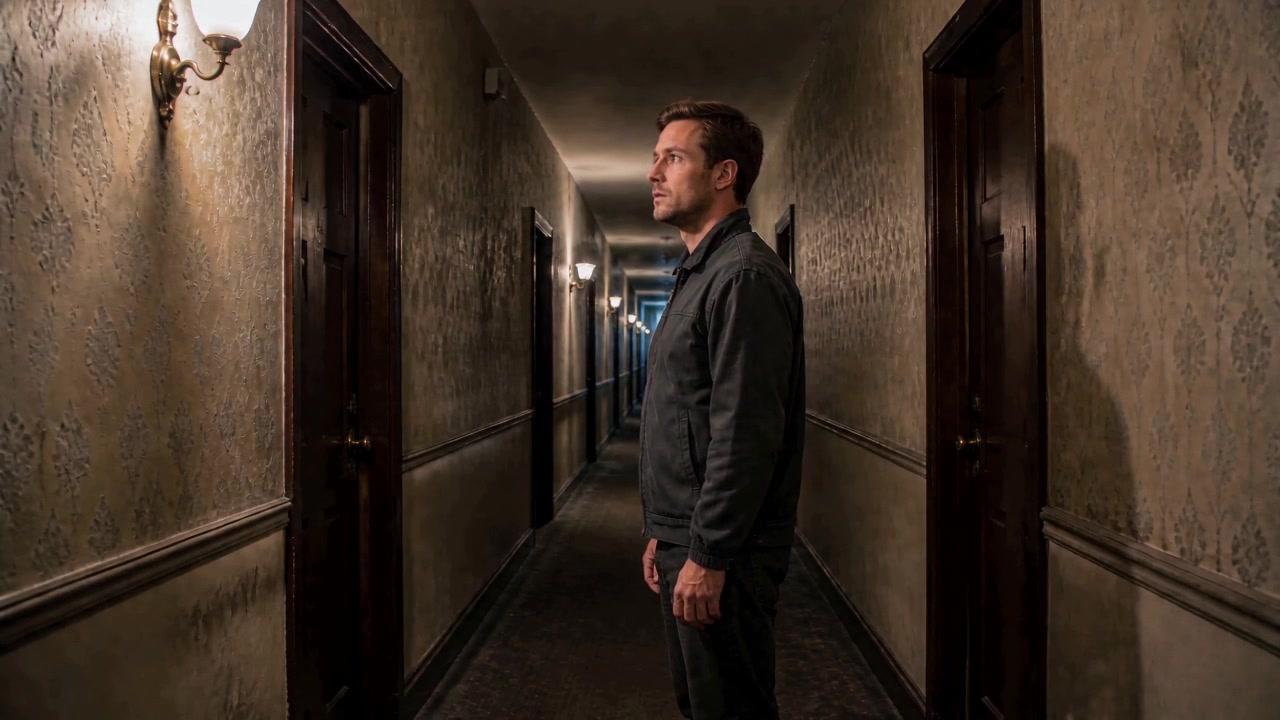
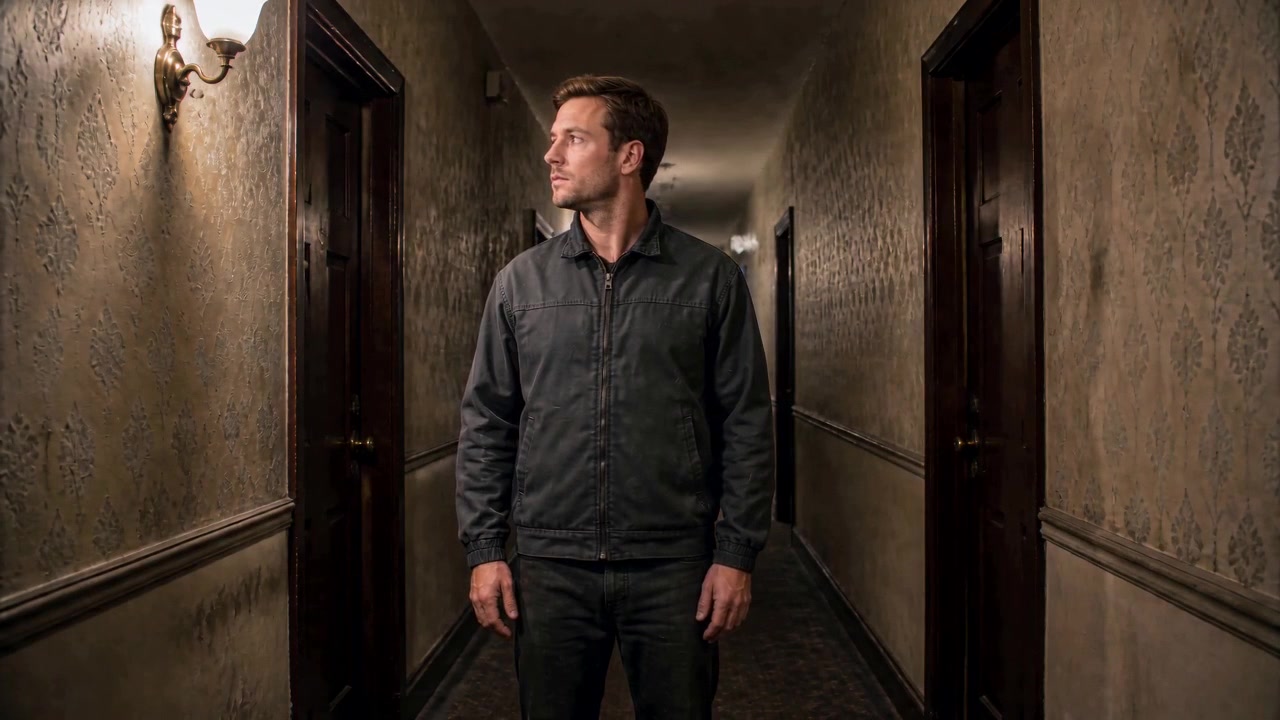
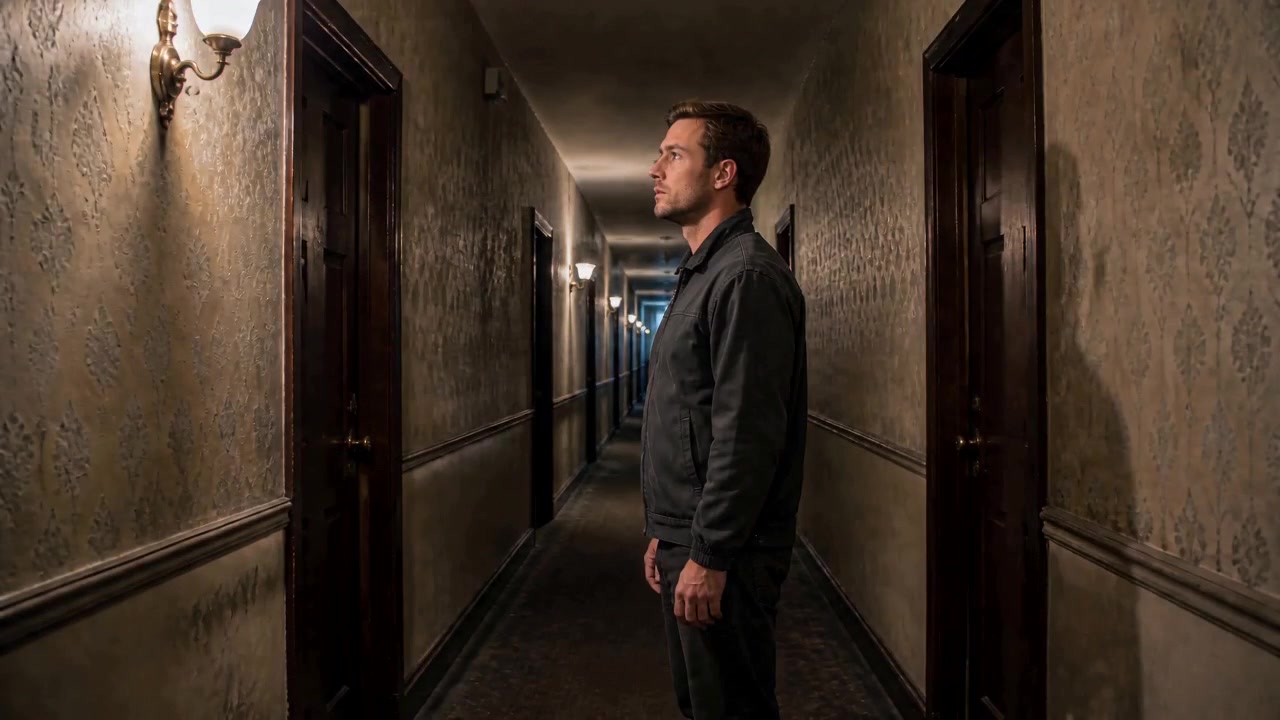
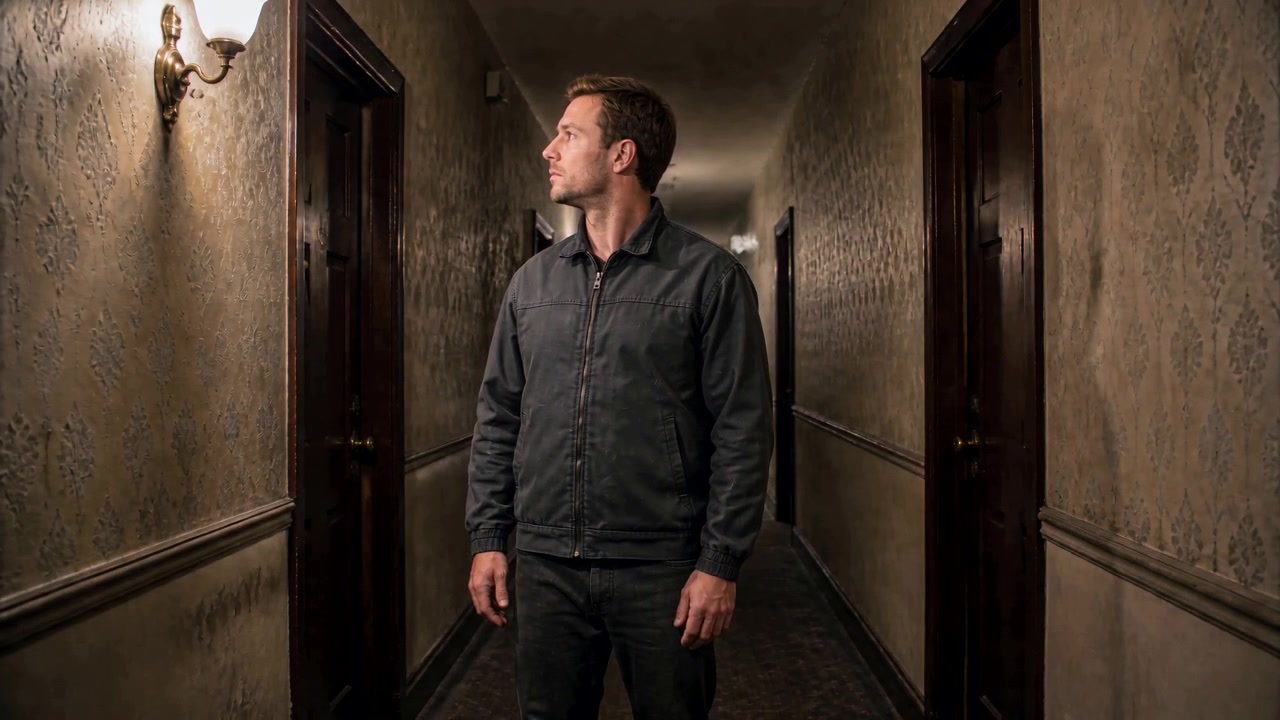
Use a character reference and an empty environment reference to create an eight-second shot with a recognizable lead, stable setting, controlled movement, and location sound. Put the opening, four-second, and 7.5-second frames side by side, and the main difference between these cinematic AI video prompts appears quickly. The control shot barely changes its profile pose. The technique shot begins front-facing, then turns toward the light and settles into a clearer final direction.
The visual finish is closer than the motion. Both versions already have textured wallpaper, dark wooden doors, a cool vanishing point, and warm practical light near the character. The longer prompt does not push the image into a separate quality tier. Its clearest contribution in this run is a more legible performance arc.
That distinction matters when writing prompts. Terms such as cinematic, 50mm perspective, and subtle film grain set an aesthetic direction. A timed instruction that coordinates the eyes, head, shoulders, and final hold gives the shot a task that can be checked frame by frame.
What changed between the two prompts
The experiment uses the same character reference, empty corridor reference, Seedance 2.0 Fast model, seed 101103, eight-second duration, 16:9 frame, 720p output, and generated audio. Both prompts ask for one locked medium shot in which the worker notices a flickering wall sconce.
The control prompt defines reference roles and divides the action into three beats. The technique prompt adds a consistent photographic treatment, more specific body coordination, a settled ending, natural motion behavior, and shot-specific constraints. It also asks for subtle breathing and a small weight shift before the turn.
Setting
Control
Technique
Character and scene references
Same
Same
Model and seed
Seedance 2.0 Fast, 101103
Seedance 2.0 Fast, 101103
Duration and format
8 seconds, 16:9, 720p
8 seconds, 16:9, 720p
Camera
Locked medium shot
Locked medium shot with a consistent 50mm-style perspective
Main action
Turn toward the sconce
Turn with coordinated gaze, head, and shoulders, then settle
Added direction
Basic timing and location sound
Visual baseline, body coordination, final hold, and targeted constraints
Open the complete AVT-001 workflow to inspect the references, prompts, settings, and full results. You can also watch the and before reading the frame comparison.
The environment holds together in both frames. The doors, wall texture, corridor depth, jacket, hair, and body proportions remain recognizable. The starting pose does not match, however. The control begins in profile near the sconce, while the technique version begins centered and faces the camera.
This means the test is useful but not perfectly isolated. The shared references stabilize identity and place, yet the longer prompt also changes how the model stages the first frame. Any later difference has to be read with that initial composition in mind.
By four seconds, the direction of attention is easy to read
At four seconds, the control still reads as a held side profile. The technique version has moved from its front-facing start into a three-quarter direction toward the wall light. The shoulders remain comparatively square while the eyes and head lead the turn.
The useful line in the technique prompt is concrete: the head, shoulders, and gaze should remain coordinated during one continuous, restrained turn. Each part can be checked on screen. A phrase such as “premium cinematic movement” offers no equivalent test.
At 7.5 seconds, the technique version has a clearer final pose
The control ends close to its middle pose. The technique version reaches a more definite three-quarter profile and holds it. Clothing, face, hands, corridor geometry, and the warm-to-cool lighting relationship stay consistent in both shots.
One sample cannot prove which constraint prevented which failure. What the frames do show is that the positive action remained clear even with a longer list of boundaries. The prompt tells the character what to do before it tells the model what to avoid.
Build a cinematic AI video prompt in four layers
Treat the prompt as four separate jobs, even when they appear in one paragraph.
1. Give each reference one responsibility
The character image should control identity, face, hair, body proportions, wardrobe, and fabric appearance. The environment image should control layout, perspective, surfaces, and lighting direction. Then state how the two references should combine.
Image 1 controls the character's identity, face, body proportions, and wardrobe.
Image 2 controls the corridor layout, materials, perspective, and light direction.
Place the character naturally in the corridor without carrying over the studio background.
Clear roles reduce two common reference conflicts: the character sheet's plain background leaking into the shot, or the empty environment reference causing the person to disappear.
2. Set one visual baseline for the full shot
Choose a small number of details that affect what you can see. Perspective, color relationship, key-light direction, texture, shadow detail, and motion behavior are more useful than a long camera-equipment inventory.
Realistic live-action photography with natural 50mm perspective.
Restrained cool color with soft warm side light and subtle film grain.
Preserve natural skin, fabric texture, shadow detail, and realistic light falloff.
These lines establish the shot's visual temperament. Resolution, duration, aspect ratio, and audio still belong in the generation settings.
3. Turn the action into a checkable timeline
An eight-second shot only needs a few beats. Give the action a starting condition, a middle change, and a final state.
0-2 seconds: Hold the starting pose with subtle breathing and a small weight shift.
2-6 seconds: Turn slowly toward the sconce in one continuous motion.
Keep the gaze, head, and shoulders coordinated.
6-8 seconds: Stop, hold the gaze, and let the movement settle.
The timeline limits interpretation without prescribing every frame. The final hold also produces a cleaner edit point than an action that continues through the last frame.
4. Block the failures that matter in this shot
A locked character shot has a short, specific risk list: an unplanned cut, a sudden zoom, identity drift, a wardrobe change, a reconstructed corridor, or distorted anatomy. Target those risks and keep the desired action prominent.
Use one continuous locked medium shot.
Keep the character, wardrobe, and corridor structure consistent.
Avoid cuts, sudden zooms, background reconstruction, and anatomical distortion.
Preserve natural motion blur and avoid plastic skin or excessive sharpening.
Prompt language and generation settings do different work
Writing “eight seconds” inside the prompt helps describe the performance timeline, but the actual duration must also be set to eight seconds. The same rule applies to 16:9 framing, 720p output, and generated audio.
Lens language behaves differently. “Natural 50mm perspective” guides spatial appearance; it does not attach a physical lens to the file. “Subtle film grain” asks for a texture treatment; it does not change the codec or resolution. Keeping those two layers separate makes troubleshooting faster.
Use this order when a result misses the brief:
Check duration, aspect ratio, resolution, and audio settings.
Check whether the character and environment references have separate roles.
Check whether the action has a start, transition, and ending pose.
Refine the visual treatment after the shot mechanics work.
A reusable prompt structure
Replace the bracketed details with the needs of your shot.
Image 1 controls [character identity, face, body, and wardrobe].
Image 2 controls [environment layout, materials, perspective, and lighting].
Place the character naturally in the environment without inheriting the character sheet background.

Use one consistent [live-action, documentary, or commercial] visual baseline.
Choose [perspective], [color relationship], [key and fill light], and [texture behavior].
Preserve [skin, clothing, surface materials, shadow detail, and natural motion blur].

0-[time] seconds: [starting pose and subtle natural movement].
[time]-[time] seconds: [main action with coordinated body relationships].
[time]-[end] seconds: [settled final pose].

Keep [camera position and shot size] stable for [duration].
Maintain [identity, wardrobe, props, and environment] consistently.
Avoid [the few failures most likely in this specific shot].
How to run a cleaner A/B test
Start with one clean character sheet and one empty environment image. Duplicate the video setup so the model, references, seed, duration, aspect ratio, resolution, and audio settings stay identical.
Keep the control prompt to reference roles, basic action, framing, and sound. Add only one category to the second prompt if you want a cleaner conclusion. Test the visual baseline, body coordination, final hold, or constraints in separate rounds.
Compare the opening, middle, and ending frames before judging sharpness or style. Record body direction, gaze, action range, identity, clothing, and environment continuity. In this run, the opening compositions differ, so the next test should lock the initial pose more explicitly before isolating the effect of body coordination.
Frequently asked questions
Does writing 8K make an AI video sharper?
It communicates a preference for detail. The delivered resolution still comes from the selected model and output settings. Check the actual file before treating a quality adjective as a technical specification.
Should camera and film-stock names appear in the prompt?
Use them when they point to a specific visual decision. If the main problem is incomplete movement, timed action, coordinated body parts, and a stable ending deserve attention first.
Are more negative constraints always better?
Choose constraints that correspond to visible risks in the shot. A short list covering identity, wardrobe, camera continuity, background structure, and anatomy is easier to evaluate than a generic block of negative terms.
Do reference images remove the need for visual direction?
References establish the person and place. The prompt still controls how the shot looks, how the action unfolds, and where it ends.