

ArtArch 新闻中心
AI Video TechniquesHow to Write AI Video Micro-Expression Prompts That Feel Performed
Write AI video micro-expression prompts with visible preparation, dialogue timing, directed gaze, and a held reaction after the line.
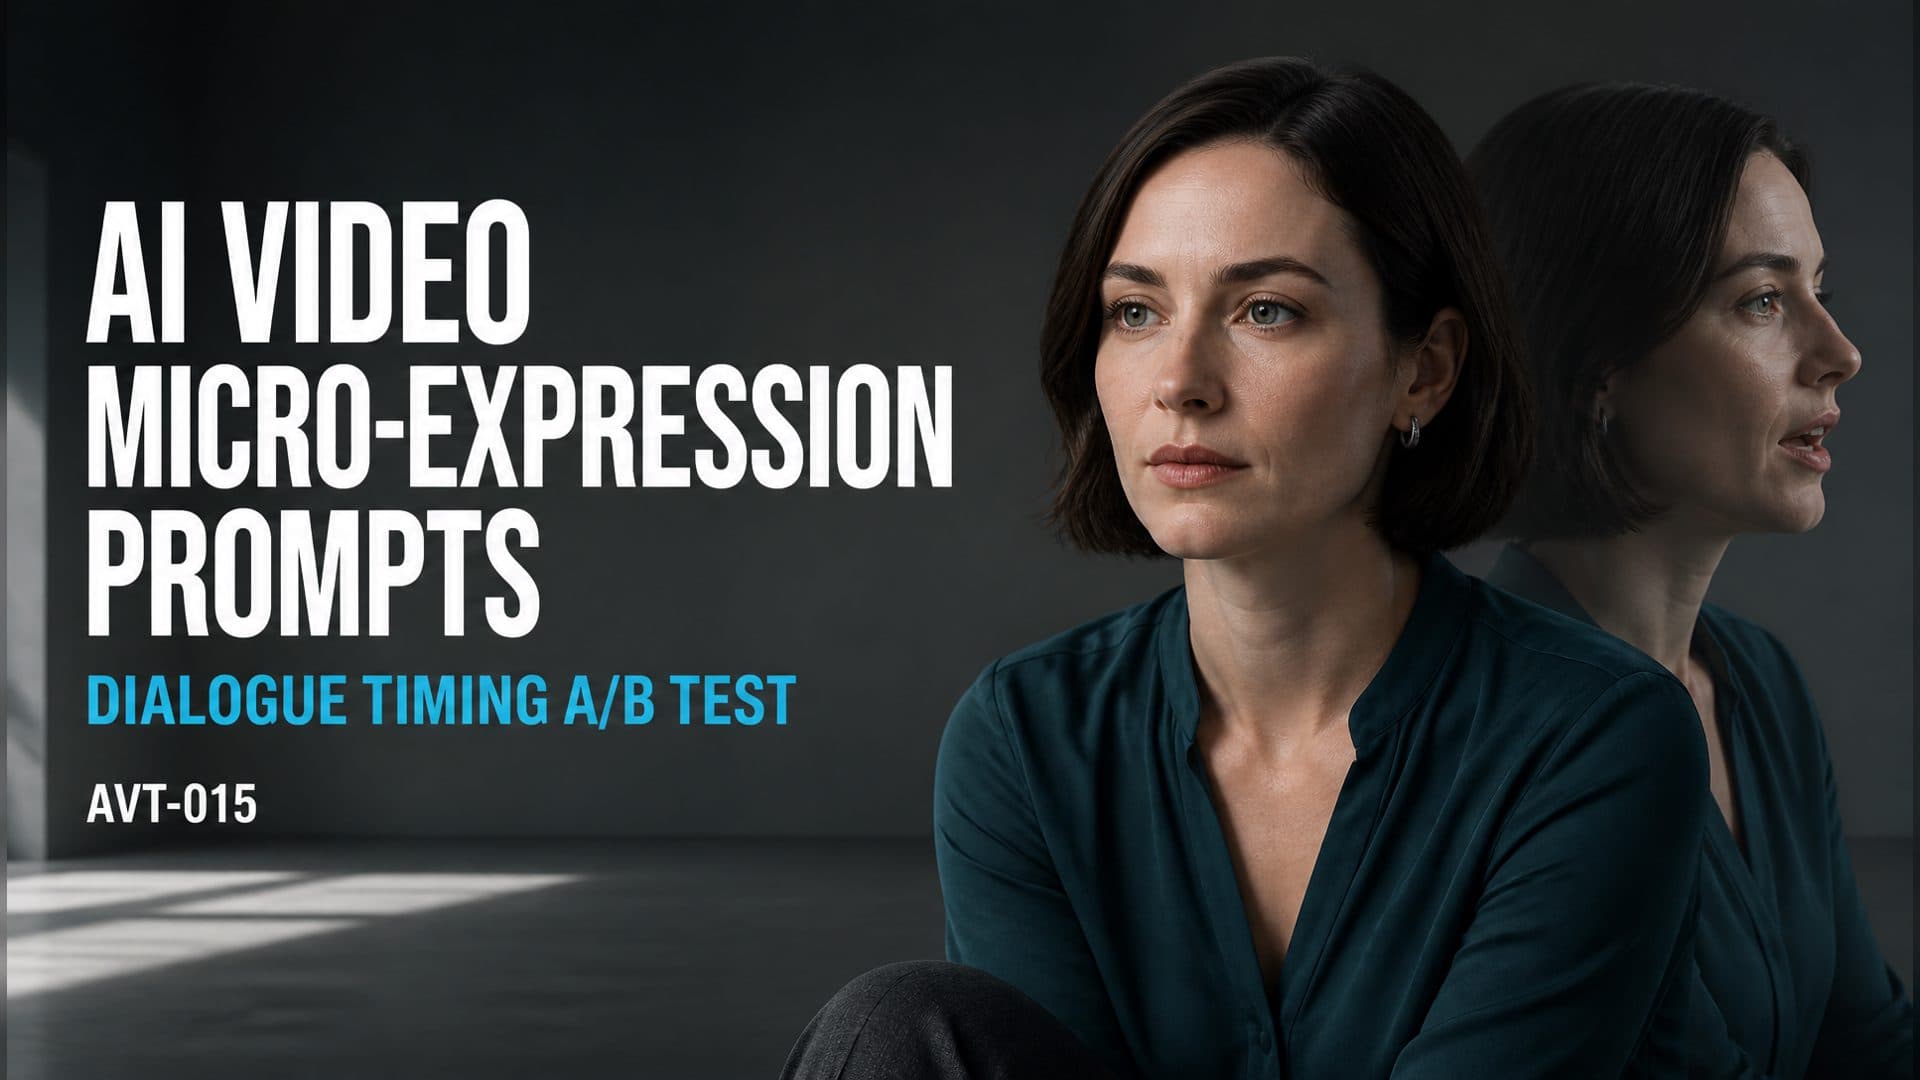
AI video micro-expression prompts work best when they give an actor a visible path through the shot. Start with a clean character reference and an empty scene reference. Then describe where the actor looks, what changes before the emotional peak, what happens during the key moment, and how the performance settles. This turns a label such as hurt or angry into actions that can be seen and reviewed.
The AVT-015 method covers four acting decisions. The emotional arc, relationship gaze, dialogue timing, and shot coverage sections each isolate a common problem in character video generation. One controlled A/B pair tests dialogue timing with the same actor, room, line, model, duration, framing, and audio setting.
Open the AVT-015 acting exercise canvas on ArtArch.
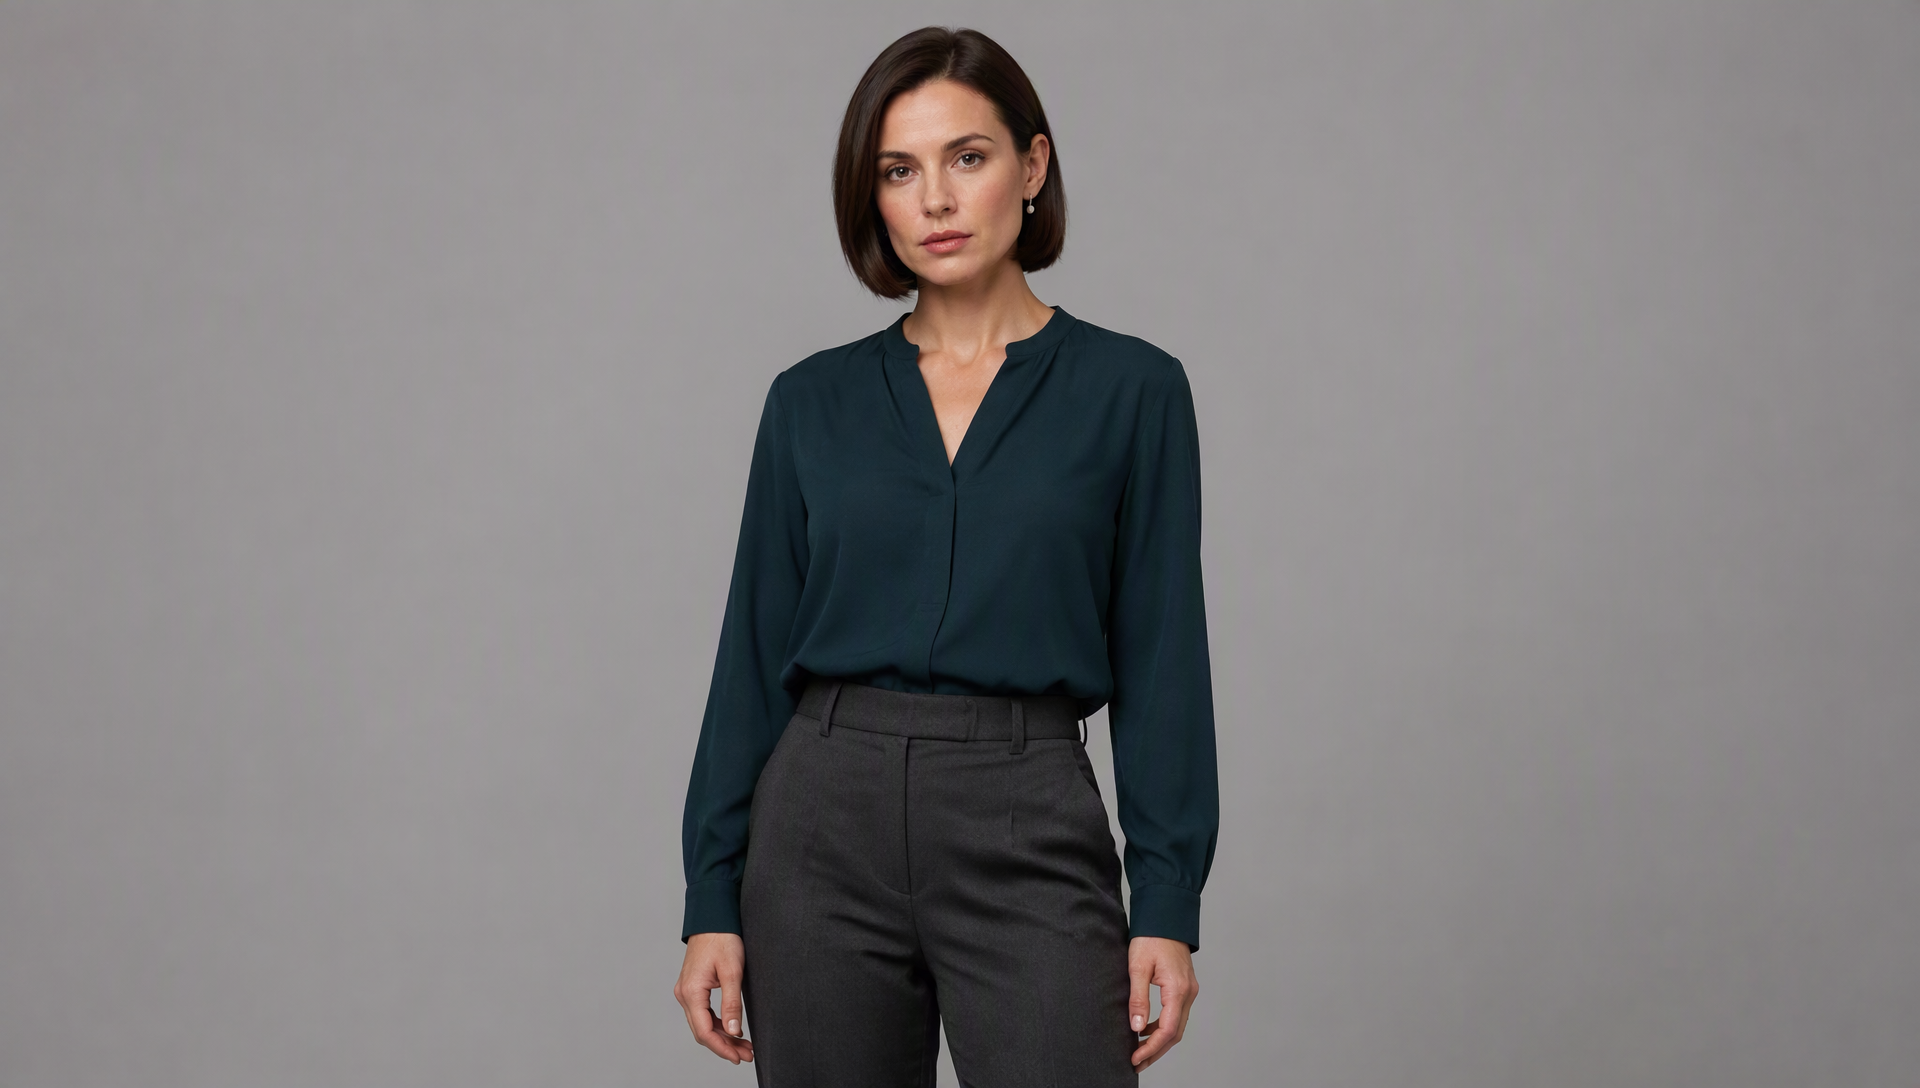
The same fictional actor is used on both sides of the A/B pair so the test stays focused on performance timing.
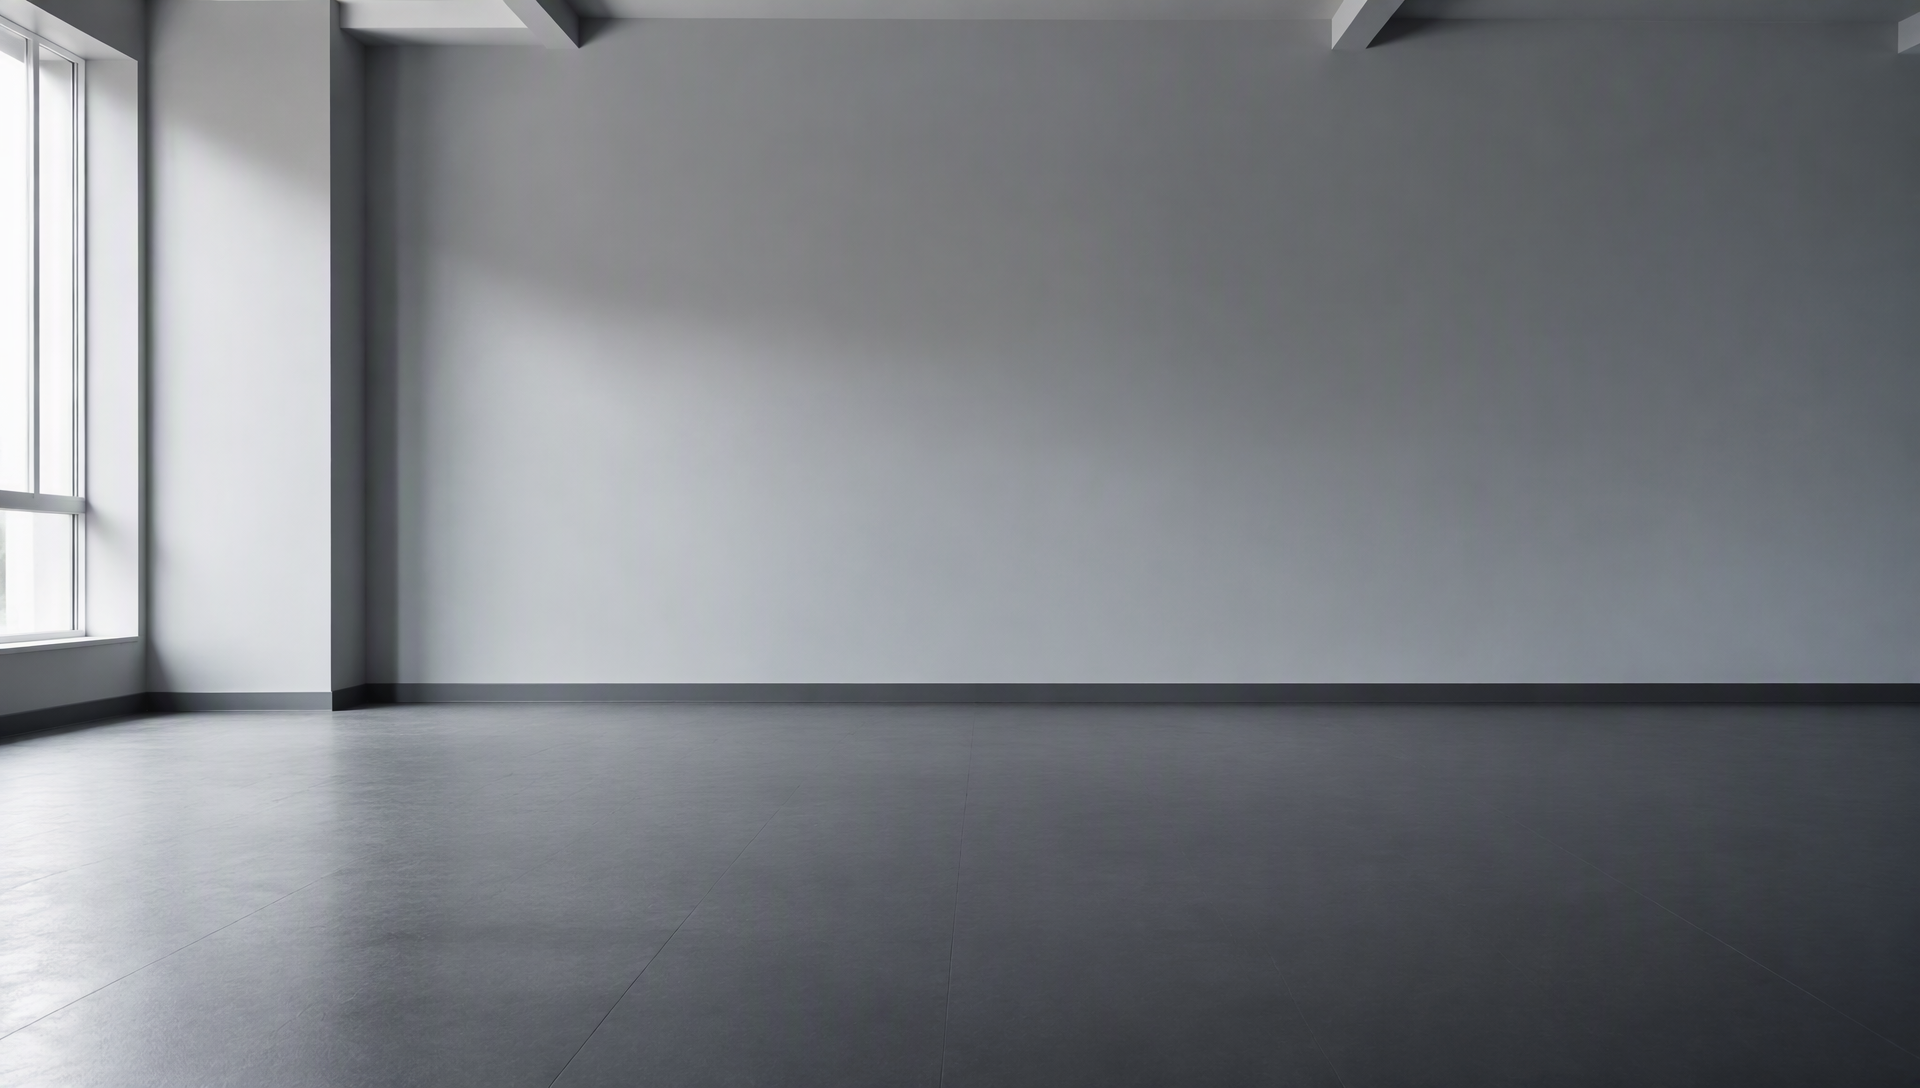
The empty rehearsal room keeps the lighting, screen direction, and background simple enough to inspect small changes in the performance.
Why emotion labels produce uneven acting
A prompt that says she feels hurt and angry, then calms down gives the model an emotional destination. It leaves the route open. The actor may begin at full intensity, repeat a familiar expression, add mouth movement that resembles speech, or drift between several facial states without forming a clear progression.
An actor in a directed scene has more to work with. She can hold eye contact, lower her gaze, take a shallow breath, tighten her jaw, look back at the other person, and release the tension in her shoulders. The emotion becomes legible because each change has a place in time.
Two or three well-chosen actions can carry an eight-second shot. The important choice is the order. The opening leaves room for change, the middle introduces pressure, the peak carries the main action, and the ending gives the editor a stable cut point.
Build the performance from four beats
The simplest structure has four parts.
Establish a quiet opening
Give the character a state that can develop. Closed lips, a relaxed jaw, level shoulders, and a fixed gaze create a useful baseline. The viewer can then see when the body changes.
Name the relationship early. Place the other person outside the left or right edge of the frame and keep that direction stable. The actor now has someone to watch, avoid, challenge, or return to.
Introduce one turn
Choose one visible change before the strongest moment. The actor might lower her eyes, swallow, draw a short breath, press her lips together, or let her brow tighten. One turn is usually easier to read than several gestures arriving together.
The turn also gives the emotion a cause. A breath before a difficult line feels like preparation. A glance away before renewed eye contact suggests resistance. A hand beginning to close can carry tension from the face into the body.
Give the peak one job
The peak may be a spoken line, a direct look, a tear, or a clenched hand. Let the other actions support that event. When dialogue, a large head turn, a hand gesture, and a body movement all compete for the same second, the result becomes harder to control and harder to judge.
Hold the ending
Finish with a visible state. The actor closes her lips, exhales, lowers her shoulders, releases her hand, or keeps looking at the same person. A held reaction gives the line or gesture a consequence and keeps the final seconds from filling with unrelated movement.
Exercise one builds an emotional arc
The first exercise compares a broad emotional direction with a four-beat performance path.
The broad version can remain short.
She feels hurt and angry, then gradually becomes calm.
She breathes and blinks naturally while facing the person off-screen left.
The directed version assigns a visible job to each part of the shot.
Begin with closed lips, a relaxed jaw, and steady eye contact with the person off-screen left.
Lower the gaze, take one shallow breath, and let the brow tighten slightly.
Look back at the same person as the jaw firms and the eyes become moist.
Exhale slowly, let the shoulders settle, and hold the gaze through the end of the shot.
The second prompt gives the model a route through the emotion. It also gives the reviewer four checkpoints. You can inspect the opening, the first change, the strongest moment, and the final hold without guessing what more emotional was supposed to mean.
Keep the smaller actions subordinate to the main arc. A tiny lip tremble or half-second shoulder freeze may be too subtle to survive every generation. The larger sequence still needs to read when one of those details lands softly.
Exercise two uses gaze to create a relationship
An off-screen character can feel present even when the viewer never sees them. The visible actor needs a consistent target and a meaningful gaze path.
A general instruction such as watch the person with caution often produces a steady look. That can establish attention, though it gives the relationship little development. A directed path creates a sequence.
Look toward the person off-screen left.
Move the eyes down and to the right while the head turns only slightly.
Check the person again with a brief side glance.
Turn back and hold eye contact with the same person.
The destination stays fixed while the actor's willingness to make contact changes. Looking away can suggest discomfort or restraint. Looking back shows that the character still wants an answer. The prompt expresses this through behavior, so the viewer reads the relationship from the shot itself.
Screen direction matters here. Write the other person's location once and use every gaze instruction relative to that point. Unplanned left and right movement creates activity. A repeated target creates intention.
Exercise three gives dialogue a before and after
Dialogue performance begins before the first word. A character may need to breathe, swallow, find the other person's eyes, or gather tension in the jaw before speaking. The line then has a physical cause.
The generated A/B pair used Seedance 2.0 Fast at 1280 by 720 with audio enabled. Both files run for 8.08 seconds and contain AAC stereo audio. The control asks the actor to speak once with restrained hurt. The technique prompt adds a small breath and swallow before the sentence, followed by closed lips, a slow exhale, and a held gaze after it.
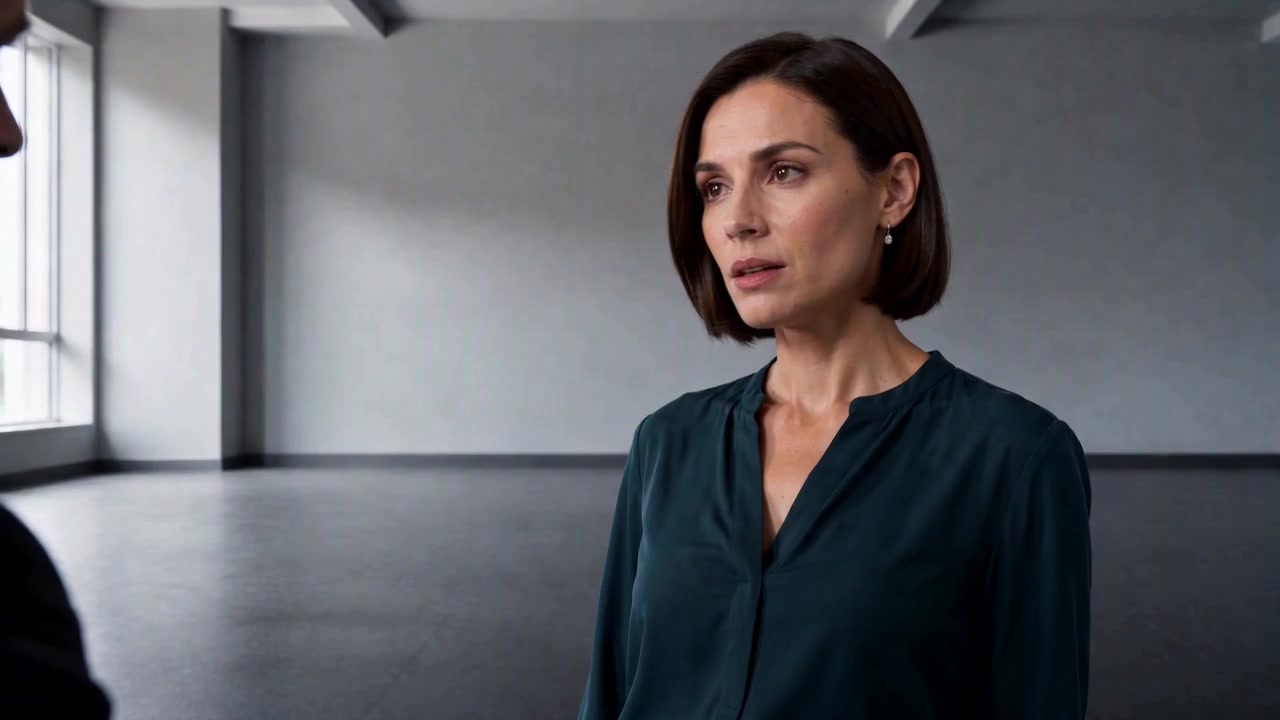
Control frame 5. The actor's mouth is already open near the beginning of the clip.
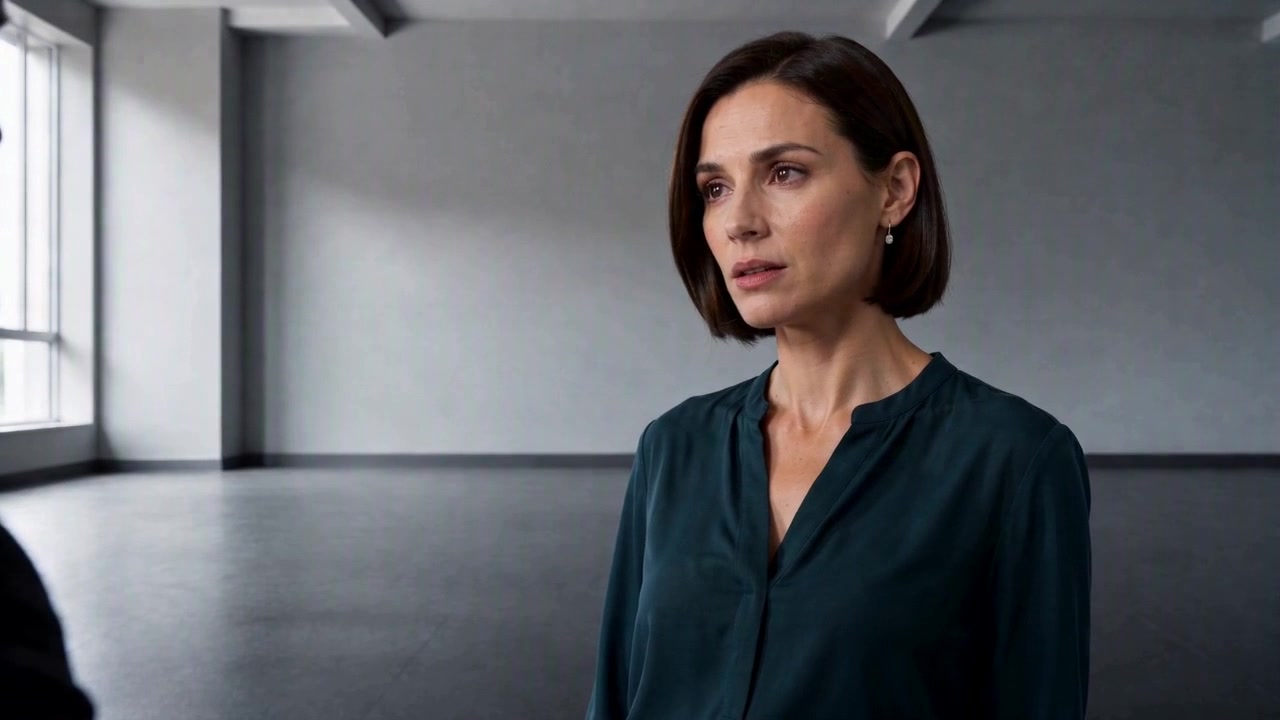
Control frame 110. The mouth has settled while the actor keeps looking toward the same scene partner.
<video controls playsinline preload="metadata" src="https://d3ohi5svx56rr5.cloudfront.net/artarchtask/a905e9fa-da78-40ca-9861-bcb906af846c/url_142c470e3b92842982872bef4fc31623.mp4"></video>
Complete control video using the broad dialogue direction.
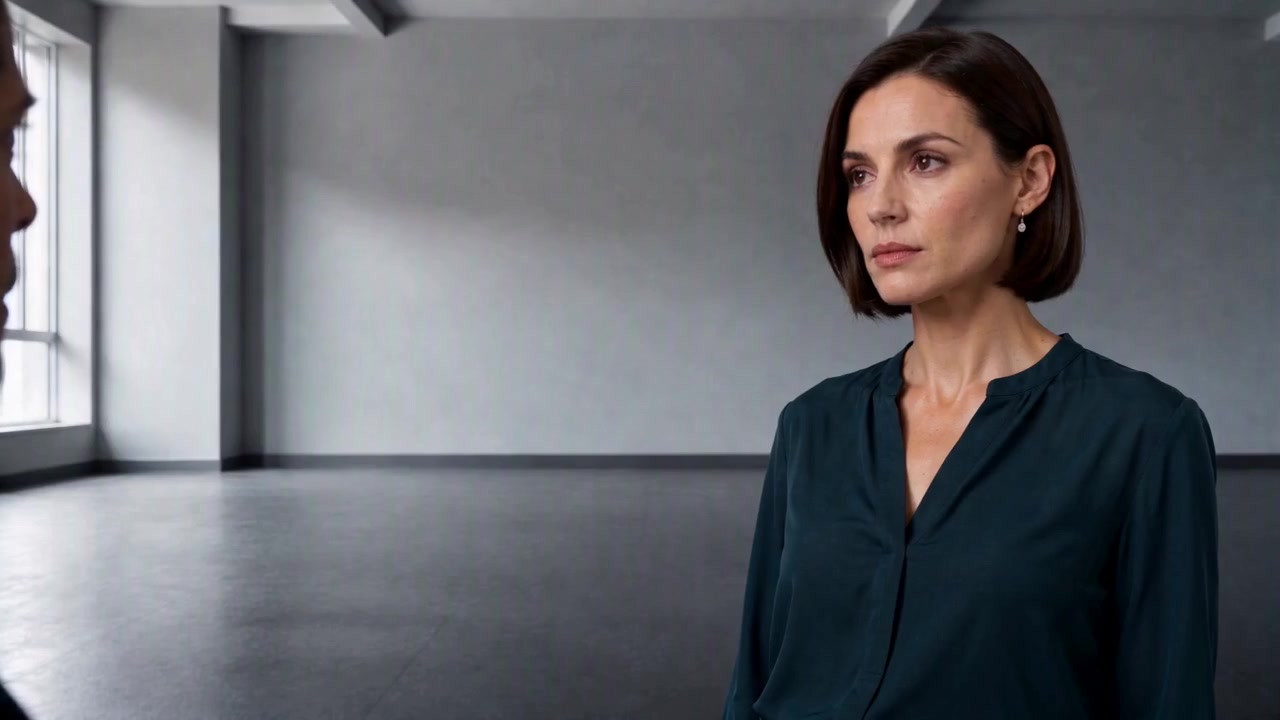
Technique frame 5. The actor begins with closed lips and a steady gaze before speaking.
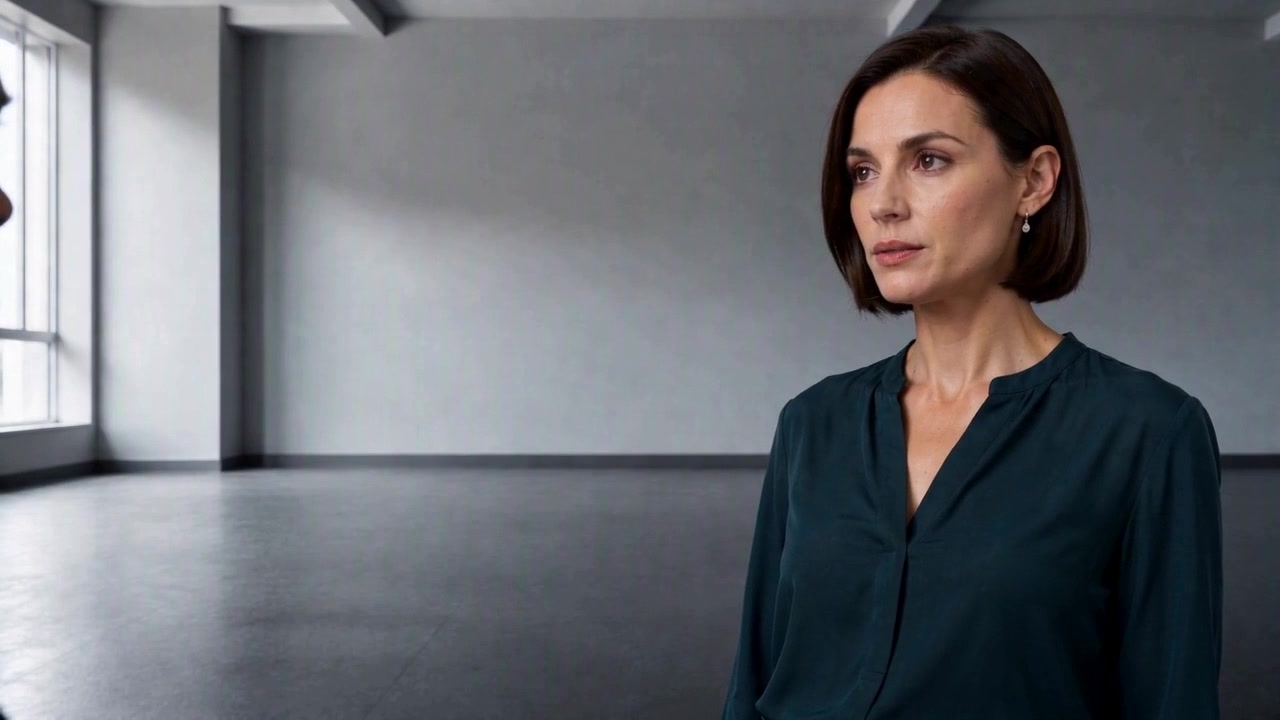
Technique frame 110. The mouth is active later in the clip while the gaze remains on the same person.
<video controls playsinline preload="metadata" src="https://d3ohi5svx56rr5.cloudfront.net/artarchtask/8dd3baa1-a69f-479e-a380-235303df6ac8/url_a64666fc879fd2e6829249ec3def010d.mp4"></video>
Complete technique video using preparation, speech, and reaction beats.
The sampled frames support a narrow observation. The broad prompt enters visible speech near the opening, while the directed prompt preserves a closed-mouth preparation and places visible speech later. One generation per prompt supports this timing pattern for the displayed pair. Future repeated generations can measure how consistently the model follows the same order.
The AVT-015 dialogue exercise uses one short sentence.
I just wanted to hear you explain it yourself.
The directed performance places three states around it.
Before speaking, look toward the person off-screen left, take one small breath, swallow once, and let the jaw tighten slightly.
During the line, keep the gaze on that same person and speak once in a restrained voice.
After the line, close the lips, exhale slowly, and remain in a silent reaction while holding eye contact.
This structure protects time on both sides of the sentence. The preparation shows why the character finally speaks. The silent hold shows what the words cost her. It also gives the editor a cleaner place to leave the shot or cut to the listener.
Keep the sentence short enough to leave space for both states. During speech, let the mouth and jaw carry most of the motion. Preserve the gaze direction and avoid adding a second major gesture at the same time.
Exact second marks are useful as guidance. The more important requirement is the order. Preparation comes first, the line happens once, and the reaction remains after the mouth closes.
Exercise four matches framing to the action
Prompt detail only helps when the camera can see it. A face close-up can show eyelids, lip tension, tears, small gaze shifts, and jaw movement. A hand clenched beside the body sits outside that crop.
The fourth exercise keeps the acting sequence constant while changing the shot size.
Look toward the person off-screen left.
Take a small breath and move the gaze away.
Clench the right hand slowly beside the body as the right shoulder tightens.
Release the fingers, lower the shoulder, and look back at the same person.
A face close-up creates a visibility conflict because the hand remains below the frame. A knee-up composition includes the head, shoulders, torso, and both hands. The wider view gives the gesture a defined place on screen while preserving enough facial detail to read the return of the gaze.
Every shot makes a tradeoff. Tight framing gives small facial movement more pixels. Wider framing gives the body more room to act. Choose the frame around the action that must be verified.
Before generation, read every requested action and point to its location in the image. Adjust the shot size or simplify the performance until every key action has a clear place in the frame.
A reusable AI video micro-expression prompt
The following structure can be adapted to a confrontation, confession, apology, interview, or restrained reaction shot.
Create one continuous character performance shot.

Character and setting
Use the approved character and empty-scene references. Keep identity, hairstyle, wardrobe, lighting, and room layout stable.

Camera
Use a fixed eye-level shot. Place the actor on the right side of the frame. The other person remains off-screen left. Choose a shot size that includes every action described below.

Opening
The actor looks toward the other person with closed lips, a relaxed jaw, level shoulders, and quiet breathing.

Turn
The gaze lowers briefly. The actor takes one shallow breath and lets the brow or jaw tighten.

Peak
The actor looks back at the same person and completes one main action or speaks one short line.

Ending
The lips close, the breath releases, and the actor holds one final gaze or body state without adding a new gesture.

Continuity
Keep the face, wardrobe, background, screen direction, and camera position stable throughout the shot. Let hair, earrings, and fabric respond gently to head and body movement.
The structure stays compact because each section answers a different production question. It establishes the actor, the relationship, the visible order, the main event, and the final state.
How to review the generated take
Start with the first and last frame. They should show a meaningful change in gaze, facial tension, breathing, posture, or hand position. When both frames carry the same intensity, the emotional arc may have flattened.
Watch the eyes next. Every look should relate to the same target. The actor may avoid contact and return, but the screen direction should remain coherent.
Check the mouth separately during dialogue. Speech should follow a brief preparation and end before the reaction finishes. The lips should close while the character remains emotionally present.
Then inspect the body action. Make sure the hand, shoulder, torso, or weight shift appears inside the chosen frame and in the intended location. A gesture that moves toward the face may signal that the original body position sat outside the crop.
Review secondary motion last. Hair, earrings, clothing, tears, and breath can add physical continuity once the main gaze path, dialogue timing, and framing are working.
Where this method is useful
A filmmaker planning a confrontation can test the actor's gaze path before building the reverse shot. The visible character looks toward the unseen partner, loses contact for a moment, and returns with a reason to speak.
A creator developing a recurring character can hold the room and camera steady while testing several emotional arcs. This keeps identity, wardrobe, camera movement, and production design from competing with the acting question.
A dialogue-led brand character can prepare, deliver one sentence, and stay present afterward. The pause around the line gives the performance a more deliberate rhythm.
A storyboard artist can use the framing exercise before committing to a longer sequence. When the scene depends on a hand, shoulder, or weight shift, the test reveals how wide the camera needs to be.
Frequently asked questions
What should an AI video micro-expression prompt include?
Include a visible opening state, one turn, one peak action, and a held ending. Add gaze direction, breathing, mouth or jaw behavior, and body response when the selected shot can show them clearly.
How many facial actions fit in one short AI video?
Choose one main change and one supporting response for each beat. A short shot can carry several actions in sequence. Keeping each moment focused makes the performance easier to generate and review.
Should dialogue begin as soon as the video starts?
Give an emotional line a brief physical preparation. A breath, swallow, or deliberate look can establish the reason for speaking. Leave a silent reaction after the final word so the shot has a clear landing point.
Which shot size works best for emotional acting?
Use a face close-up for eyes, lips, jaw, tears, and tiny gaze changes. Move wider when hands, shoulders, torso, or weight shifts carry the scene. The best shot size is the one that keeps the key action visible.
继续探索
更多 AI Video Techniques 内容
Motivated Cut AI Video Continuity: Change the Shot for a Reason
Learn how a visible action trigger, clear shot-size change, and locked screen direction create more intentional same-scene AI video edits.
Deep Depth of Field AI Video: Keep Every Story Layer Readable
Learn how deep depth of field AI video prompts keep foreground tools, central action, and distant location cues readable in one layered shot.

Medium Depth of Field AI Video: Balance Subject and Setting
Learn how medium depth of field AI video prompts keep hands and active objects readable while preserving recognizable environmental context.
AI Video Character Reference Framing: Match Portraits to Landscape Shots
Prepare vertical character portraits for landscape AI video by matching aspect ratio, body scale, headroom, floor space, and movement room before generation.