

ArtArch Newsroom
AI Video TechniquesSeedance Camera Movement Prompts: 6 Patterns Tested
Learn how to write Seedance camera movement prompts with six tested patterns for tracking, orbiting, push-ins, pullbacks, scale reveals, and handheld motion.
Good Seedance camera movement prompts do more than name a move. They define where the camera begins, how it relates to the subject, what changes over time, and where the shot settles. AVT-012 tested that approach across six separate eight-second A/B pairs: a low-angle rise, an orbiting push-in, eye-level tracking, a pullback from a mountain platform to Earth, a side orbit around a cello, and restrained handheld motion inside a moving bus.
Open all six AVT-012 camera movement tests on ArtArch.
Each control prompt described the action and requested a broadly cinematic camera. Each technique prompt divided the shot into timed phases, limited the allowed movement, and named the final composition. All 12 videos used Seedance 2.0 Fast at 1280 × 720 in 16:9, ran for about 8.08 seconds, and included stereo audio.
The results were useful because they were not uniformly perfect. Three compound moves followed the intended visual path clearly. One tracking prompt produced a cleaner, more stable relationship to the subject. The low-angle test achieved the height change but reversed the planned subject relationship. The handheld test produced a visible change in camera behavior, although that difference is easier to judge in motion than in still frames.
The practical lesson is to write camera movement as a controlled path with ordered spatial decisions. The current white-character files provide reliable visual evidence through about 4.8 seconds in every group, so the media review below limits result claims to the motion visible within that shared interval.
What the six A/B tests showed
| Pattern | Control result | Technique result | Practical reading |
|---|---|---|---|
| Low-angle follow and rise | Began close to the wet ground, then found the traveler | Began on the feet and rose to the torso and face | Height progression worked, but the camera faced the traveler instead of following from behind |
| Orbit, push, and detail | Advanced from the courier toward the open box | Moved from behind to the side, approached the box, and finished on its contents | The staged path created a much clearer reveal |
| Eye-level tracking | Followed the skater in a broad, changing view | Held a closer chest-height relationship as the skater moved and stopped | Camera-to-subject distance and horizon felt more deliberate |
| Orbit to Earth-scale reveal | Orbited the explorer while keeping the mountain platform dominant | Orbited, pulled back, rose through cloud, and finished on Earth | The largest compound move was visibly completed as one escalating scale change |
| Side orbit and push-in | Approached the musician and cello from a general side view | Traveled beside the musician, curved around the cello, and ended on her hand at the neck | Foreground geometry gave the orbit a clear center and endpoint |
| Restrained handheld | Used a mostly composed observation of the passenger | Added small framing drift while moving closer for eye contact | The handheld character was present but deliberately subtle |
These are six single-sample comparisons, not repeated trials of one universal formula. They show what happened in this workflow and provide patterns worth retesting with other subjects, spaces, durations, and generations.
The anatomy of a controllable camera prompt
A useful movement prompt contains five connected decisions.
1. Establish the starting camera relationship
Name the camera height, side, distance, and orientation before describing motion. “Tracking shot” can begin almost anywhere. “Chest-height medium shot, parallel to the skater on the outside of the curve” gives the model a spatial relationship it can preserve.
Use concrete anchors:
Start near the wet pavement behind the traveler.
Begin in a right-rear medium shot of the courier.
Hold a chest-height side view parallel to the skater.
The AVT-012 low-angle result also shows the limit of this instruction. The prompt requested a position behind the traveler, but the output approached her from the front. The height instruction survived while the front-versus-back relationship drifted. When screen direction is essential, make it a separate test variable and support it with a compatible reference composition.
2. Give the camera one path at a time
Compound movement becomes more legible when each phase has one dominant job. Instead of asking for an orbit, push-in, foreground pass, and close-up simultaneously, arrange them as a sequence:
orbit to the side → continue forward → pass the foreground edge → settle on the detail
The courier test followed this logic well. The technique version began behind the subject, curved to her side, advanced toward the open package, and finished with the contents filling the frame. The control also moved closer, but its path felt like a generic push because it had no designed relationship between the person, the box, and the endpoint.
3. Attach movement to visible anchors
Camera terms become easier to interpret when the environment provides geometry. A wall can show parallax. A cello can become the center of an arc. A railing can mark the end of a tracking move. A cloud layer can bridge a pullback from a platform to a planetary view.
In the side-orbit test, the musician, cello, platform boards, reeds, and lake created several depth layers. As the camera moved, those layers shifted against one another. The final hand-on-cello view also gave the move a specific destination. “Orbit around the subject” would have left both the center and ending open.
4. Use time ranges as beats, not frame-accurate commands
Short ranges help organize intention:
0–3 seconds: establish and begin the move
3–6 seconds: develop the spatial change
6–8 seconds: decelerate and settle
Generated motion may compress, stretch, or blend those beats. Treat timing as a directing structure, then inspect the actual clip. The important question is whether the sequence of visual events remains readable.
5. Define the landing frame
Every move needs a visual destination. State the subject scale, viewing angle, important detail, and motion behavior at the end:
End on the contents inside the box.
Settle in a side close-up of her fingers touching the cello neck.
Finish on a complete Earth view after passing through the cloud layer.
Without an endpoint, the model can keep drifting or stop on an arbitrary composition. In this experiment, the strongest technique outputs were also the ones with the clearest landing frames.
Pattern 1: low-angle follow, rise, and settle
Use this pattern when footsteps, terrain, scale, or arrival should lead the shot. It works for entrances, searches, walks through architecture, and approach scenes.
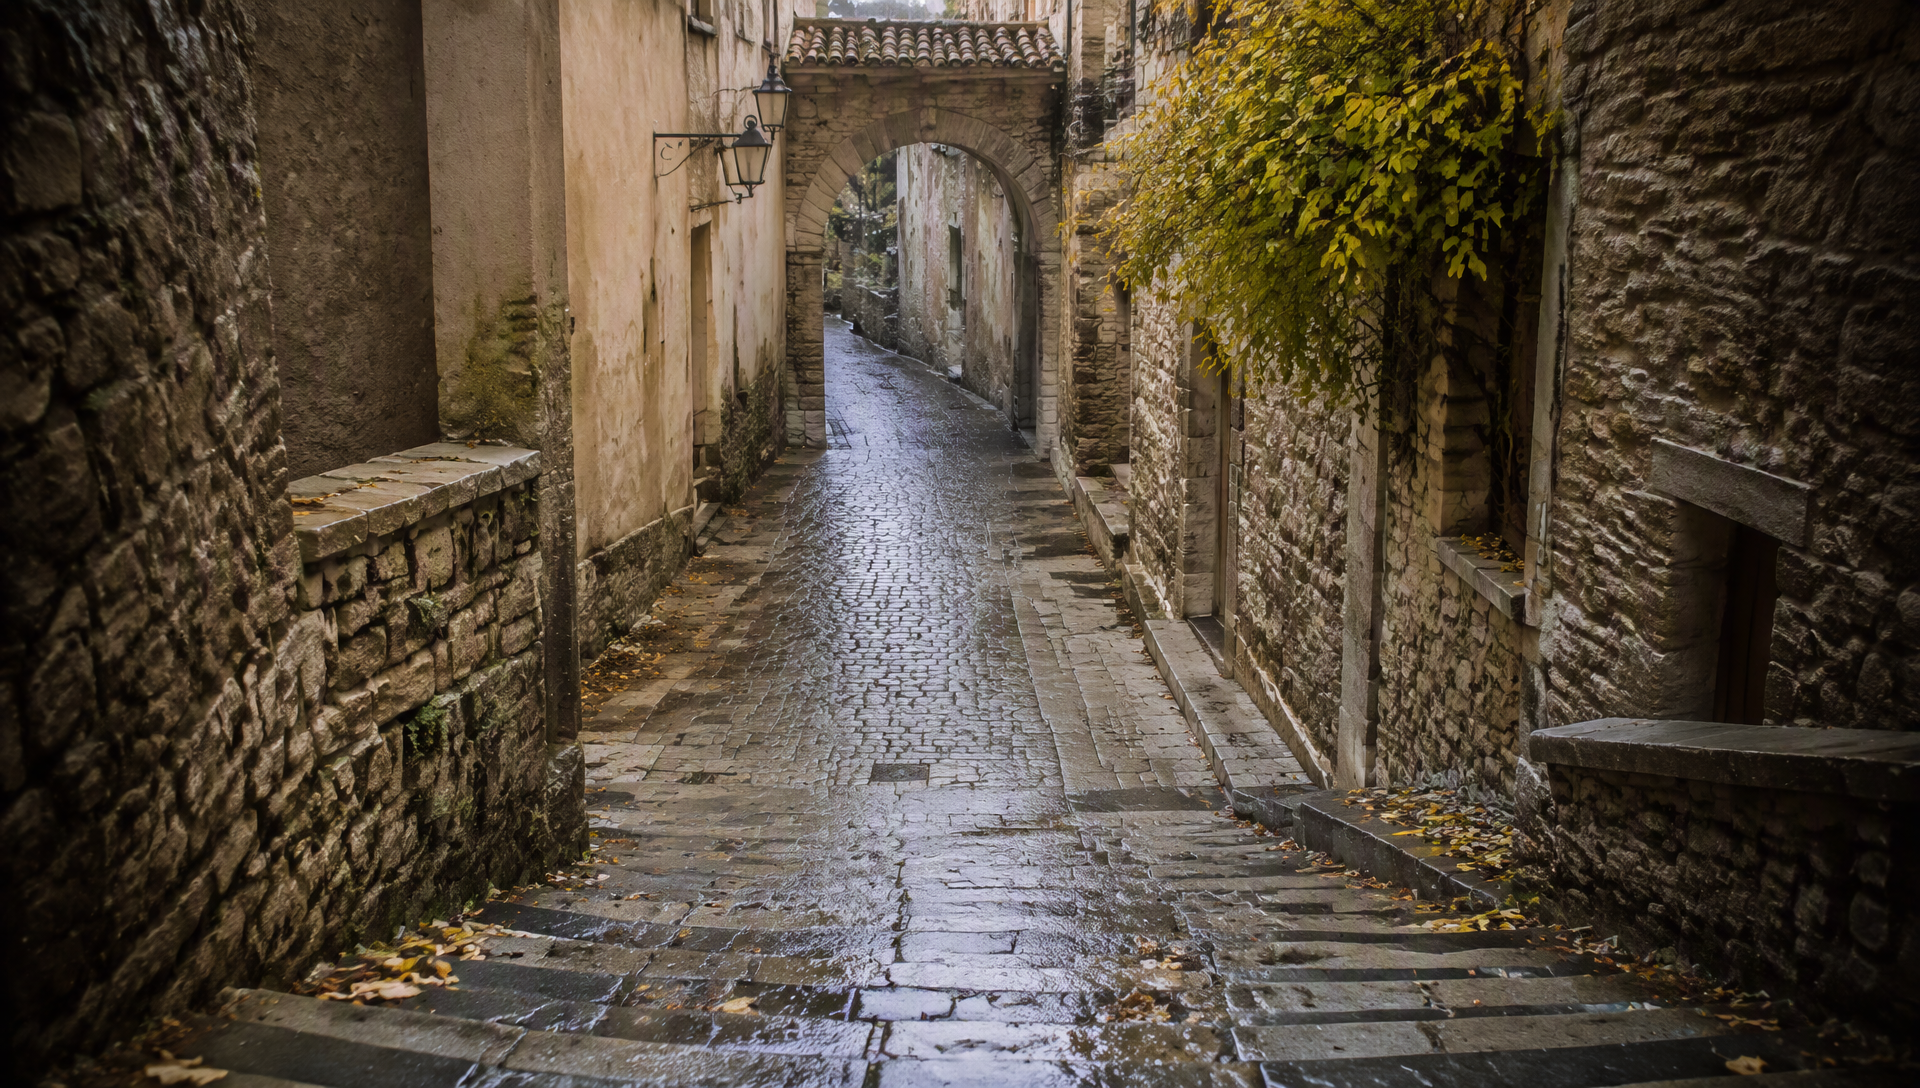
Group 1 location reference: the wet paving and alley walls provide height and parallax anchors.
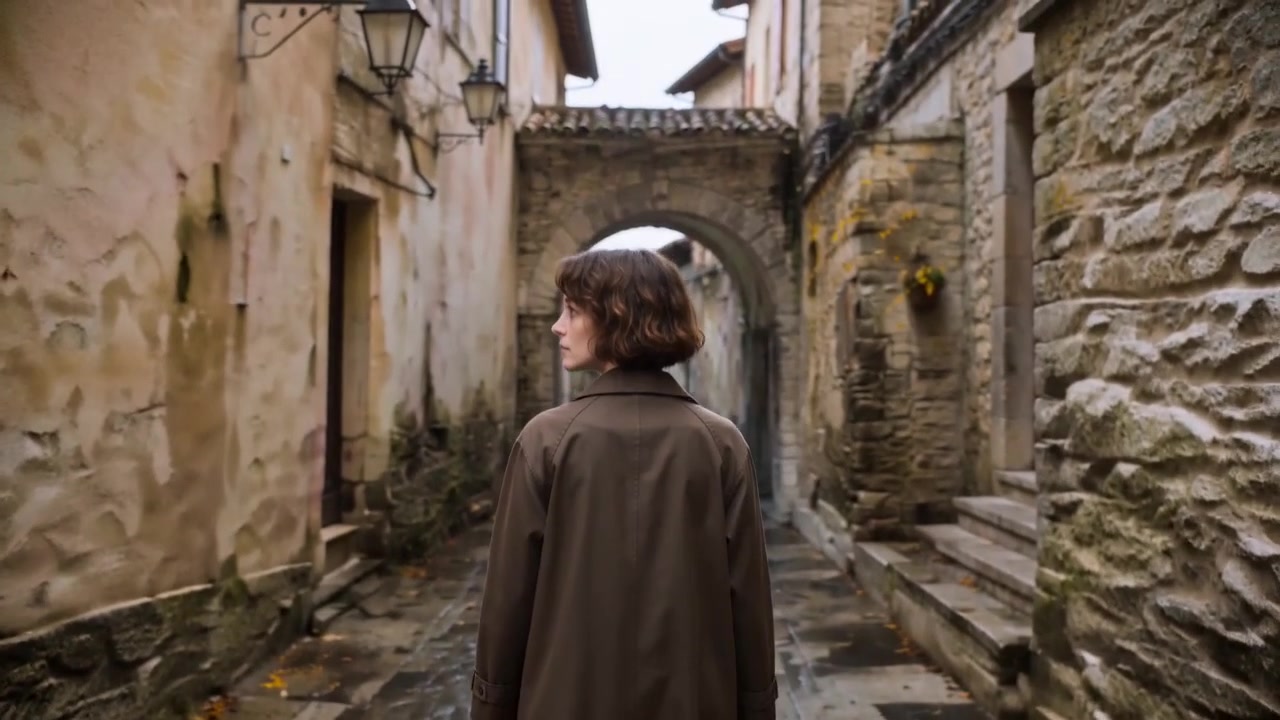
Group 1 technique frame: use it to judge the achieved camera height and subject relationship independently.
<video controls playsinline preload="metadata" src="https://d3ohi5svx56rr5.cloudfront.net/artarchtask/1bc5633e-1957-40d9-a9cb-63c98d886ab1/url_5a2e9a49951b4041056fe62bd016ef11.mp4"></video>
Group 1 A: broadly cinematic low-angle control.
<video controls playsinline preload="metadata" src="https://d3ohi5svx56rr5.cloudfront.net/artarchtask/1bc5633e-1957-40d9-a9cb-63c98d886ab1/url_a48be474f2748f0a1ff520f1d9968a4a.mp4"></video>
Group 1 B: staged low-angle tracking and rise.
0–3 seconds: place the camera close to the ground near the subject's feet and track in the same direction.
3–6 seconds: keep the travel direction continuous while raising the camera smoothly to waist or chest height. Use nearby walls or objects to show parallax.
6–8 seconds: decelerate with the subject and settle on the discovery or destination.
Do not reverse direction, jump in scale, cross the subject, or use a sudden zoom.
AVT-012 confirmed the low-to-high progression but not the requested rear-follow orientation. That makes this pattern a good example of partial compliance: one camera variable succeeded while another drifted. Review height and screen relationship separately.
Pattern 2: orbit, push through foreground, reveal a detail
Use this move when the viewer should discover an object through the character's action. The orbit provides changing spatial information, the push increases attention, and the foreground pass creates a transition into detail.
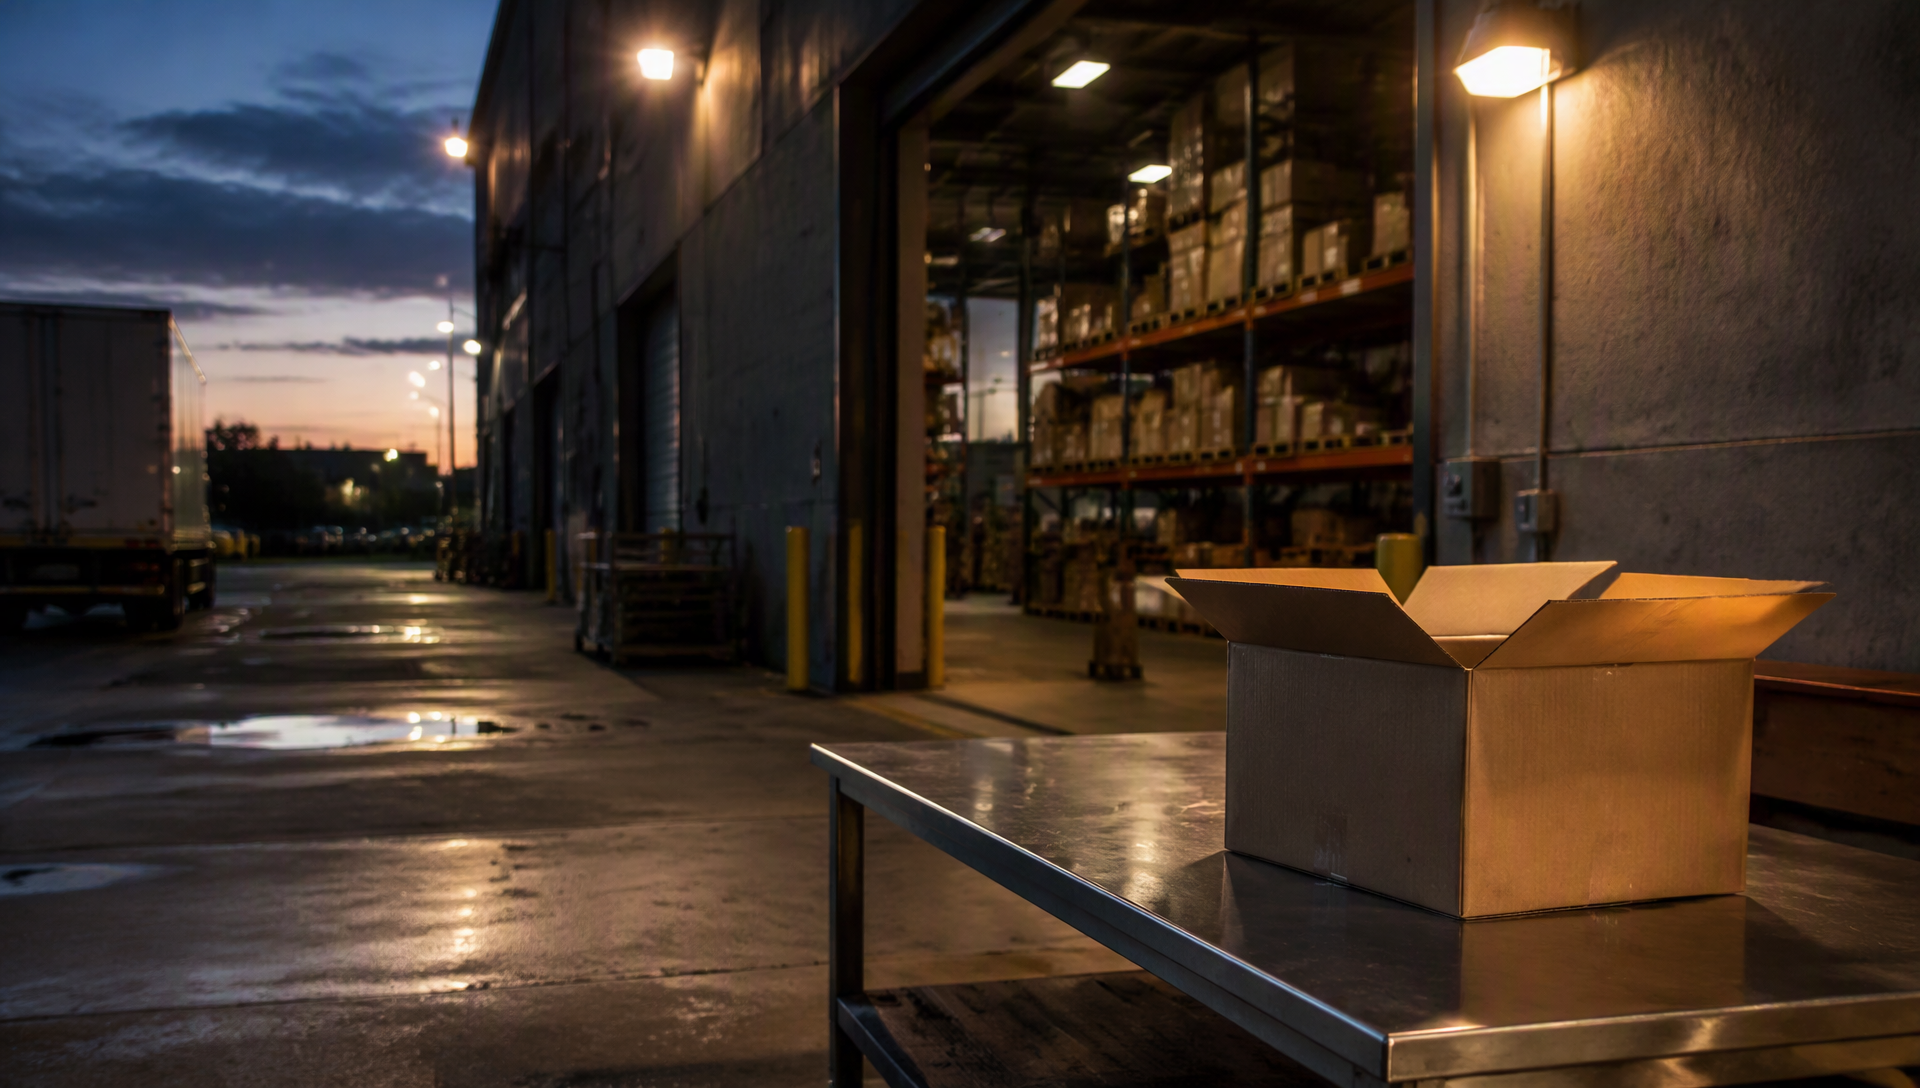
Group 2 location reference: the work area and open package create a path and a visual destination.
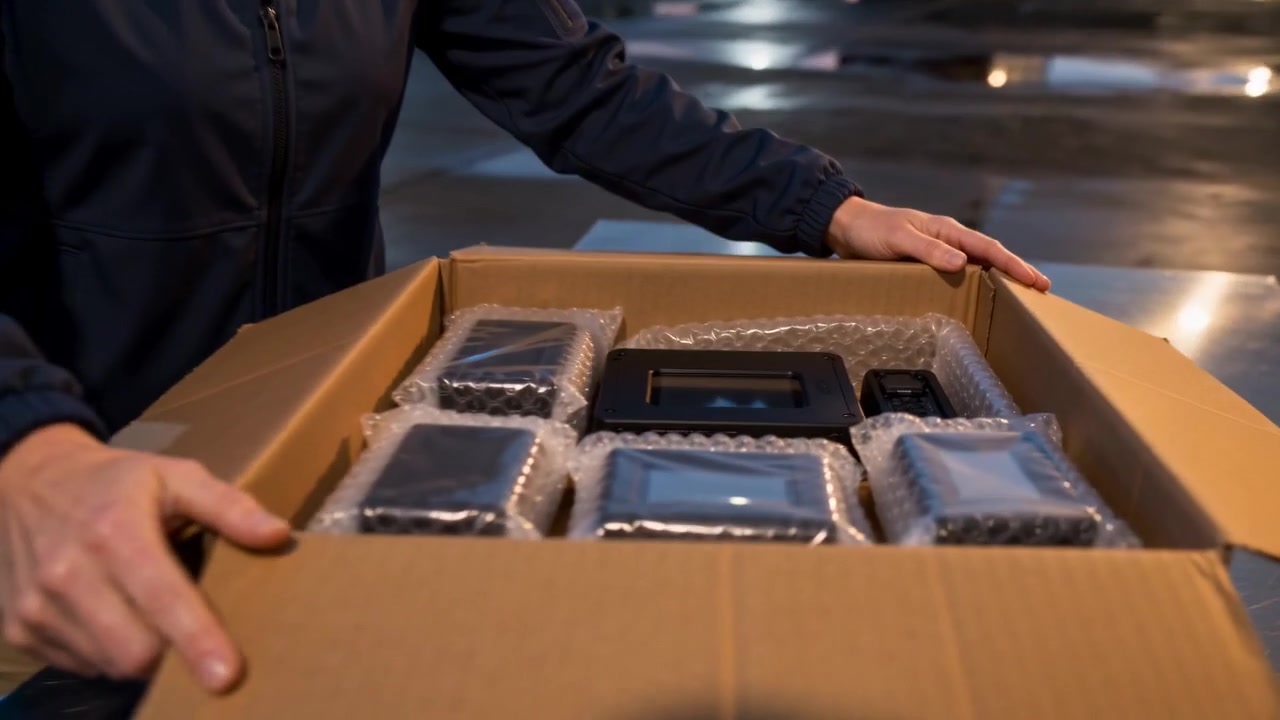
Group 2 technique frame: the package becomes the landing point for the compound move.
<video controls playsinline preload="metadata" src="https://d3ohi5svx56rr5.cloudfront.net/artarchtask/1bc5633e-1957-40d9-a9cb-63c98d886ab1/url_cc4c1304fd1eee84881c46431bacc697.mp4"></video>
Group 2 A: general approach toward the package.
<video controls playsinline preload="metadata" src="https://d3ohi5svx56rr5.cloudfront.net/artarchtask/1bc5633e-1957-40d9-a9cb-63c98d886ab1/url_f02fcd41fc97a2adcb1d18b035ef88b8.mp4"></video>
Group 2 B: ordered orbit, push, and detail reveal.
Start in a three-quarter rear medium shot.
Orbit along the subject's outer side until the action reads in profile.
Continue the same motion while pushing toward the object.
Pass through a natural foreground gap formed by the hands, container, doorway, or prop.
Settle on one interior or surface detail.
Prevent axis jumps, interpenetration, teleporting, and sudden changes in subject scale.
The courier output executed this pattern more clearly than its control. The box served as both an action target and a spatial funnel, so the final detail felt connected to the preceding movement.
Pattern 3: stable eye-level tracking
Use eye-level tracking when the subject's movement should carry the scene without camera spectacle. This is useful for running, skating, walking conversations, process footage, and grounded action.
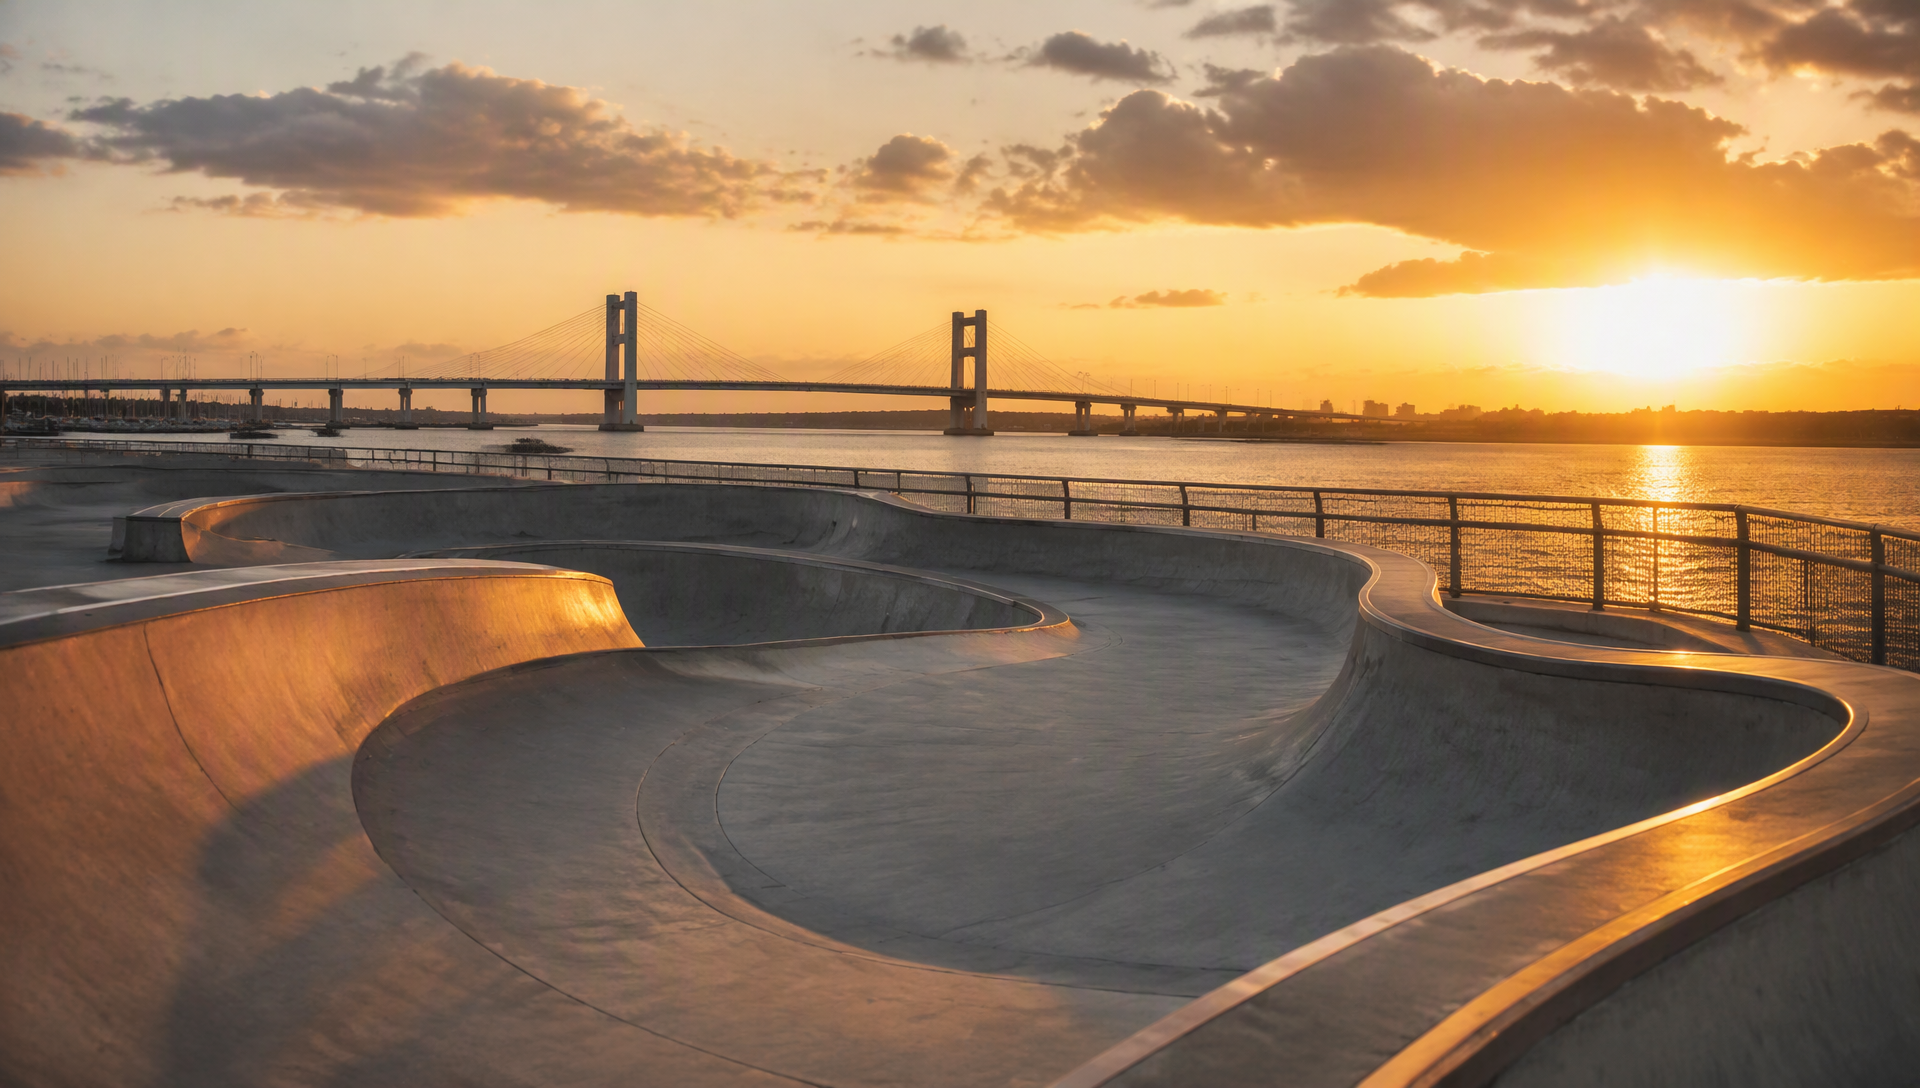
Group 3 location reference: the route and horizon make tracking stability easier to judge.
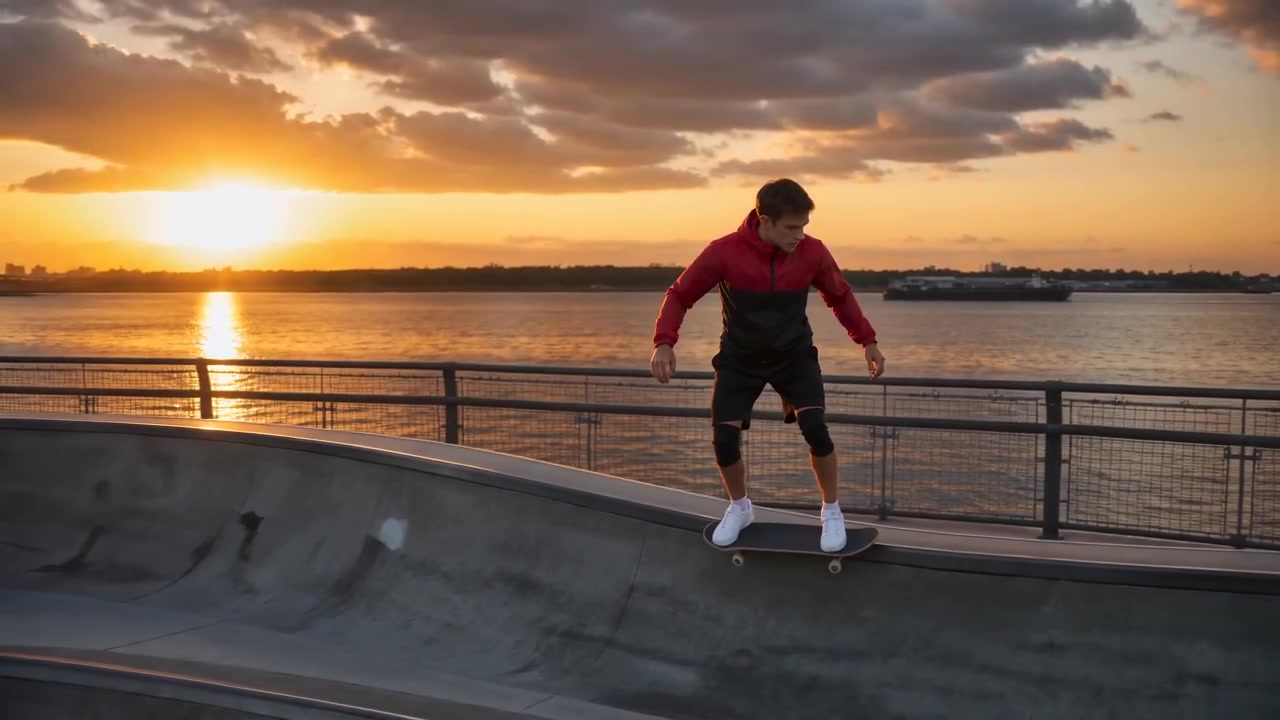
Group 3 technique frame: subject scale and horizon are the key review variables.
<video controls playsinline preload="metadata" src="https://d3ohi5svx56rr5.cloudfront.net/artarchtask/1bc5633e-1957-40d9-a9cb-63c98d886ab1/url_673b5529fc5d60ba5d377708a0f0e36d.mp4"></video>
Group 3 A: broad tracking control.
<video controls playsinline preload="metadata" src="https://d3ohi5svx56rr5.cloudfront.net/artarchtask/1bc5633e-1957-40d9-a9cb-63c98d886ab1/url_e98360be73620ba4328a56a55b541508.mp4"></video>
Group 3 B: constrained eye-level parallel tracking.
Keep the camera near the subject's chest or eye height.
Track parallel to the subject from the outside of the path.
Match acceleration and deceleration.
Maintain a stable horizon and similar subject size through the turn.
Allow only small framing corrections.
Do not orbit, rise, dive, pull far away, or fall behind.
The technique output kept the skater larger and more consistently related to the frame than the control. Its restrained rule set mattered: the prompt specified what the camera should refuse to do as well as what it should do.
Pattern 4: orbit, pull back, rise, and reveal scale
This pattern converts a human-scale scene into a location or world-scale reveal. It suits science fiction, travel, fantasy, geography, and transitions that change the viewer's sense of magnitude.
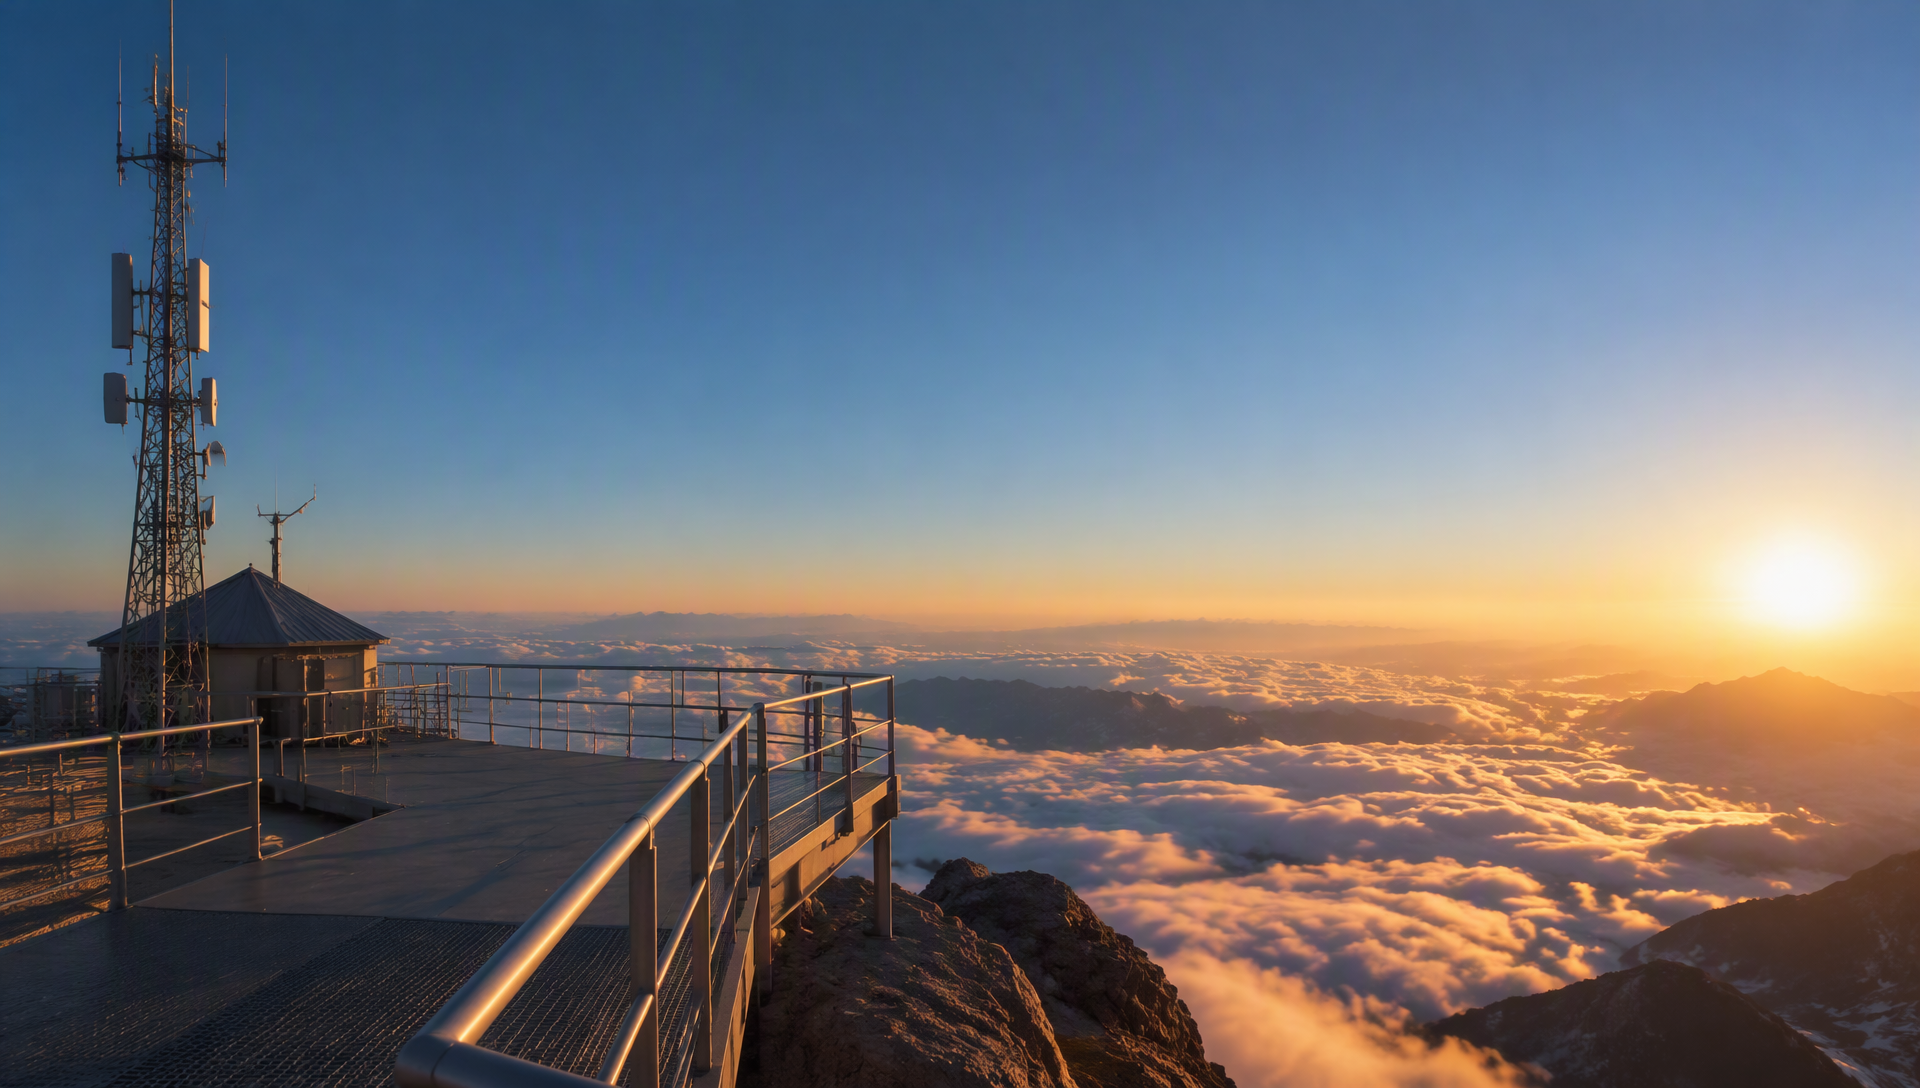
Group 4 location reference: the platform, mountains, sky, and cloud layers define successive scale anchors.
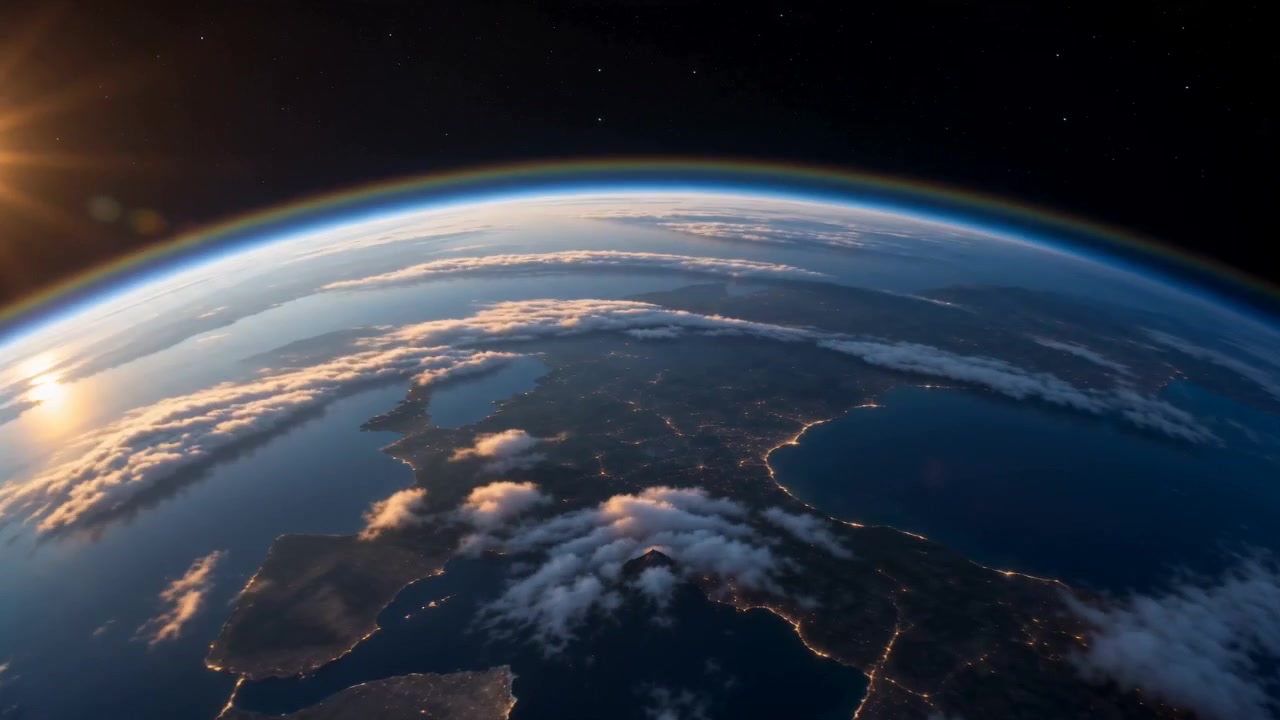
Group 4 technique frame: the changing relationship between person, platform, and landscape carries the scale transition.
<video controls playsinline preload="metadata" src="https://d3ohi5svx56rr5.cloudfront.net/artarchtask/1bc5633e-1957-40d9-a9cb-63c98d886ab1/url_249e0dbf4ffdd61b25b81fd87b981f29.mp4"></video>
Group 4 A: orbiting mountain-platform control.
<video controls playsinline preload="metadata" src="https://d3ohi5svx56rr5.cloudfront.net/artarchtask/1bc5633e-1957-40d9-a9cb-63c98d886ab1/url_1867d63070f77bdd2b4d519d5b3e9371.mp4"></video>
Group 4 B: orbit, pullback, rise, and world-scale progression.
0–3 seconds: orbit around the person while keeping them as the visual anchor.
3–5 seconds: preserve the orbit's momentum while pulling back and rising; let the platform shrink naturally.
5–7 seconds: continue through the cloud layer as the surface curvature becomes visible.
7–8 seconds: settle on a complete planetary view with continuous travel direction.
Keep the sequence continuous; avoid a hard cut, teleport, or sudden landscape replacement.
The technique output moved from a medium view of the explorer to a wide platform view, then through cloud to a curved Earth and finally a complete planetary composition. The transition was visually clear even though an eight-second clip leaves little time for the middle scales. For a slower emotional reveal, extend the duration or reduce the number of phases.
Pattern 5: side orbit with a gradual push-in
Use this move when a person and an important prop must remain connected. The camera begins beside the action, curves around a physical anchor, and ends on a performance or object detail.
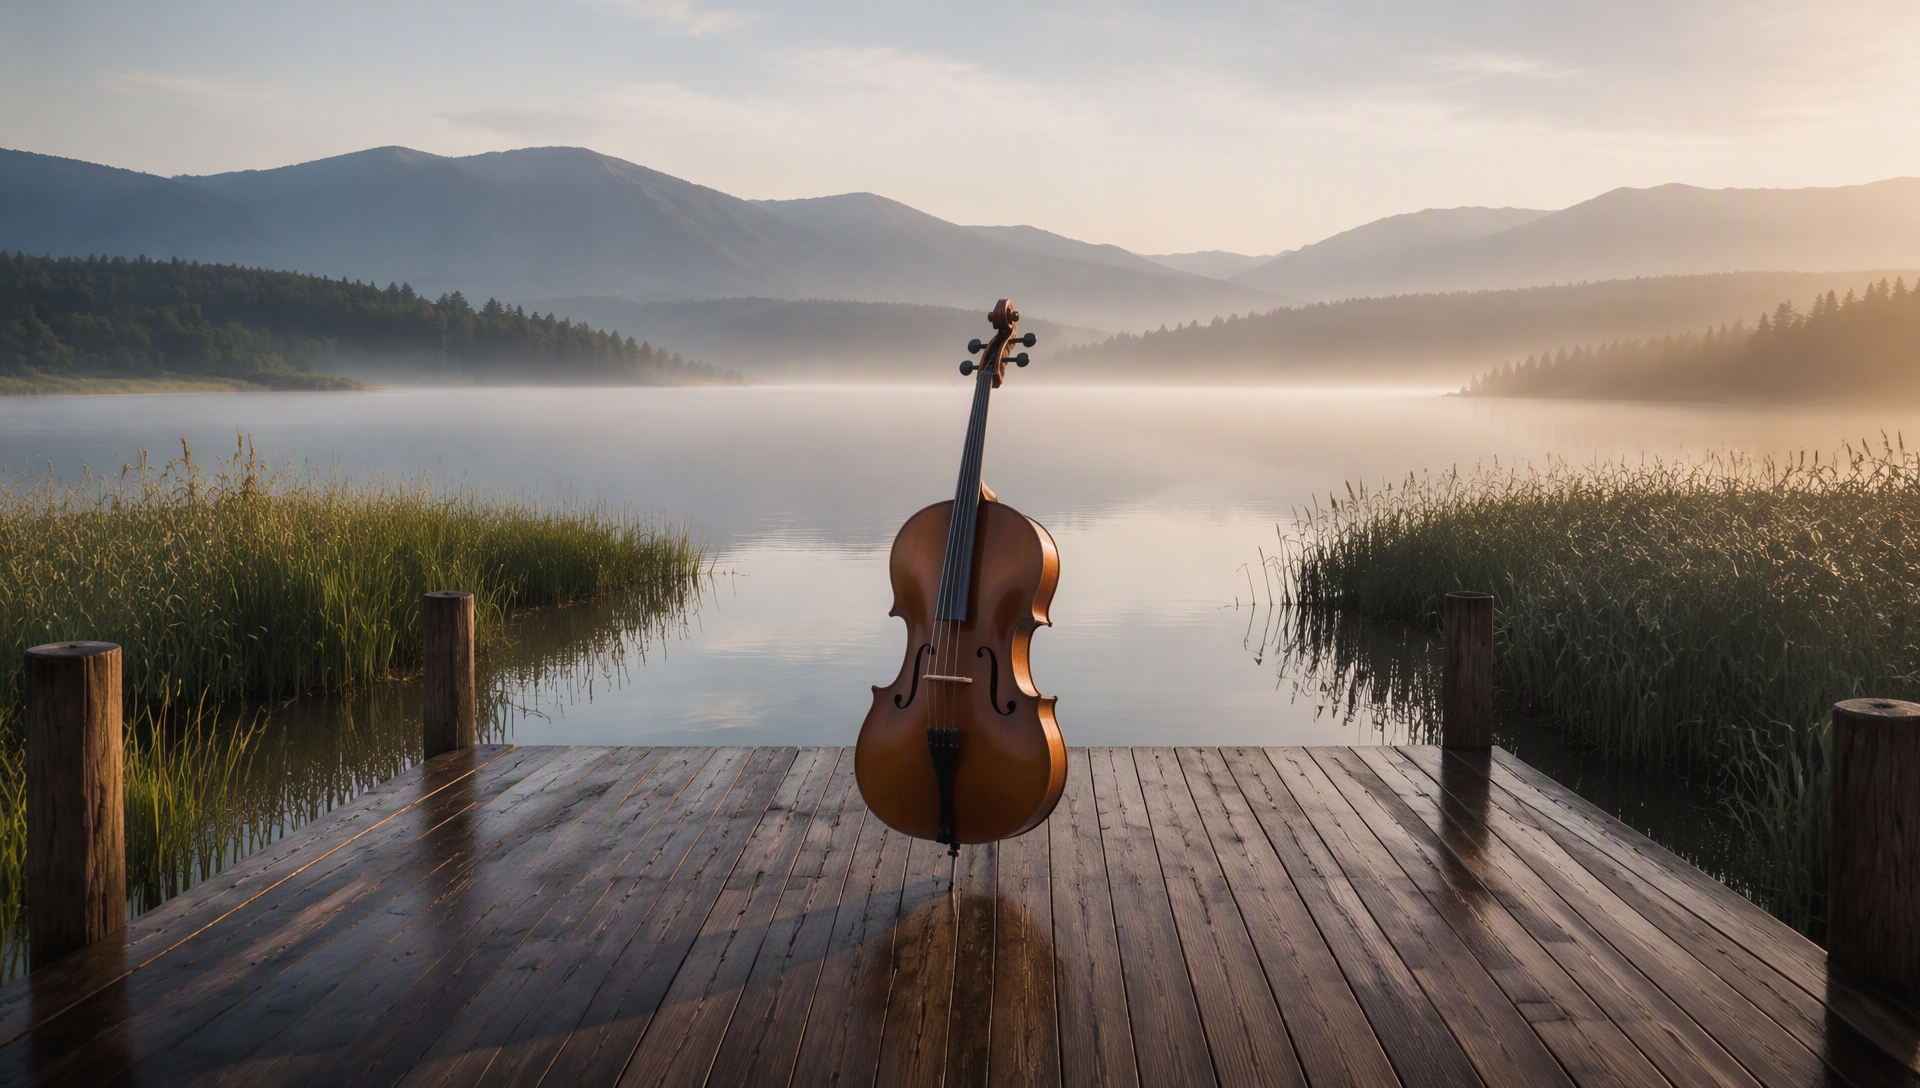
Group 5 location reference: the cello, platform, reeds, and lake form readable parallax layers.
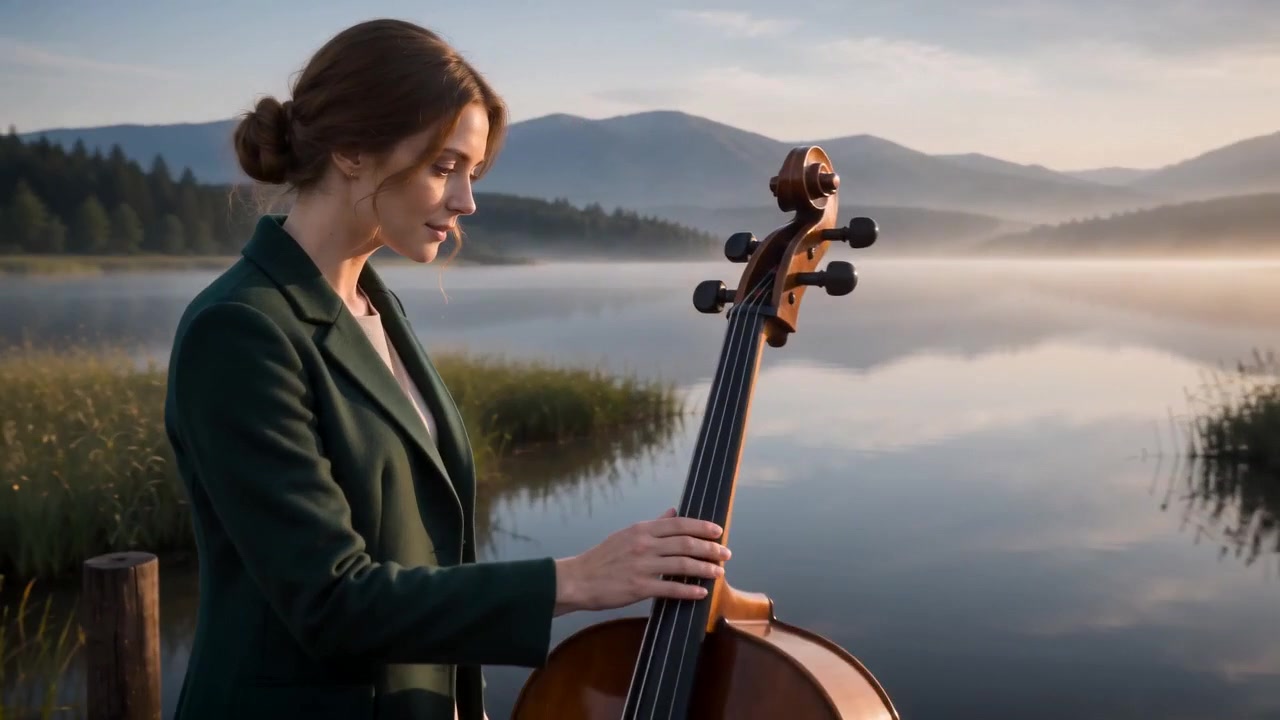
Group 5 technique frame: the instrument remains the geometric center and leads the camera toward a performance detail.
<video controls playsinline preload="metadata" src="https://d3ohi5svx56rr5.cloudfront.net/artarchtask/1bc5633e-1957-40d9-a9cb-63c98d886ab1/url_02862edd22a1f8179d954aa35c79e208.mp4"></video>
Group 5 A: general side approach to the musician.
<video controls playsinline preload="metadata" src="https://d3ohi5svx56rr5.cloudfront.net/artarchtask/1bc5633e-1957-40d9-a9cb-63c98d886ab1/url_9562a5b4f21cc9f331ddfc4bc1c03e65.mp4"></video>
Group 5 B: side orbit combined with a gradual push-in.
Track beside the subject in a medium profile view.
As the subject reaches the prop, arc about 90 degrees around its outer edge.
Add a slow push-in without crossing behind the subject.
Use subject, prop, and background to create layered parallax.
End on the hand, face, mechanism, texture, or other story detail.
Avoid crossing the axis, shifting the prop, or replacing the push with a sudden zoom.
The musician test gave the cello a stable position throughout the move and finished on the hand touching its neck. Compared with the general side approach in the control, the technique version had a clearer spatial argument: approach, curve, connect, reveal.
Pattern 6: restrained handheld observation
Handheld prompting works best when it describes frequency, amplitude, and limits. “Shaky camera” often implies violent, mechanical motion. For intimate realism, request low-frequency body sway and small irregular drift while protecting the face.
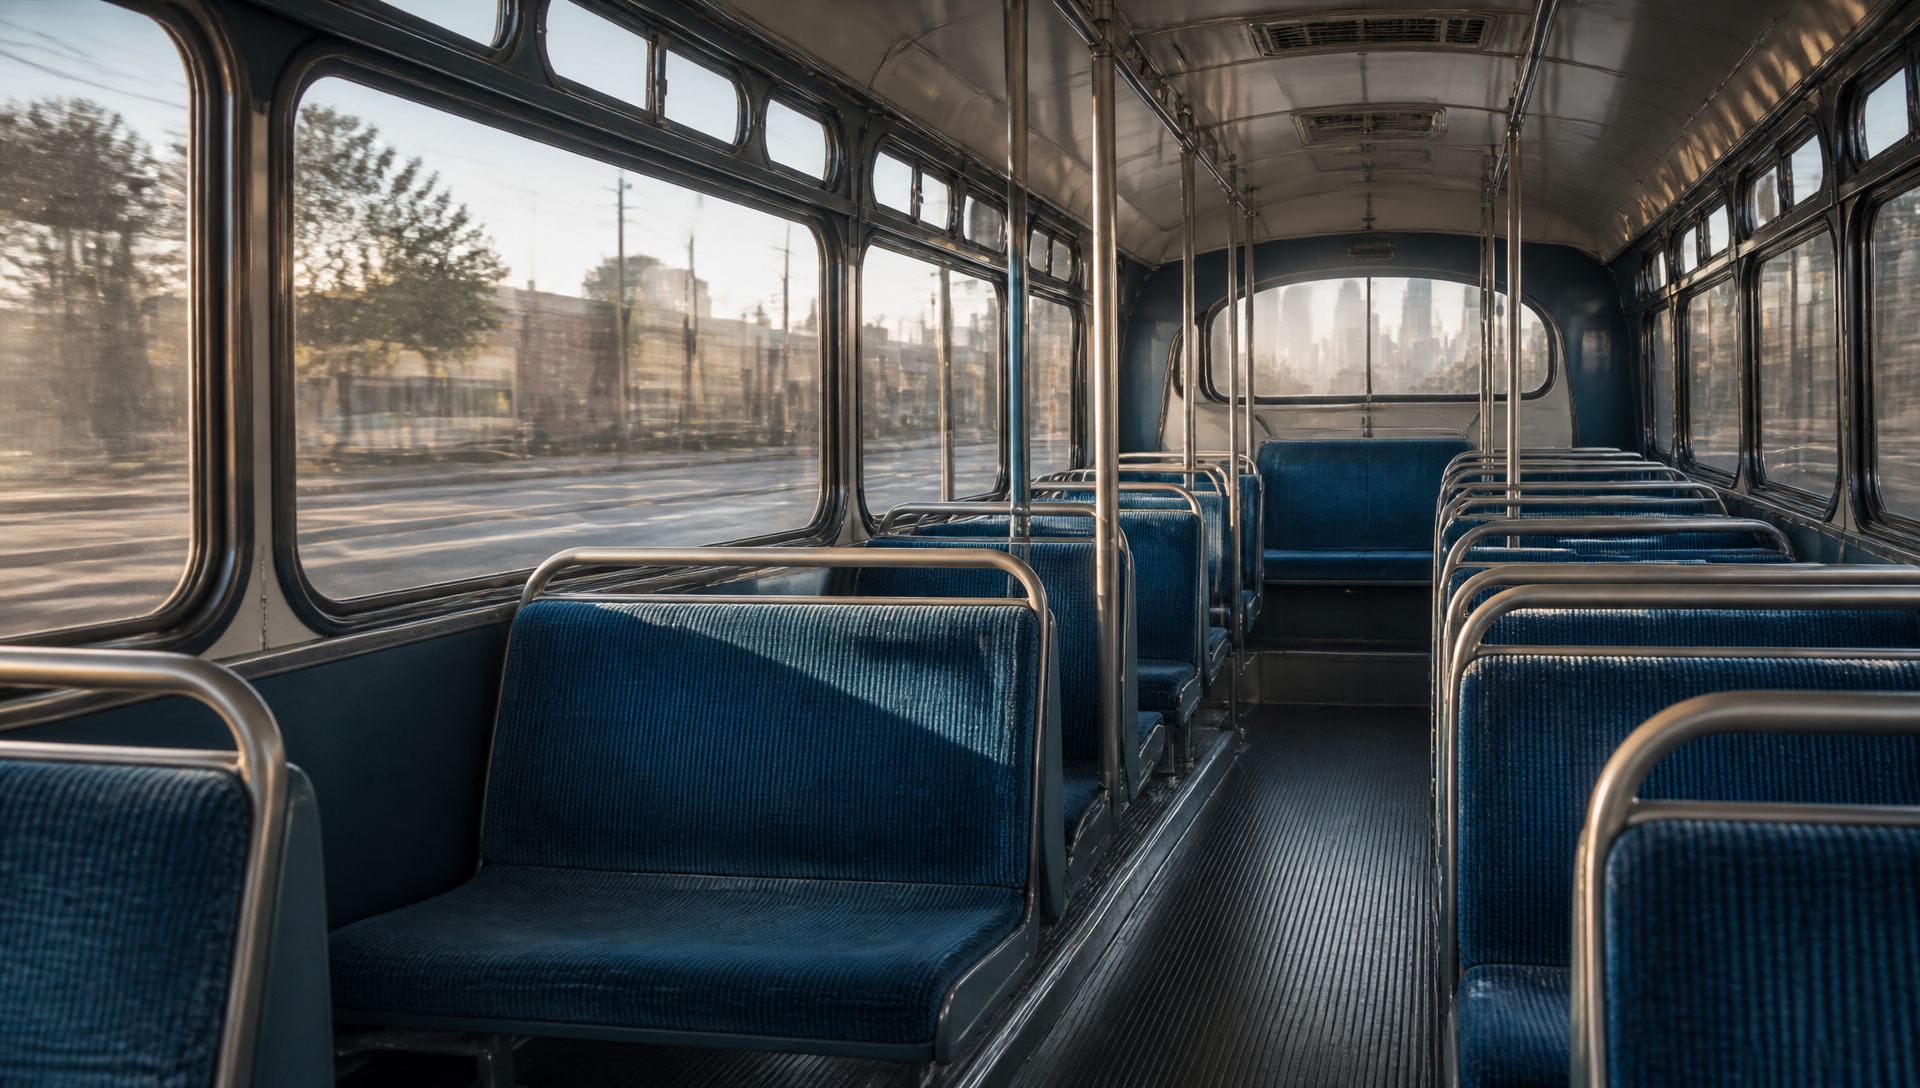
Group 6 location reference: windows, seats, and vehicle movement provide a natural basis for subtle camera drift.
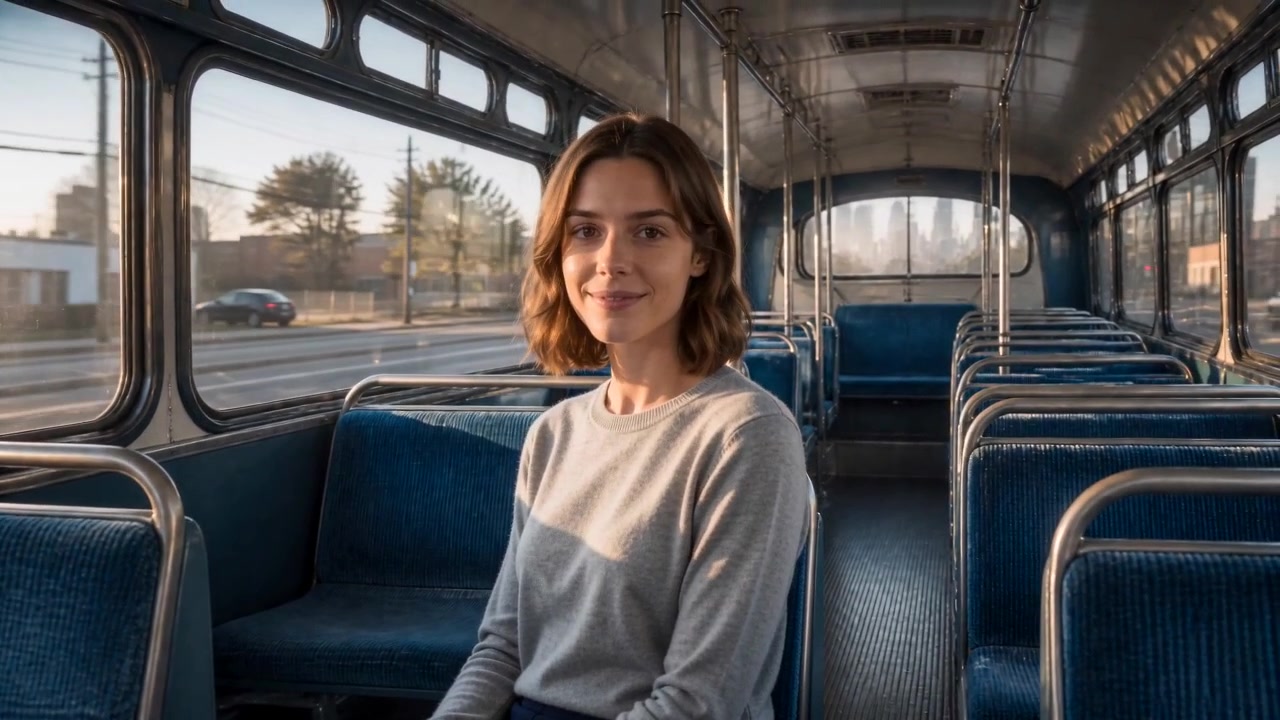
Group 6 technique frame: face readability remains the invariant while the composition drifts gently.
<video controls playsinline preload="metadata" src="https://d3ohi5svx56rr5.cloudfront.net/artarchtask/1bc5633e-1957-40d9-a9cb-63c98d886ab1/url_1887bc910815ec6be85c0b93ae587b1c.mp4"></video>
Group 6 A: stable observational control.
<video controls playsinline preload="metadata" src="https://d3ohi5svx56rr5.cloudfront.net/artarchtask/1bc5633e-1957-40d9-a9cb-63c98d886ab1/url_5151d8614944929efff1dff307d5047d.mp4"></video>
Group 6 B: restrained handheld observation.
Use restrained handheld photography throughout.
Add gentle low-frequency vertical movement and small irregular lateral drift caused by the moving vehicle.
Keep the face readable and the composition recoverable.
Observe the subject first, then move slightly closer as eye contact begins.
End on a natural breath with a gently drifting frame.
No violent shake, rapid vibration, roll, or sudden zoom.
The bus technique result changed its framing more than the control and maintained a close observational relationship as the passenger turned toward camera. The intended handheld quality remained subtle, which is appropriate for a calm commute. Judge this move in playback; a contact sheet captures composition while playback reveals the rhythm of small frame-to-frame drift.
A reusable Seedance camera movement prompt structure
Create an eight-second cinematic shot using the supplied character and environment references.
Preserve the character's identity and wardrobe, and preserve the location's layout, materials, and lighting.

Subject action:
[Describe one continuous action with a clear destination.]

0–[time] — establish:
Start at [height], [distance], and [side/orientation] relative to the subject.
Frame [subject scale] and keep [environment anchor] visible.

[time]–[time] — develop:
Move by [track/orbit/push/rise/pullback] in [direction].
Maintain [subject size, horizon, screen direction, or visual anchor].
Use [wall, prop, railing, foreground edge, or cloud layer] to make the spatial change visible.

[time]–8 seconds — land:
Decelerate and settle on [specific composition or detail].

Allowed movement:
[Name the one or two compatible moves.]

Prevent:
[List the few failures that would break this shot: axis crossing, direction reversal, teleporting, sudden zoom, scale jump, prop drift, violent shake.]
Fill the structure with observable directions. “Cinematic,” “dynamic,” and “immersive” can describe a goal, but they do not specify a camera path.
How to review a generated camera move
Inspect the start, transition, and endpoint
Pull frames from the opening, each planned transition, and the final half-second. Ask whether the camera begins in the requested relationship, changes in the correct order, and reaches the named landing frame.
Track one spatial invariant
Choose what should stay stable: the horizon, subject size, direction of travel, side of the action, or prop location. A complex move becomes easier to diagnose when you know which relationship must not drift.
Separate partial success from full success
A shot can achieve the height change but miss the rear follow, or reach the detail but distort the prop. Record each variable independently. This produces better revisions than labeling the entire generation simply good or bad.
Review motion in playback
Contact sheets reveal framing and scale progression. Playback reveals acceleration, deceleration, shake rhythm, camera reversals, and whether the move feels continuous. Use both.
Retest the same pattern
One output shows feasibility, not reliability. Keep the action, references, duration, and resolution fixed, then repeat across multiple generations. Change only one camera variable at a time when diagnosing failures.
Frequently asked questions
How detailed should a Seedance camera movement prompt be?
Describe the starting relationship, two or three timed phases, visible spatial anchors, one landing frame, and the few failures that would ruin the move. Add detail only when it controls something observable.
Can I combine an orbit, push-in, rise, and pullback in one shot?
Yes, when the moves form a readable sequence and share a continuous direction. Assign each phase one job and give the camera a visual anchor. If the intermediate scales feel rushed, lengthen the clip or remove a phase.
Why did the camera obey the height change but move on the wrong side of the subject?
Camera height and subject relationship are separate variables. State both explicitly, preserve screen direction, and use a reference composition that supports the intended side. Retest orientation independently if it is essential.
Should I include negative camera instructions?
Use a short list tied to likely failures, such as no axis crossing, no direction reversal, no sudden zoom, and no prop drift. Too many unrelated restrictions can dilute the main path.
Open AVT-012 in ArtArch and adapt the six camera movement patterns to your own subject and location.
Keep exploring
More in AI Video Techniques
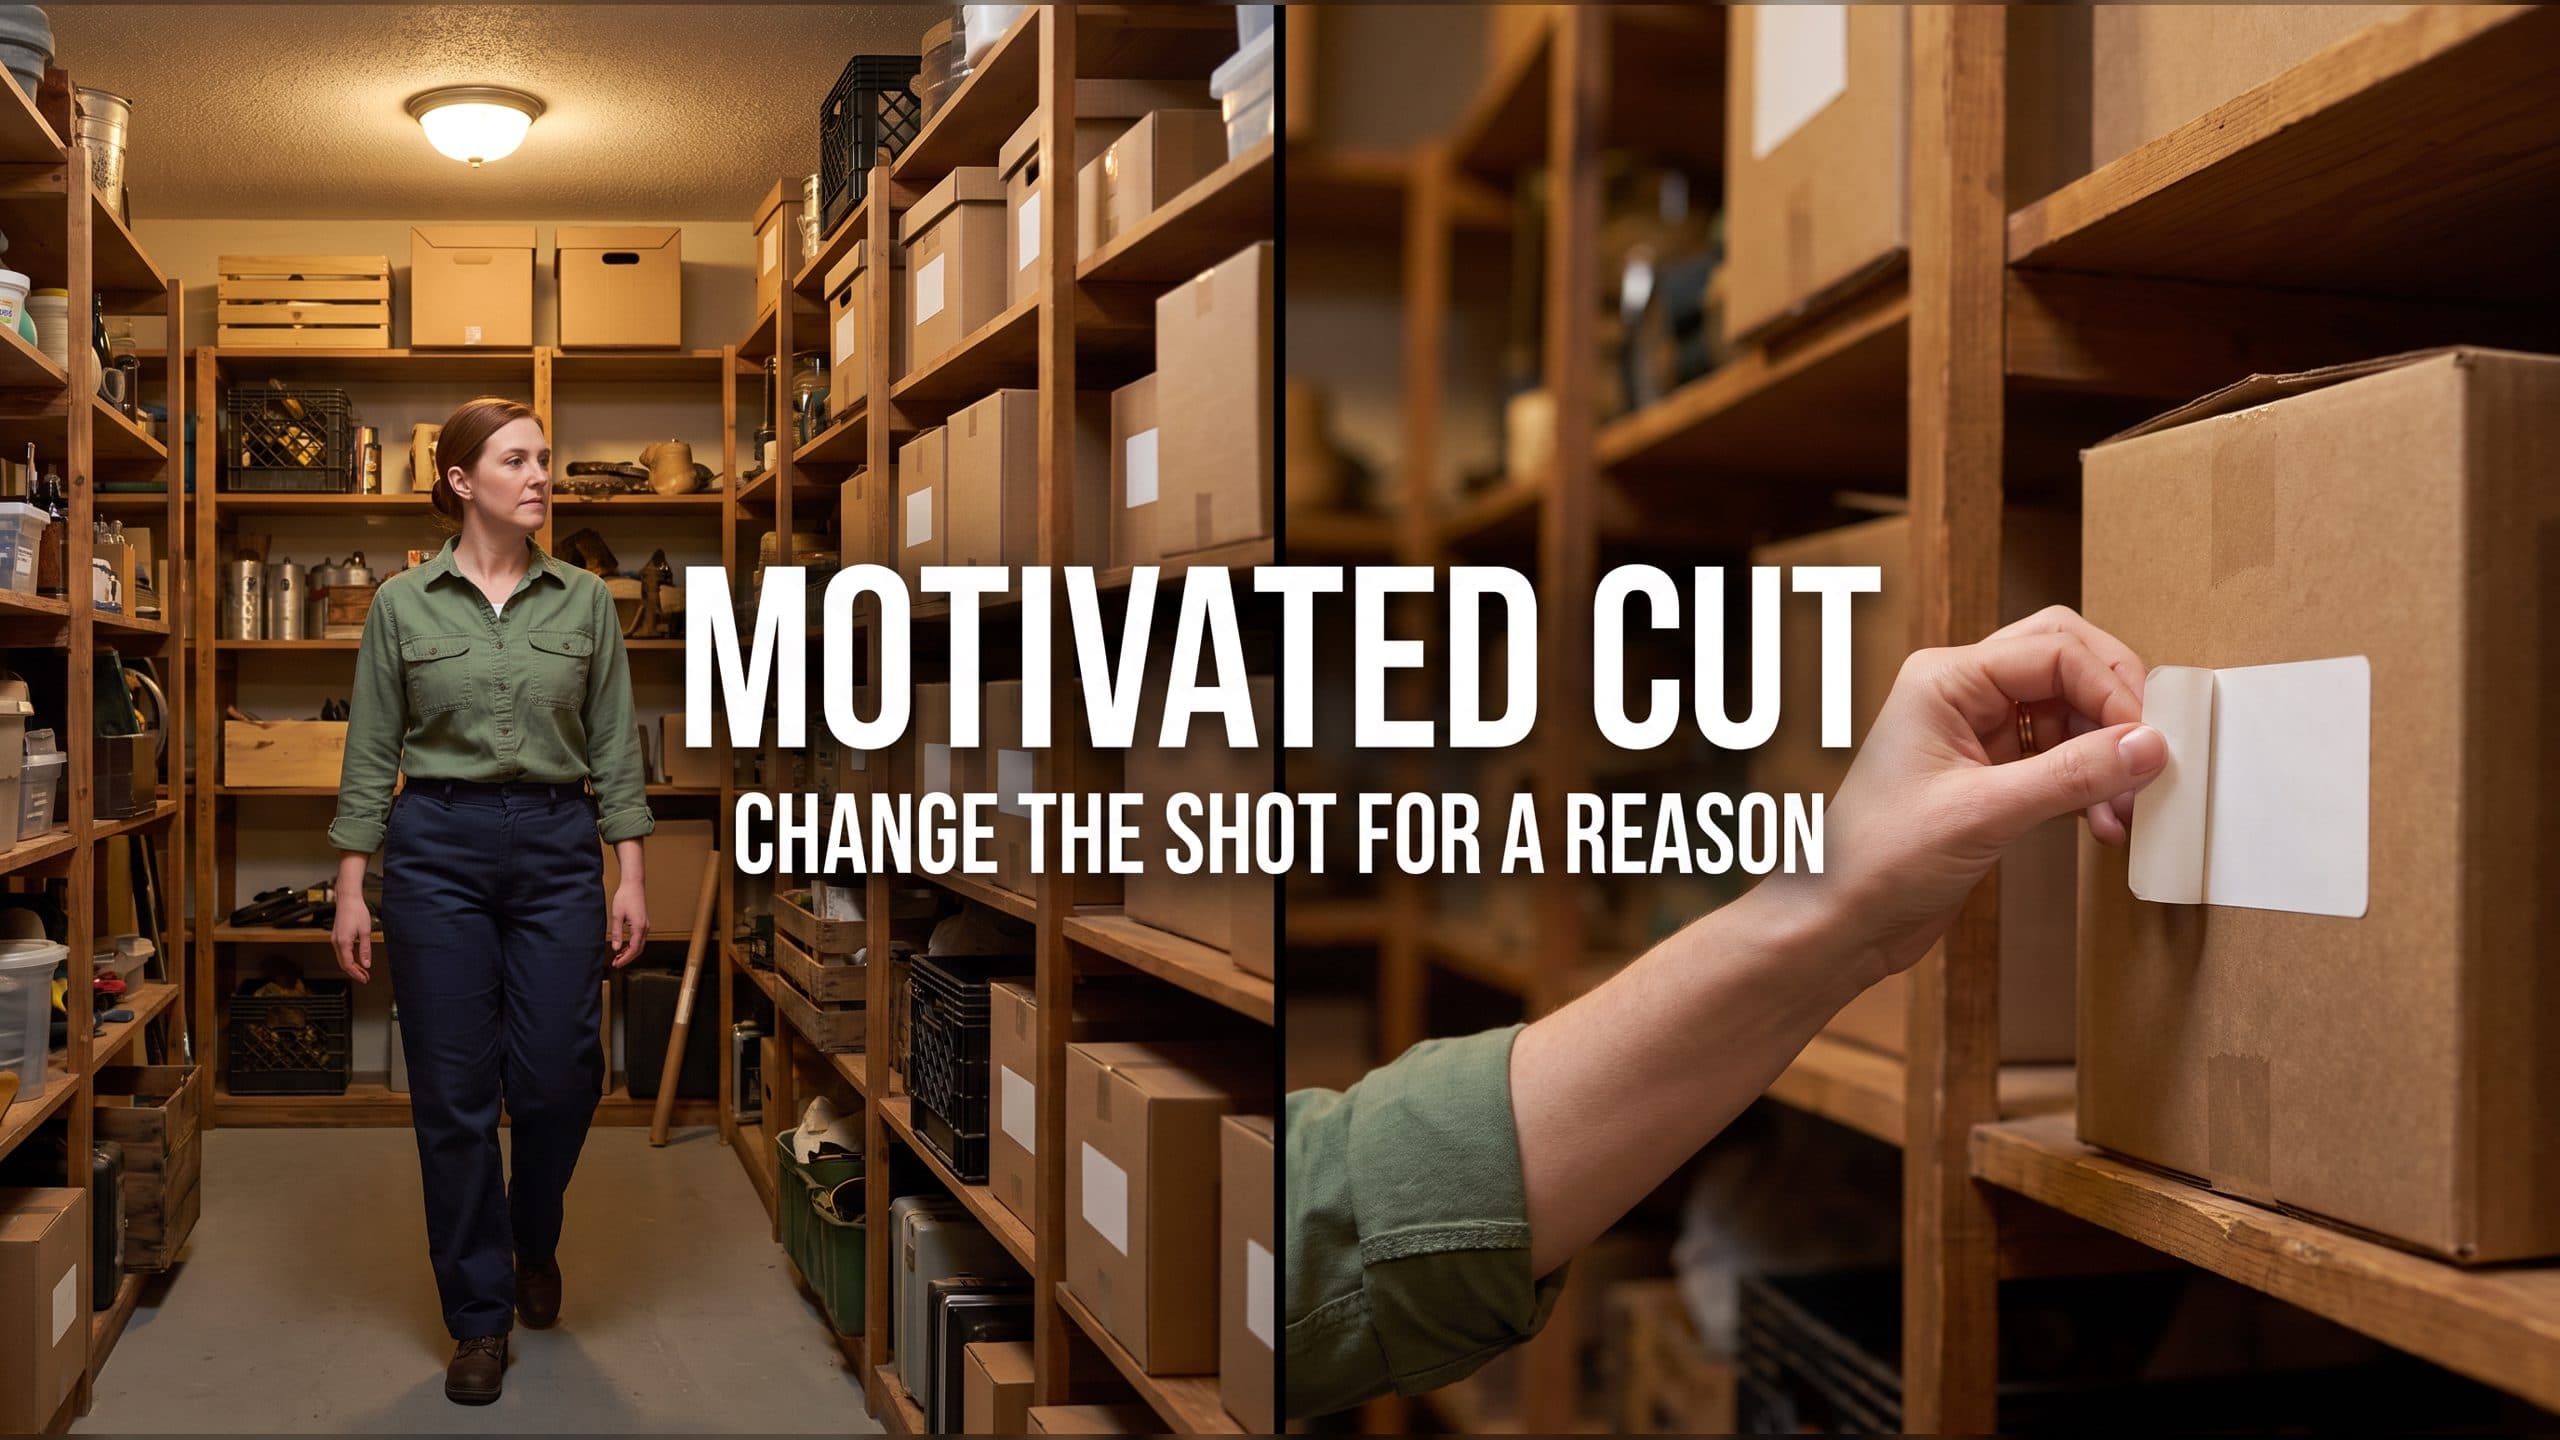
Motivated Cut AI Video Continuity: Change the Shot for a Reason
Learn how a visible action trigger, clear shot-size change, and locked screen direction create more intentional same-scene AI video edits.
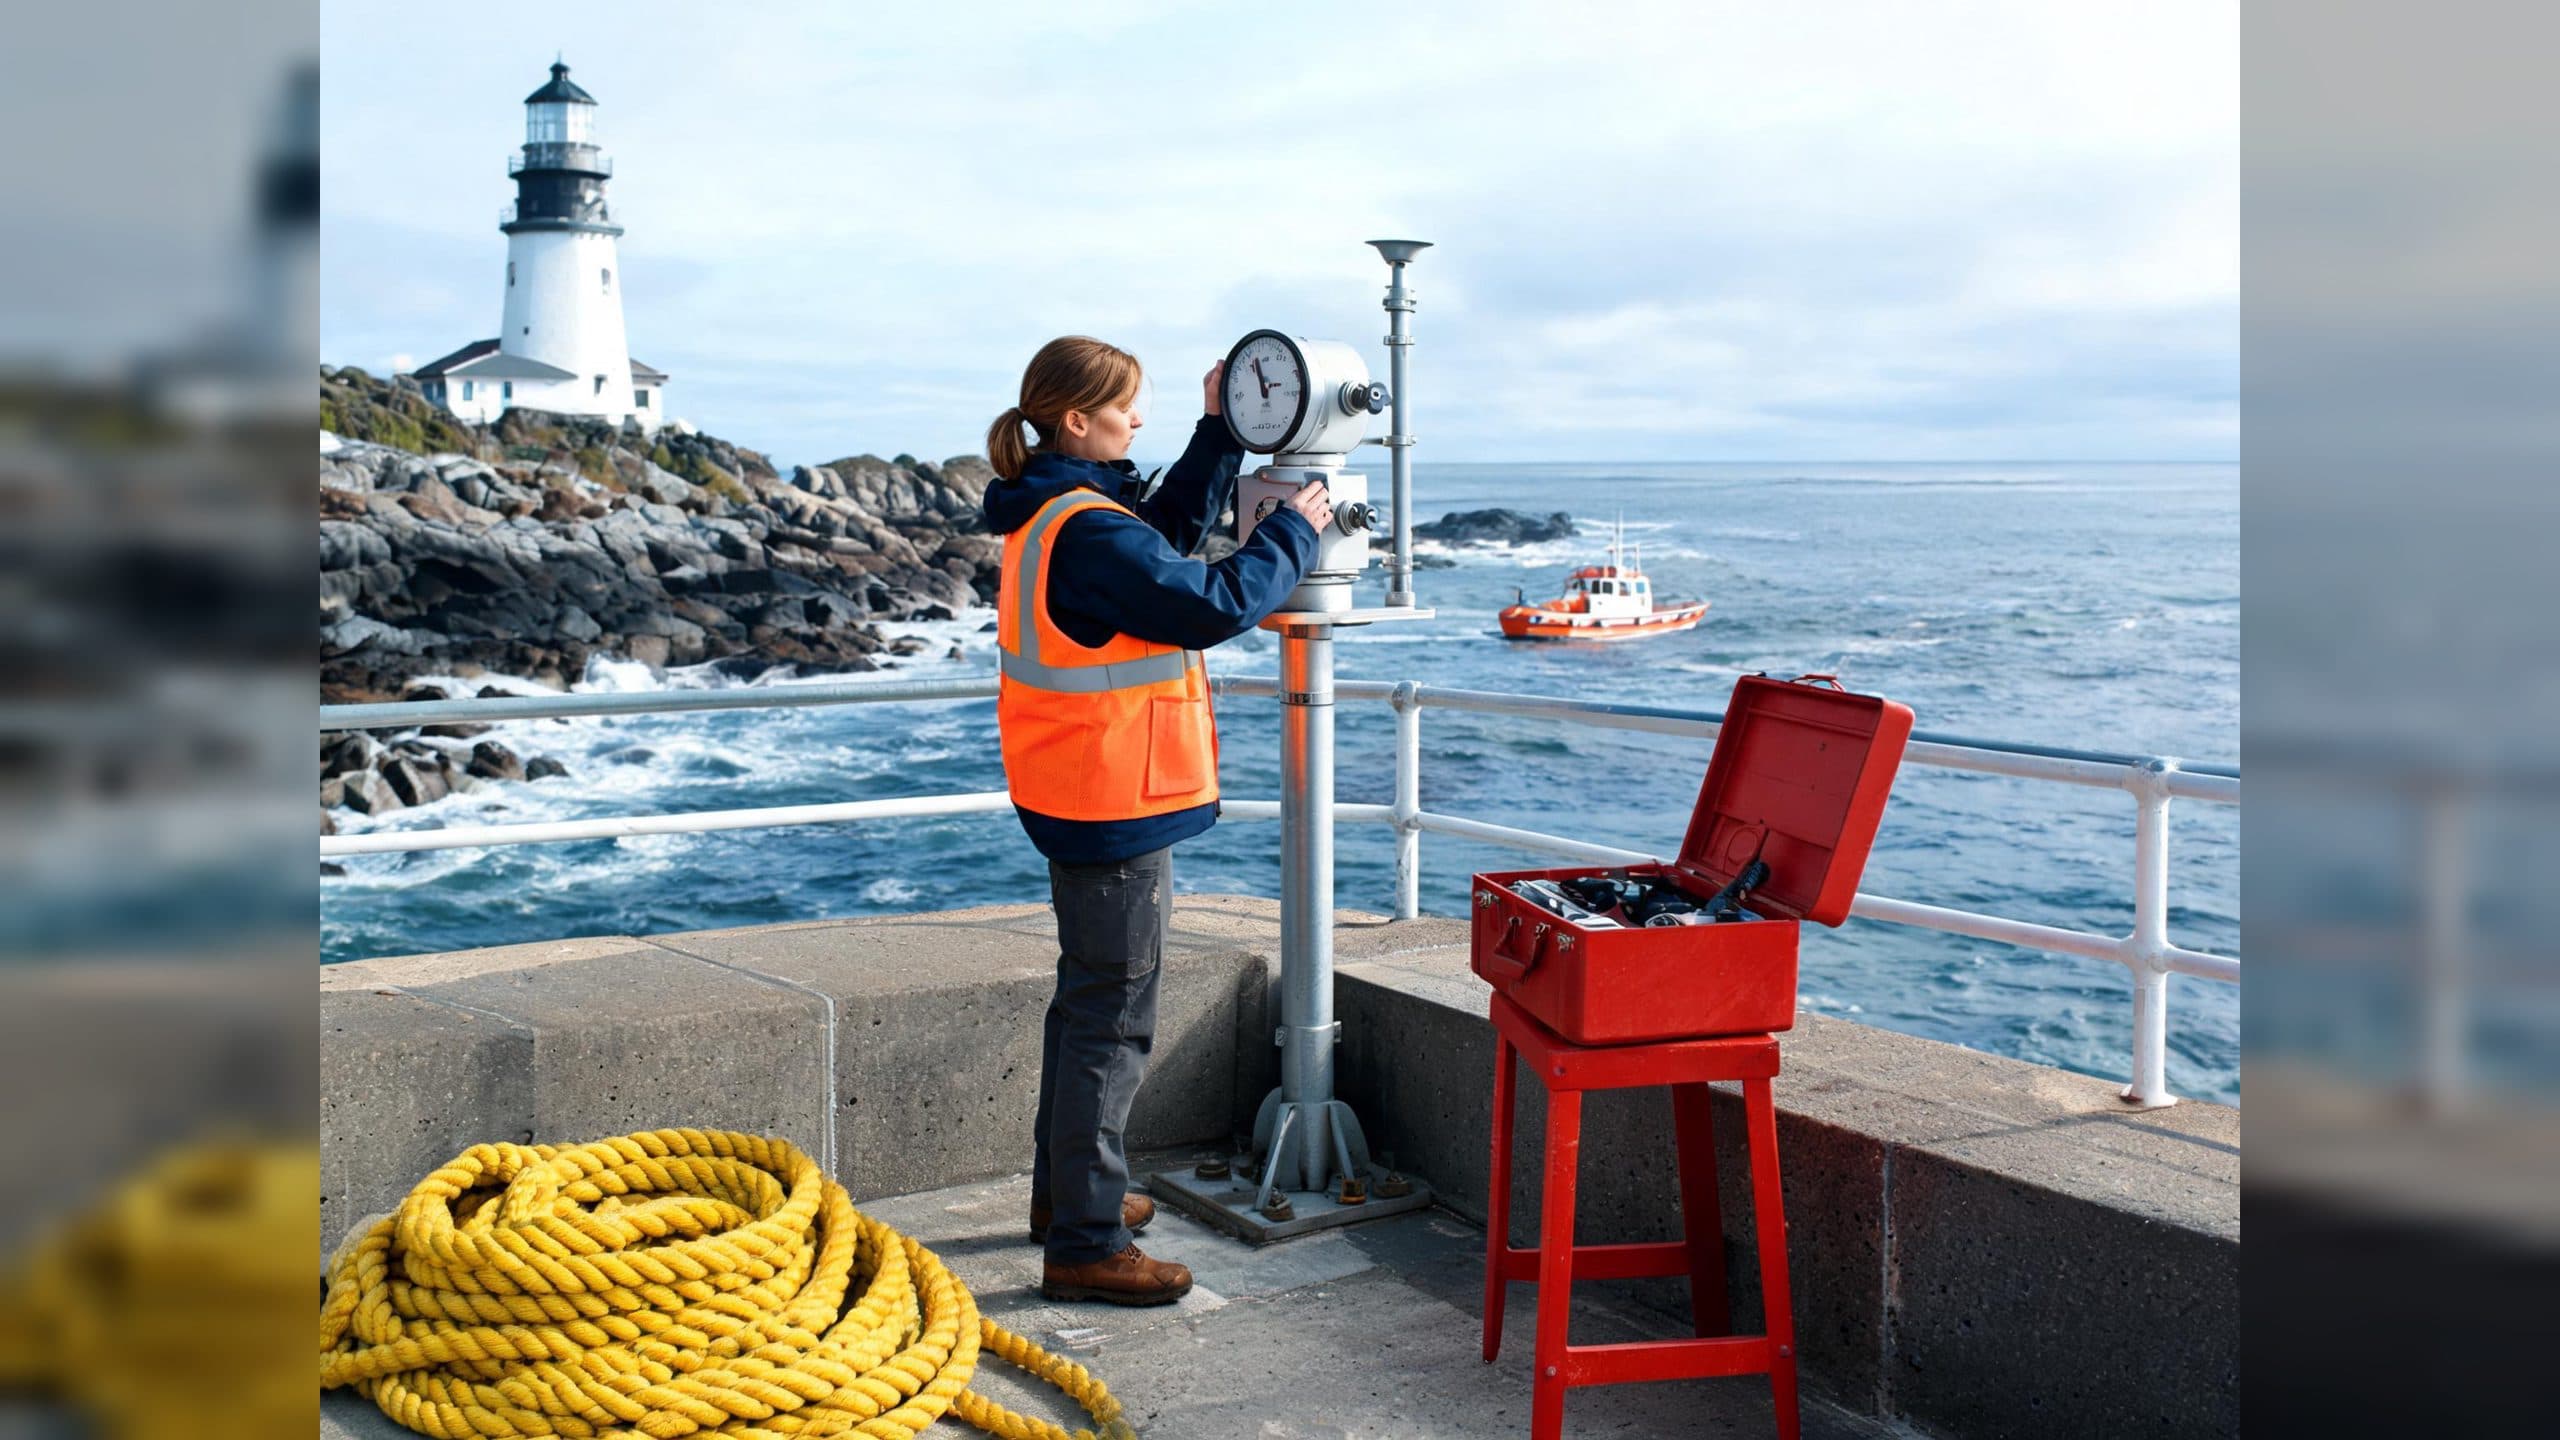
Deep Depth of Field AI Video: Keep Every Story Layer Readable
Learn how deep depth of field AI video prompts keep foreground tools, central action, and distant location cues readable in one layered shot.
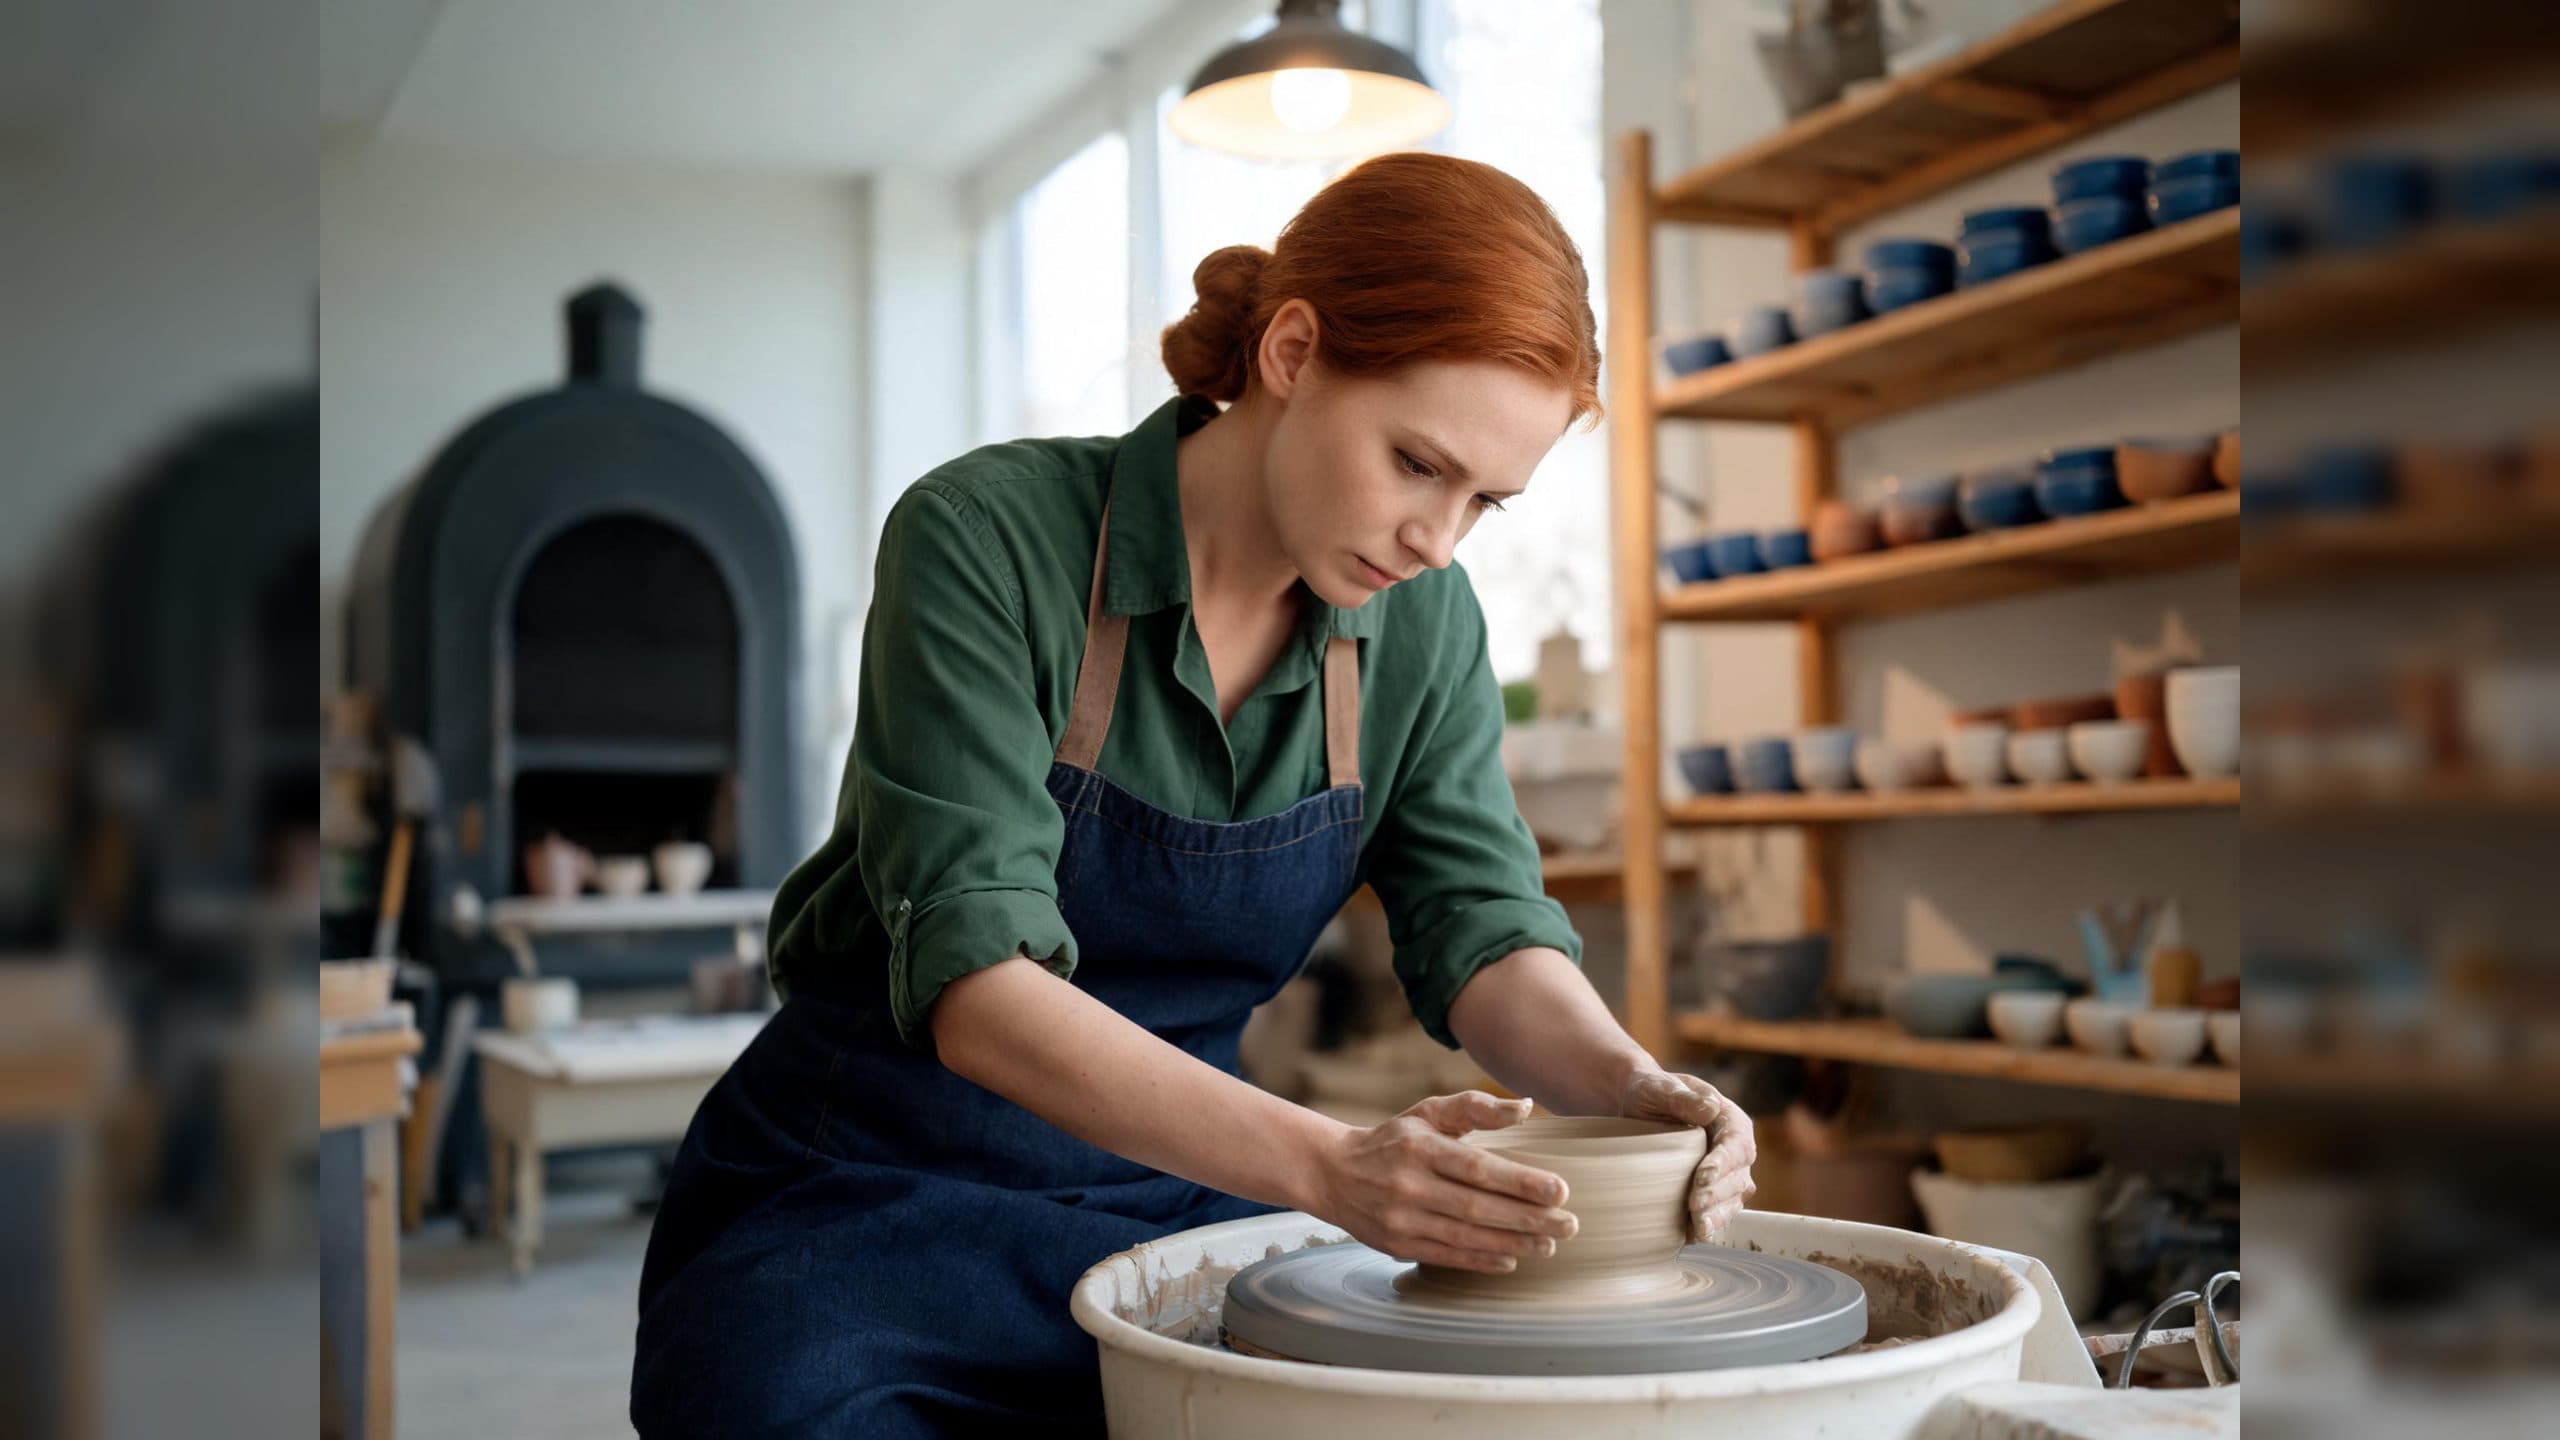
Medium Depth of Field AI Video: Balance Subject and Setting
Learn how medium depth of field AI video prompts keep hands and active objects readable while preserving recognizable environmental context.
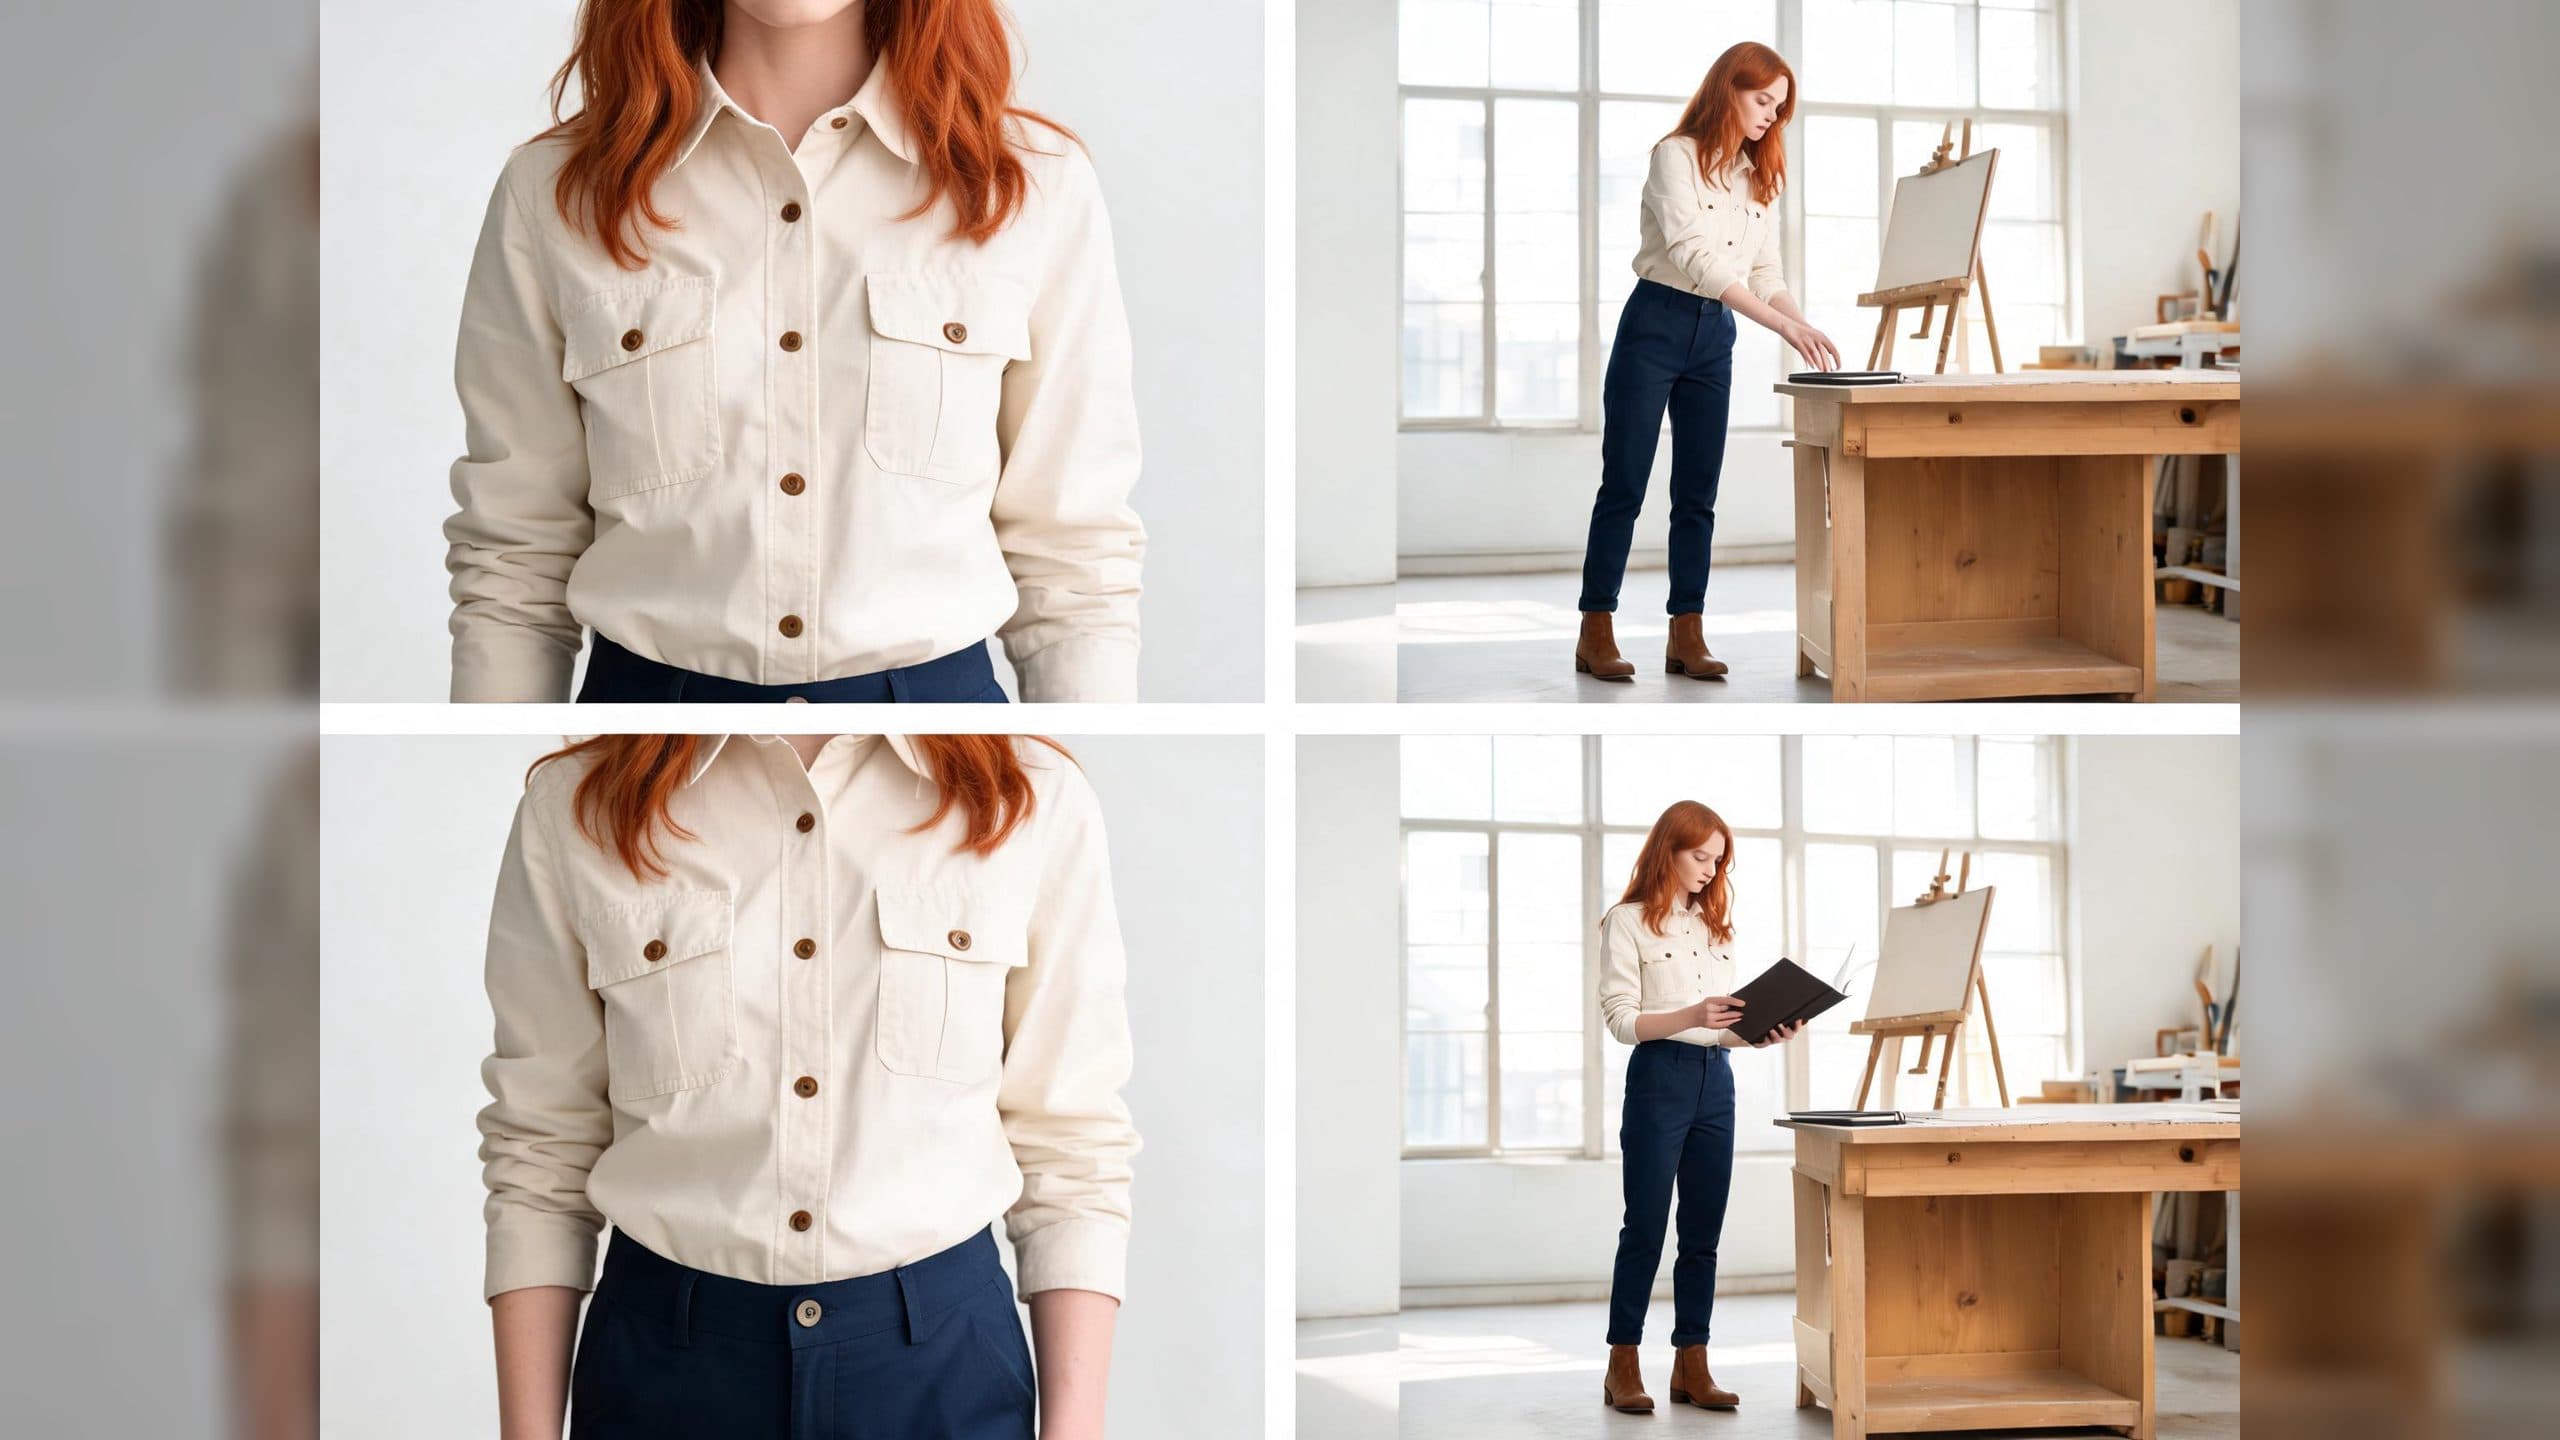
AI Video Character Reference Framing: Match Portraits to Landscape Shots
Prepare vertical character portraits for landscape AI video by matching aspect ratio, body scale, headroom, floor space, and movement room before generation.