

ArtArch Newsroom
AI Video TechniquesMotivated Cut AI Video Continuity: Change the Shot for a Reason
Learn how a visible action trigger, clear shot-size change, and locked screen direction create more intentional same-scene AI video edits.
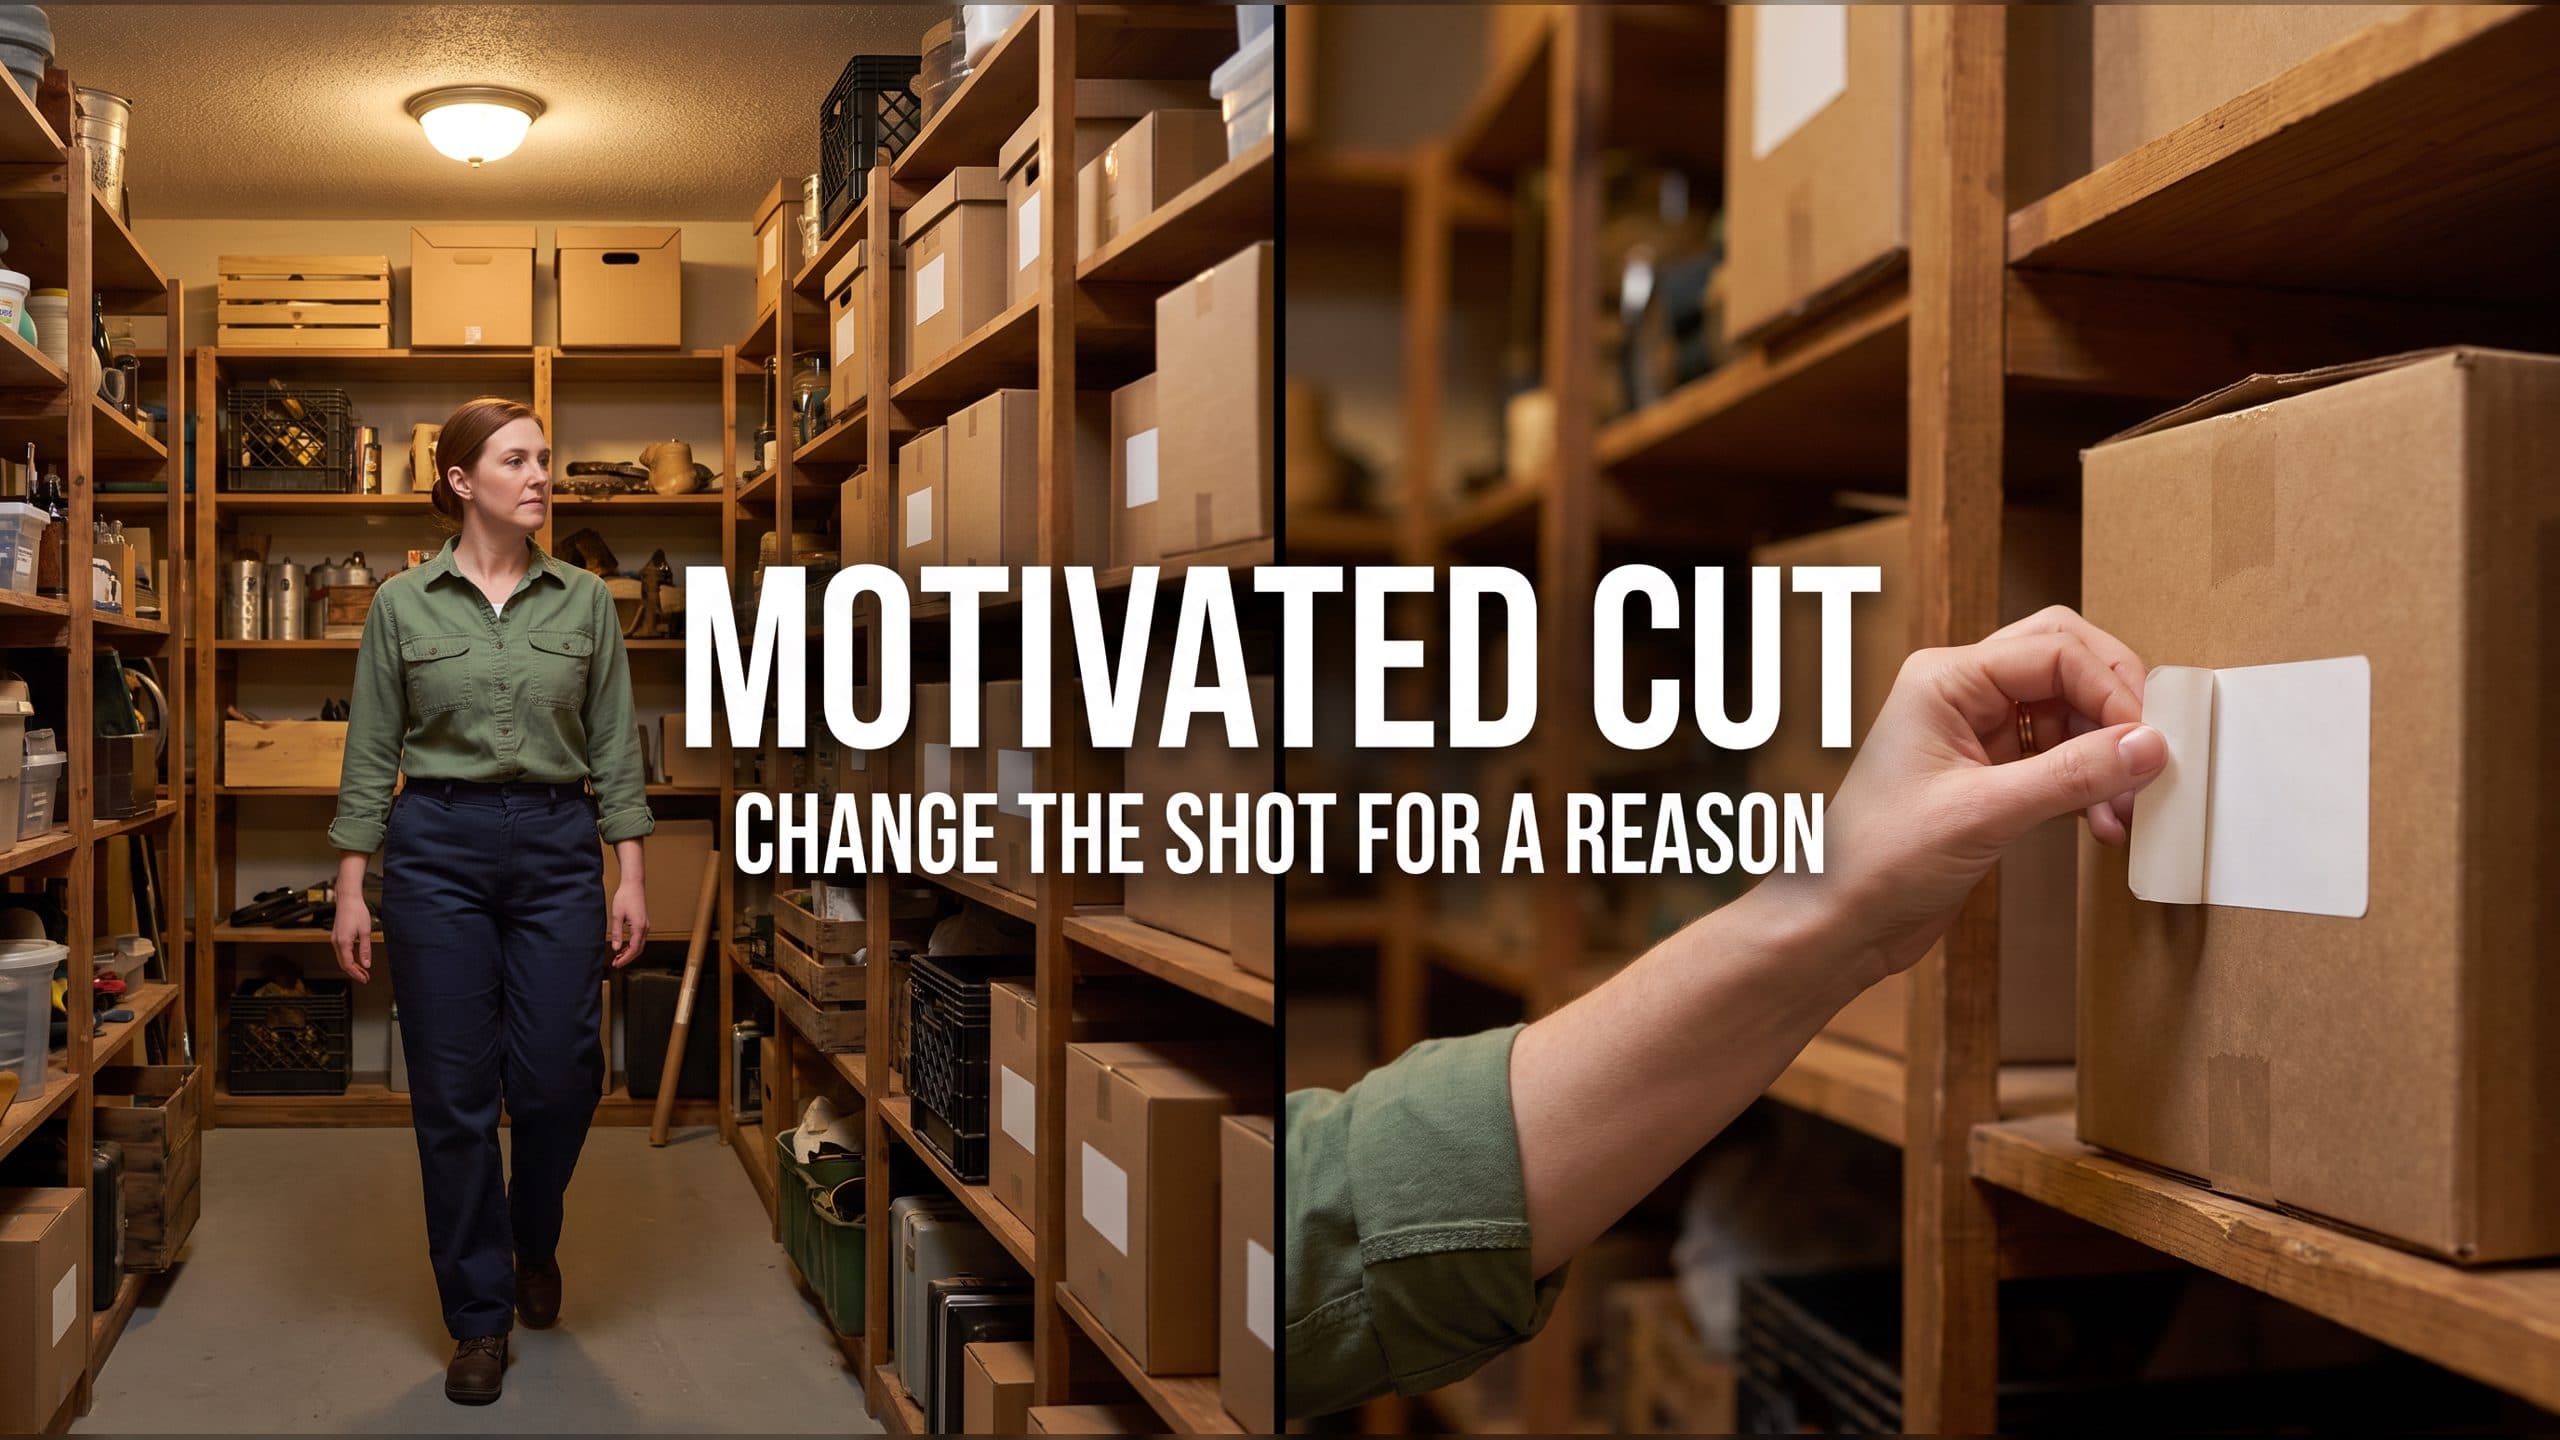
Use a motivated cut AI video continuity prompt to connect two moments in the same location without making the edit feel like an accidental jump. Keep the character, screen direction, environment, and action continuous, then change the shot size only when a visible event gives the viewer a reason to look closer.
Why similar shots can create an awkward cut
Two clips may show the same character in the same room and still feel poorly connected. When the second shot repeats almost the same framing and angle, small generation differences become easy to notice. A face shifts, a shelf moves, or the subject occupies a slightly different part of the frame. Because the new shot adds little information, the viewer's attention stays on the discontinuity.
The practical alternative is to make the change useful. A wider shot can establish the room and the character's direction of travel. A closer shot can then reveal the object that caused the character to stop. The cut has a narrative job, so the change in framing reads as an intentional edit.
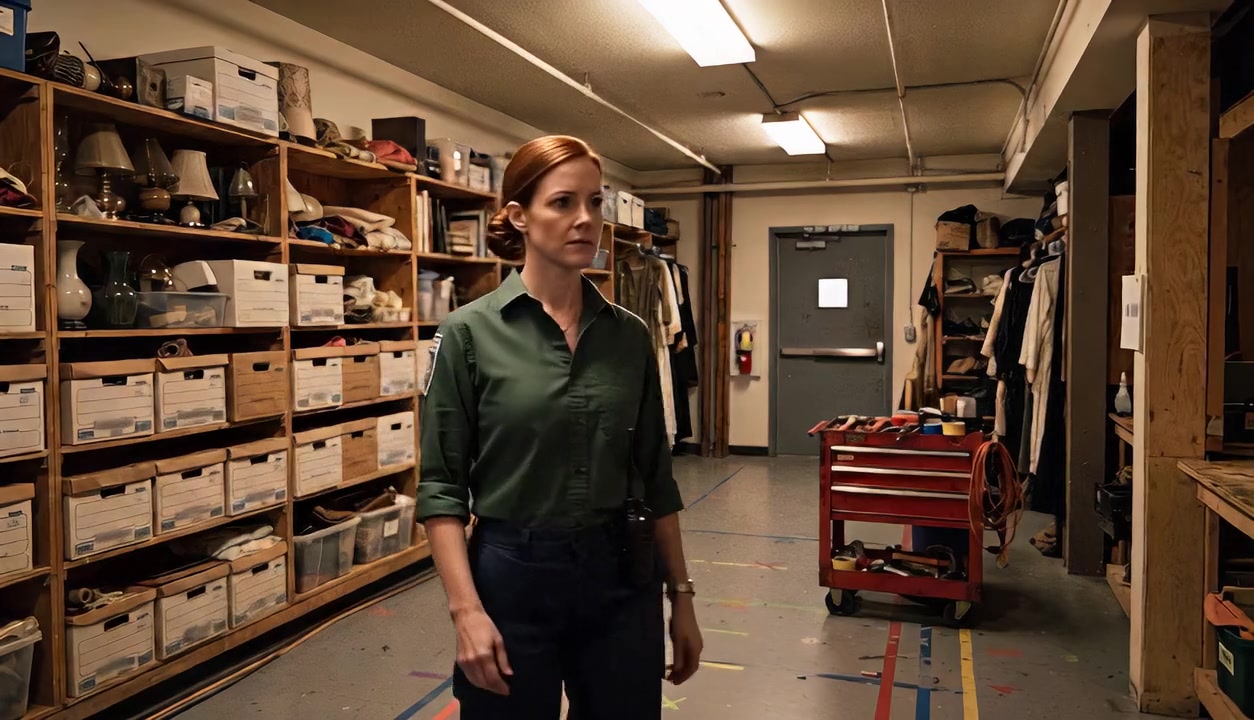
The wider view establishes the aisle, shelving, rear door, and the character's movement before the label becomes important.
Choose a visible trigger
A motivated cut begins with something the audience can see. The trigger may be a hand reaching for a control, a glance toward a sound, a key entering a lock, a phone lighting up, or a damaged part being discovered. The next shot should answer the question created by that trigger.
In the test scene, a community theater stage manager walks along a prop-room shelf and notices an incorrect box label. Her reach toward the label is the trigger. The second shot can remain near the original framing, or it can move closer to show the hand and label that now carry the action.
This creates a simple cause-and-effect structure:
- Establish the character and location.
- Show the character noticing a specific object.
- Cut as the character reaches toward it.
- Reveal the object and complete the action in the new shot.
Lock continuity before changing the camera
The camera change should be the only designed variable. Keep the character's identity, wardrobe, body direction, active hand, environment, lighting, and object position consistent across the cut. Choose two or three spatial anchors that remain easy to recognize.
For the prop-room scene, the wooden shelving, gray rear door, and red tool cart defined the room. The stage manager continued moving left to right. Warm ceiling lights preserved the same time and atmosphere. These locks allowed the closer image to feel connected even when most of the wider room left the frame.
Screen direction deserves special attention. If the character approaches a shelf from left to right in the establishing shot, the hand should enter the closer shot from a compatible direction. Preserve that direction first, then use the shot change to clarify the action.
What the single A/B test showed
Both eight-second videos used the same fictional character reference, empty American theater environment, action, lighting, model, duration, aspect ratio, resolution, and audio setting. The only planned difference was the shot after the character noticed the wrong label.
The control version moved from an environmental view to a similar character-centered medium shot. The new frame was tighter, but the character and shelves still competed for attention. The cut changed the composition without giving the viewer a sharply defined new piece of information.
The technique version moved from the environmental view to a close image of the hand and box label. That shot directly answered why the character stopped and made the replacement action readable. The room was less visible, yet the shelf material, light, hand direction, and object maintained the connection.
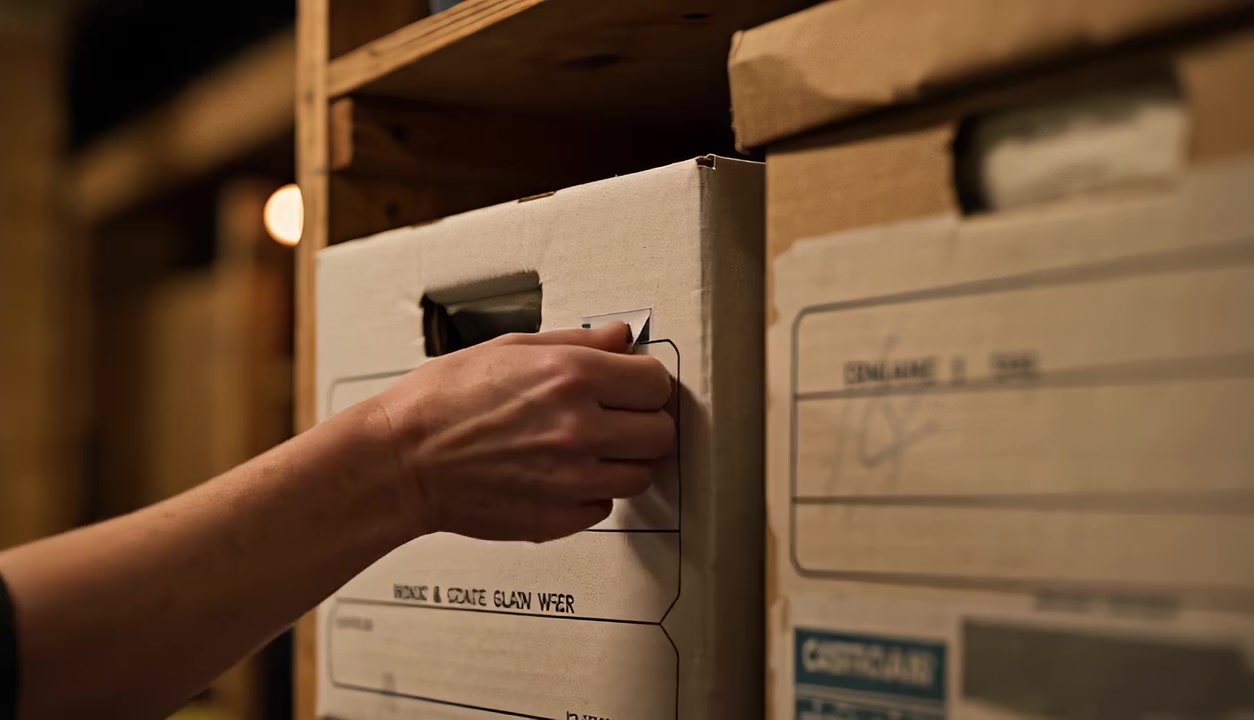
The closer shot turns the label into the information target and carries the action across the edit.
In this single open-seed comparison, the motivated close shot produced a clearer editorial intention. The E1 finding applies to this scene and provides a focused starting point for later tests across other models, locations, and camera axes.
A repeatable prompt structure
Write the first shot, trigger, cut, second shot, and continuity locks in that order.
0-[time]: [shot size and angle] establishes [character] in [location].
The character [approaches or performs the initial action] while moving [screen direction].
When [visible trigger] occurs, cut on that action to [clearly different shot size or angle].
The new shot reveals [specific information target] and completes [local action].
Preserve [identity], [wardrobe], [screen direction], [active hand or prop],
and the positions of [two or three spatial anchors].
Keep [physical light source] and [sound intent] continuous across the cut.
The second shot should earn its place by revealing information, intensifying performance, or clarifying an action. A random angle change may hide one visual mismatch while creating a new spatial problem.
Review the edit with three frames
Inspect one image before the cut, one immediately after it, and the final image. The first pair shows whether screen direction, identity, and action remain connected. The final image confirms whether the second shot completes its purpose.
Ask four practical questions:
- Does the first shot create a reason to change the camera?
- Does the next shot reveal the exact object or reaction promised by that trigger?
- Do character direction and object ownership remain understandable?
- Does the closer or altered angle add information that the previous composition could not show as clearly?
Useful scenes for motivated shot changes
A product demonstrator can move from a medium view to a close shot when a finger presses a control. A mechanic can move from a workshop wide shot to a wheel detail after hearing a rattle. A cook can move from a counter view to an ingredient close-up when texture changes. A dramatic scene can move from a two-shot to a reaction close-up when one character reveals new information.
Each case follows the same editorial logic: the event motivates the camera change, and the new framing pays off the viewer's attention.
Frequently asked questions
How different should the second shot be?
Make the change visually clear enough to add information. Moving from a wide or medium view to a detail or reaction close-up is easier to read than a small framing adjustment.
Can a motivated cut fix every continuity error?
Use it when identity, screen direction, action ownership, and major spatial anchors remain coherent. Review those locks before judging the cut itself.
Where should the cut happen?
Place it on a visible trigger such as a reach, glance, object movement, or reaction. The next shot should immediately explain or complete that trigger.
What should remain visible after a close cut?
Preserve enough material, lighting, hand direction, wardrobe, or prop detail to connect the new frame to the established location and action.
Keep exploring
More in AI Video Techniques
Deep Depth of Field AI Video: Keep Every Story Layer Readable
Learn how deep depth of field AI video prompts keep foreground tools, central action, and distant location cues readable in one layered shot.

Medium Depth of Field AI Video: Balance Subject and Setting
Learn how medium depth of field AI video prompts keep hands and active objects readable while preserving recognizable environmental context.
AI Video Character Reference Framing: Match Portraits to Landscape Shots
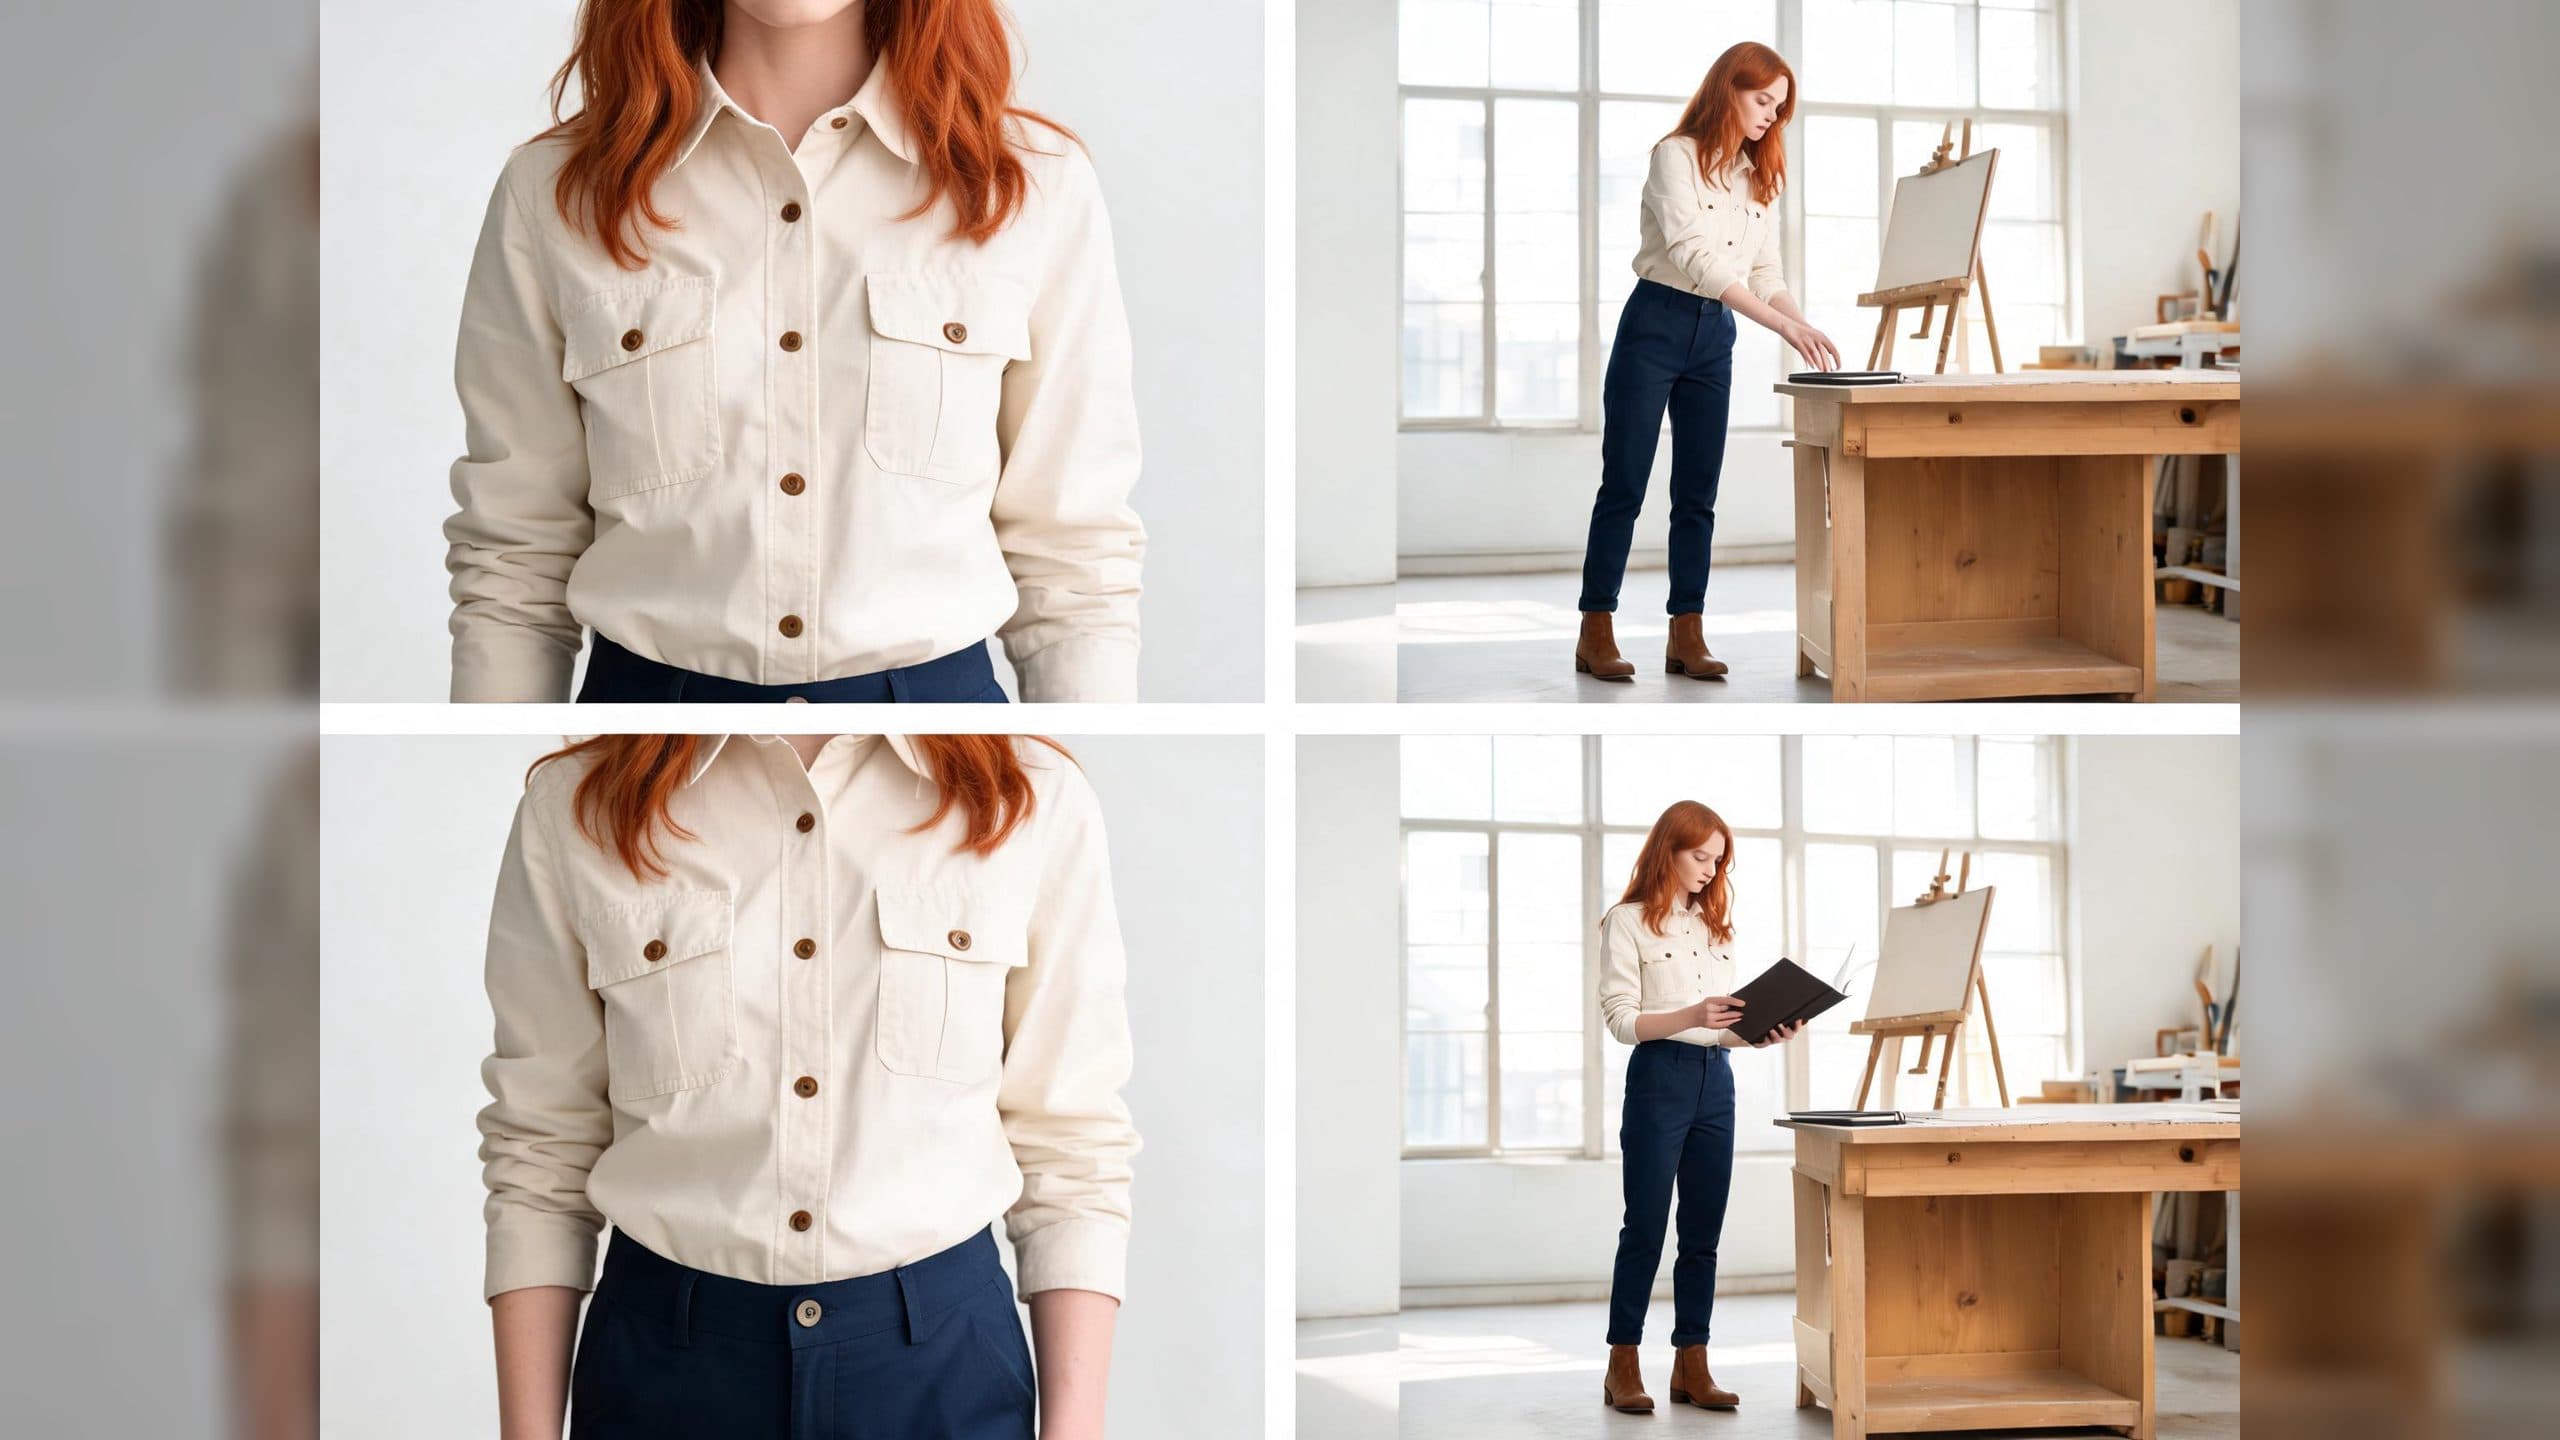
Prepare vertical character portraits for landscape AI video by matching aspect ratio, body scale, headroom, floor space, and movement room before generation.
AI Video Action Continuity Prompt: Match Contact Points Across Segments
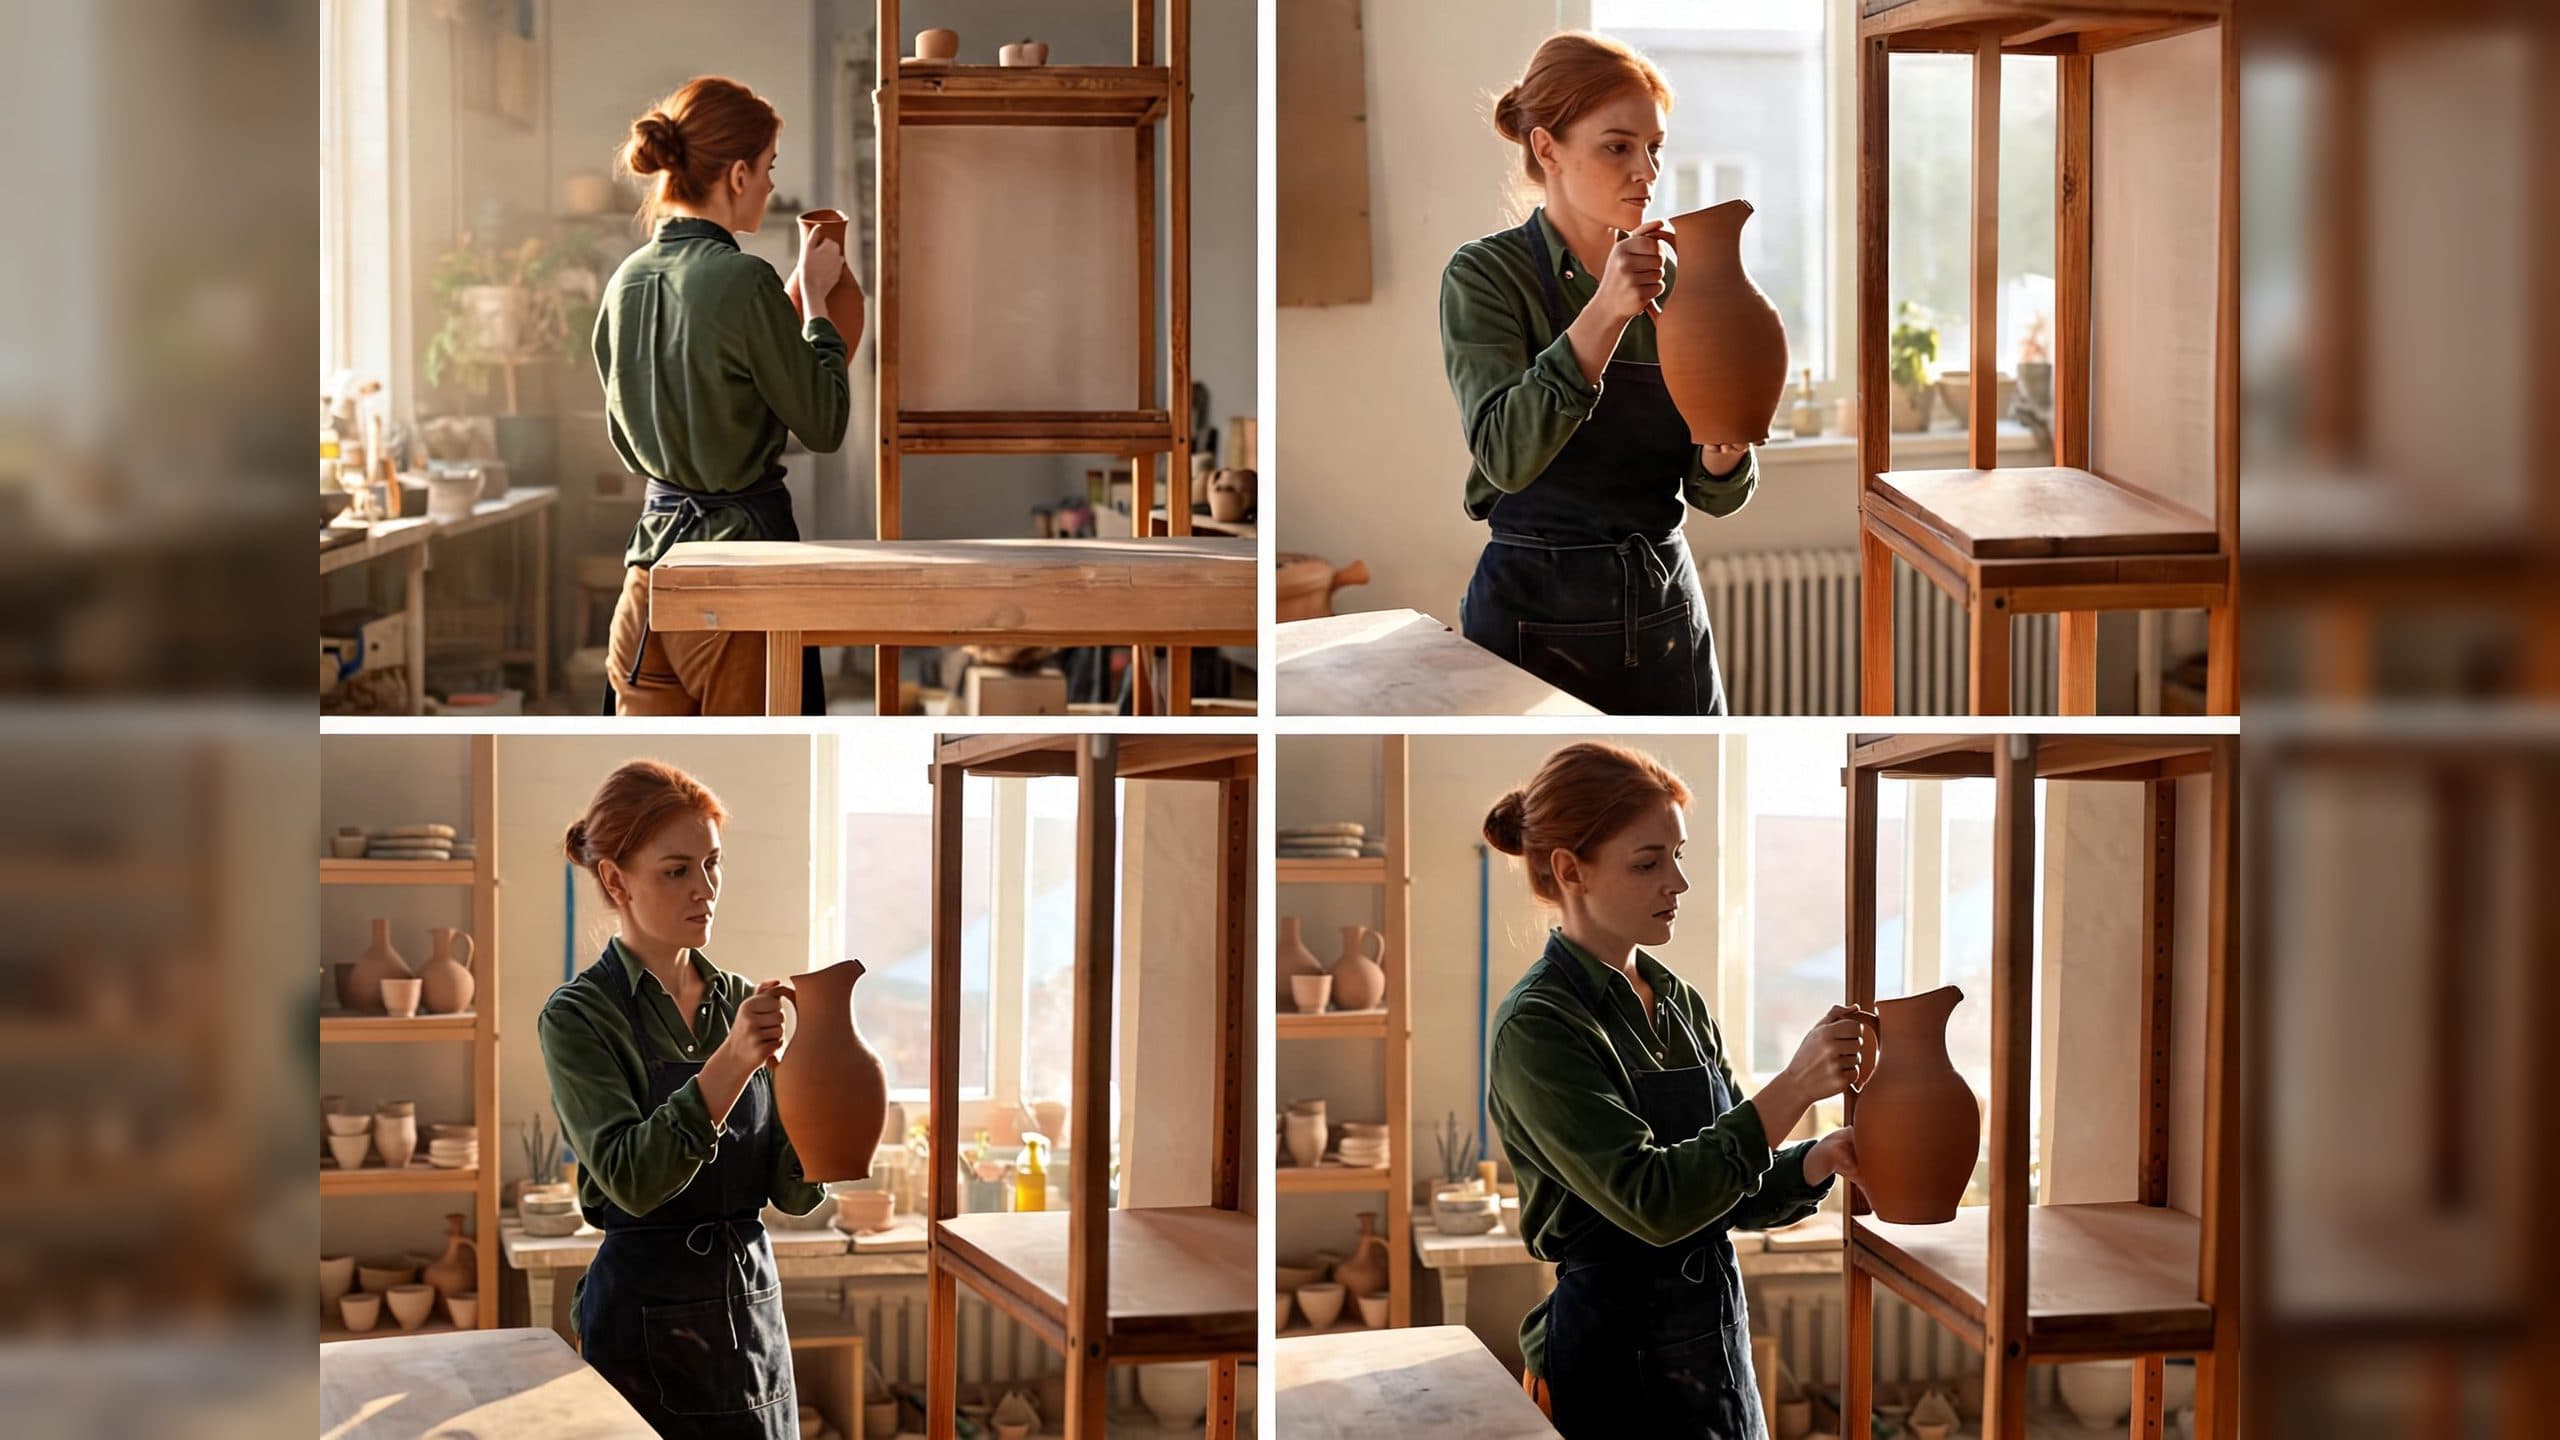
Write an AI video action continuity prompt that matches hand contact, prop position, body direction, and movement across connected video segments.